Create a TestLink Test Project
Create a TestLink Test Project
In this post, we will learn how to create a TestLink test project. Before this, you have to successfully install TestLink on the system without any errors.
Why Create a Test Project?
Creating a Test Project has several advantages:
- Test Projects provide a clear structure for managing test cases, test plans, and test execution results. This organization makes it easier to track progress, report on testing activities, and ensure that no aspect of the project is overlooked.
- TestLink allows teams to work collaboratively within a project. Multiple team members can work on different parts of the project (creating test cases, executing tests, logging defects), while the project structure ensures everyone has access to the latest information.
- TestLink allows you to configure each Test Project according to its specific needs, including setting up custom fields, workflows, and permissions for team members.
TestLink Login
You can log in to the TestLink system by accessing the login screen URL. The way you access TestLink depends on the installation process. For example, we can access TestLink on a local machine using the following URL as shown below
- http://localhost/testlink/login.php
We can replace the localhost with the <IP>:<PORT> or domain name of the webserver.
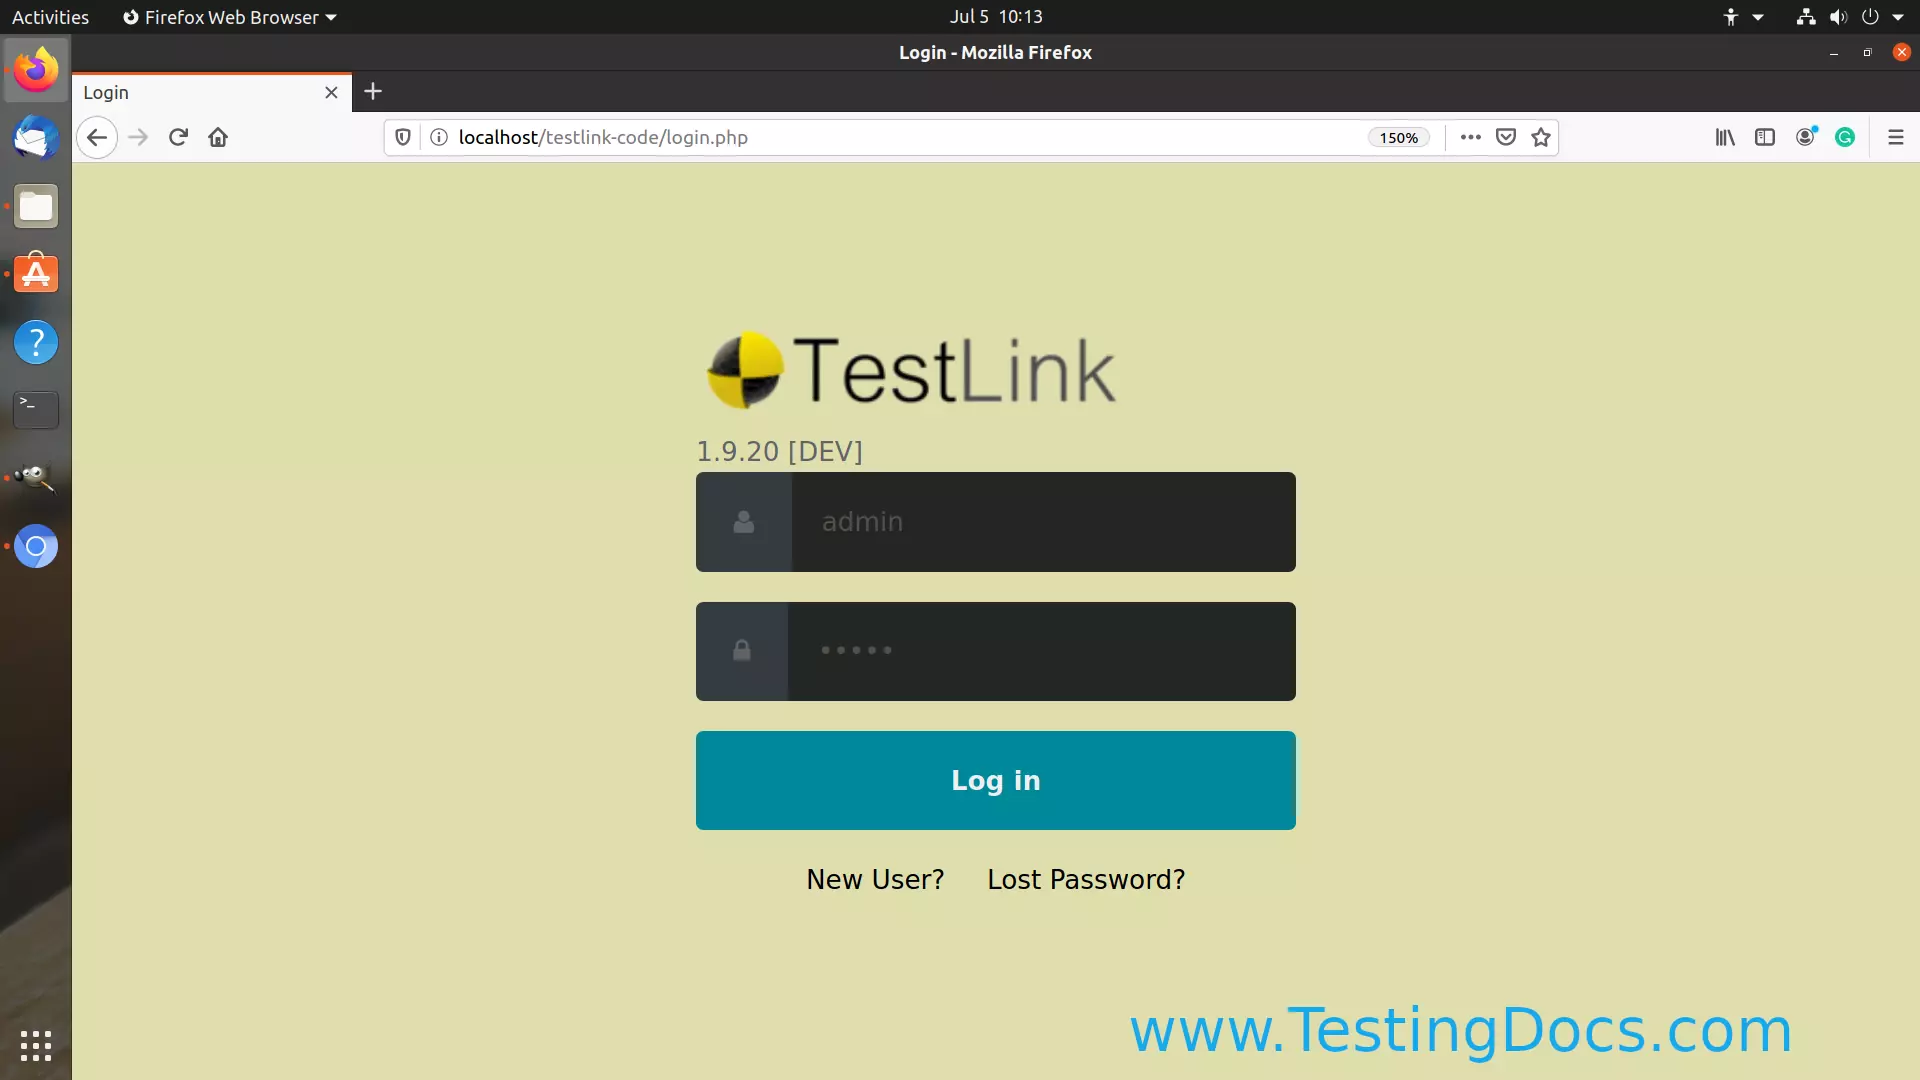
Enter a valid username, and password, and hit the login button. For the first-time login, we can use admin/admin credentials.
Create a Project
Admin roles can create the TestLink project. We can create a TestLink project when we log in to TestLink for the first time. After creating a Test project we can other artifacts like creating Test plans and Software Requirements and specifying and executing your Tests.
Project Details
Enter project details like :
Name-> Unique name of the TestLink Test Project
Prefix-> Project prefix.
Project Description.-> Project Description. Details of the Project.
Name: Choose a descriptive name for your Test Project. This should reflect the purpose or scope of the project.
Description: Provide a brief description of the project to give users more context about the testing efforts involved.
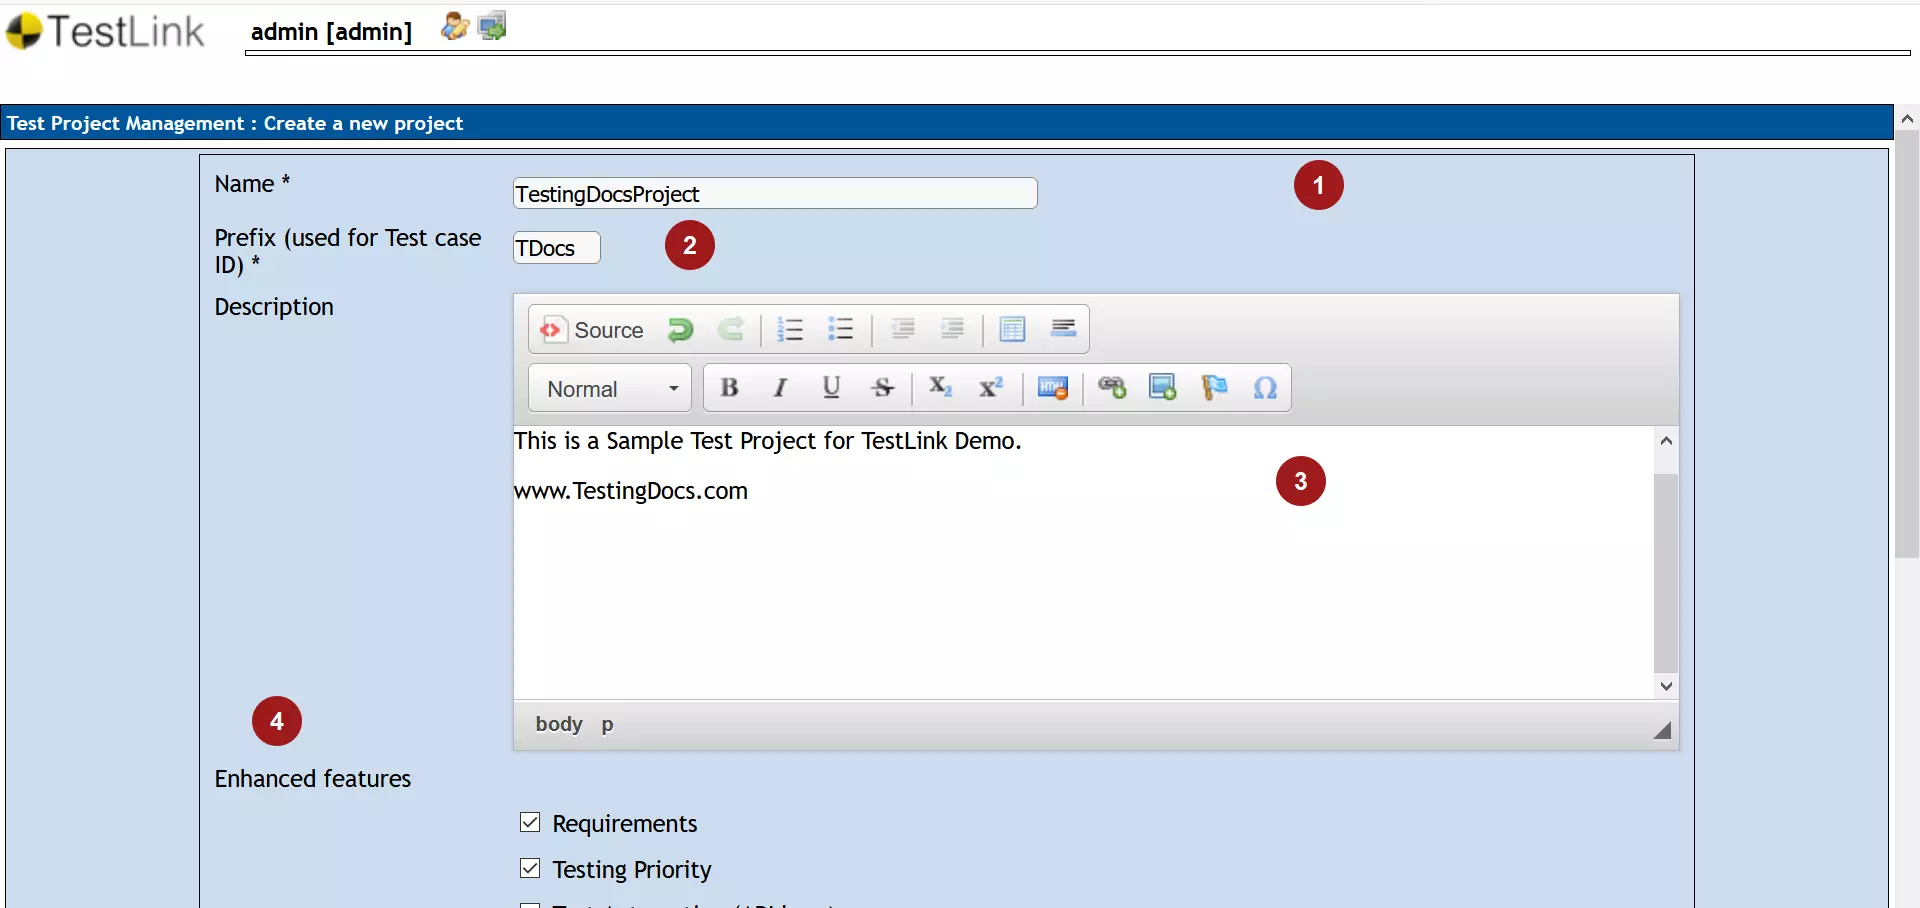
Enhanced Features
- Requirements
- Testing Priority
- Test Automation (API keys),
- Inventory
Test Project availability options
Active and Public.
Public: You can choose whether the project should be public (available to all users) or private (restricted to specific users).
Active: Set the project status to active to begin managing test cases, test plans, and test executions.
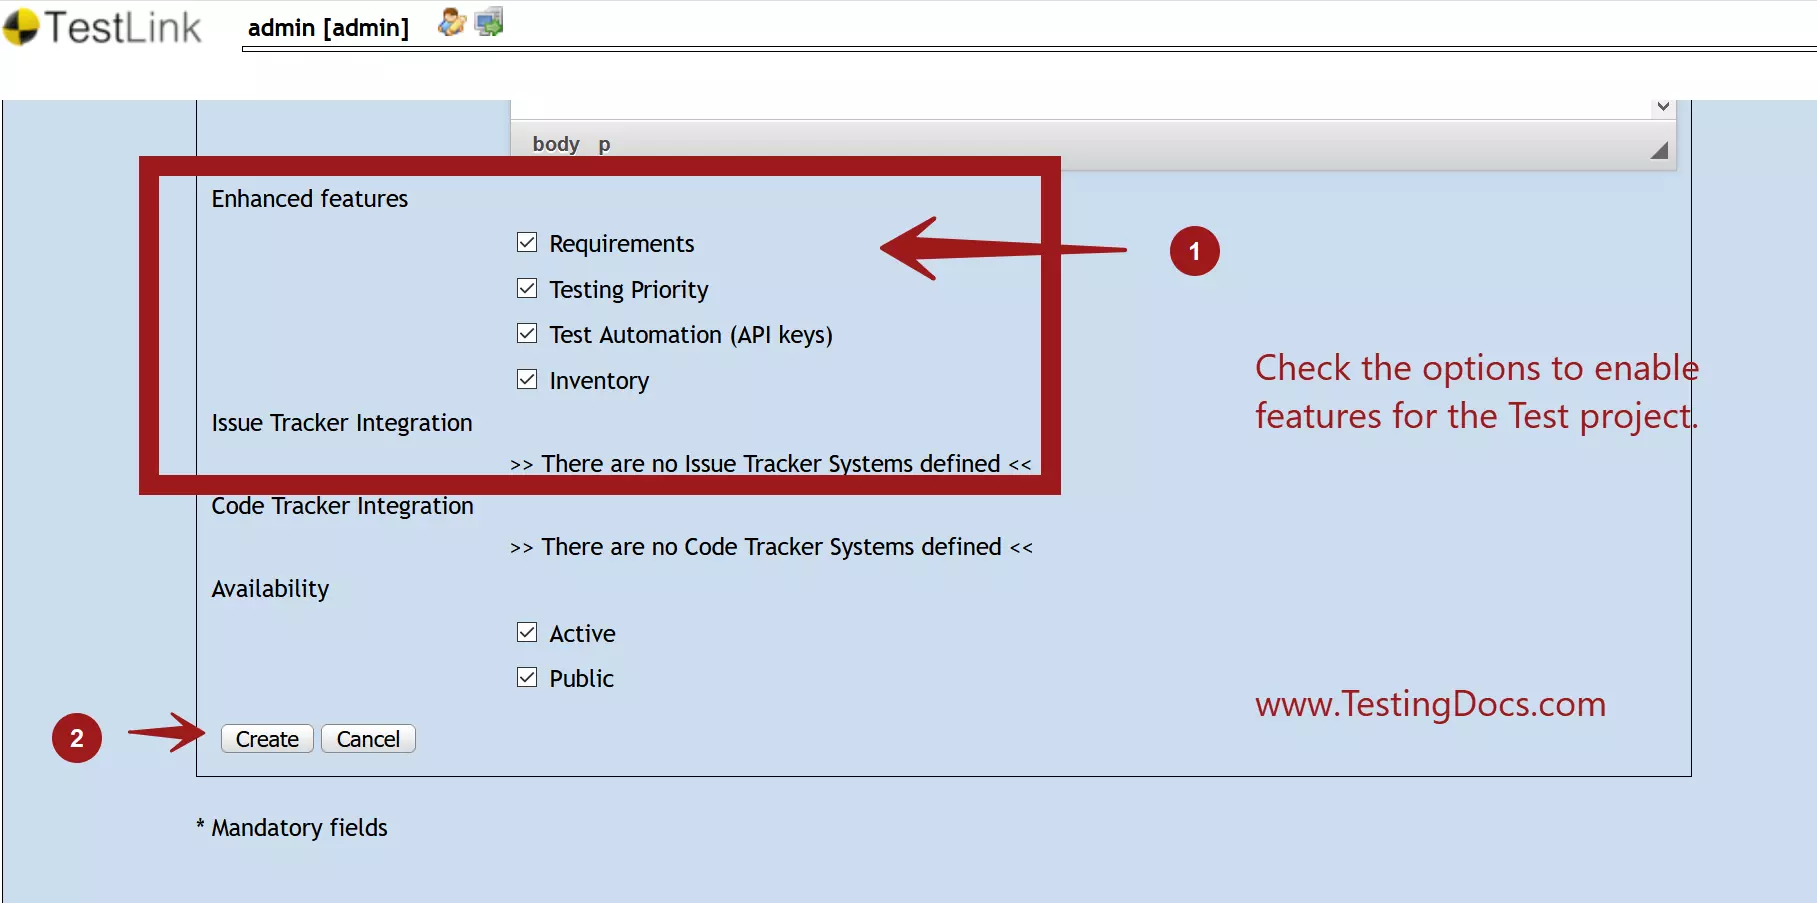
Once you’re done entering the project information, click on the Create button to create a project in TestLink.
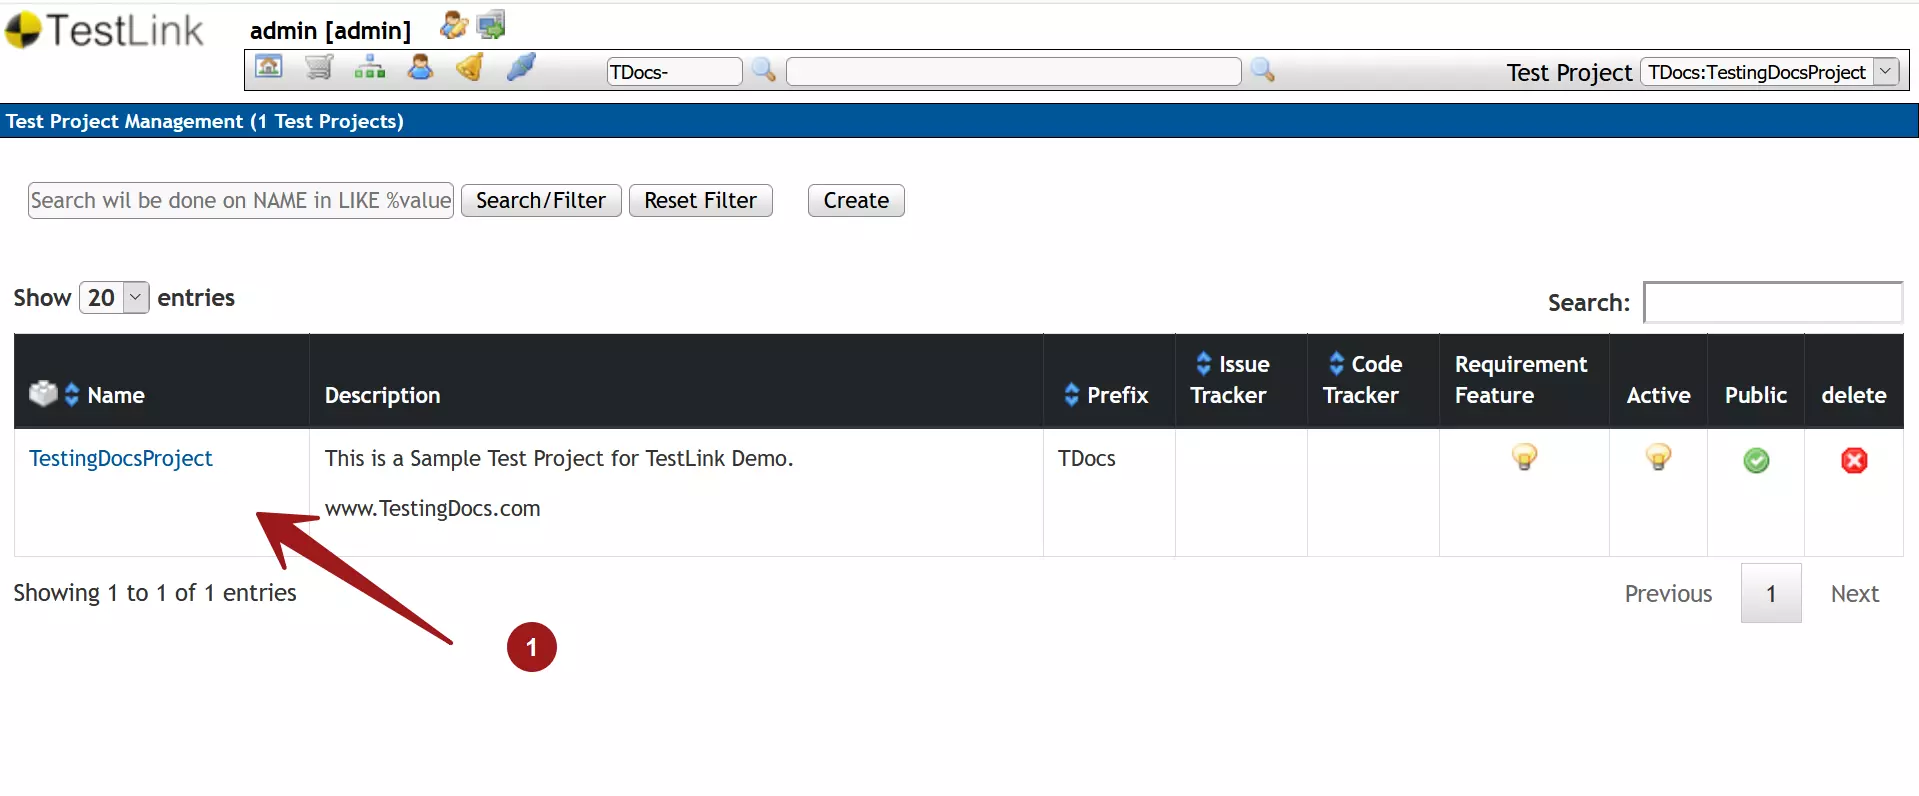
That’s it. We have successfully created a project in TestLink.


