Android Development Environment Setup
Android Development Environment Setup
In this tutorial, we will configure and customize Android Development Environment with Android Studio Setup Wizard on Linux during the first run. To download Android Studio and start the Android application on Linux machine:
Settings
The setup wizard will set up the development environment for Android Studio. It allows us to configure several settings.
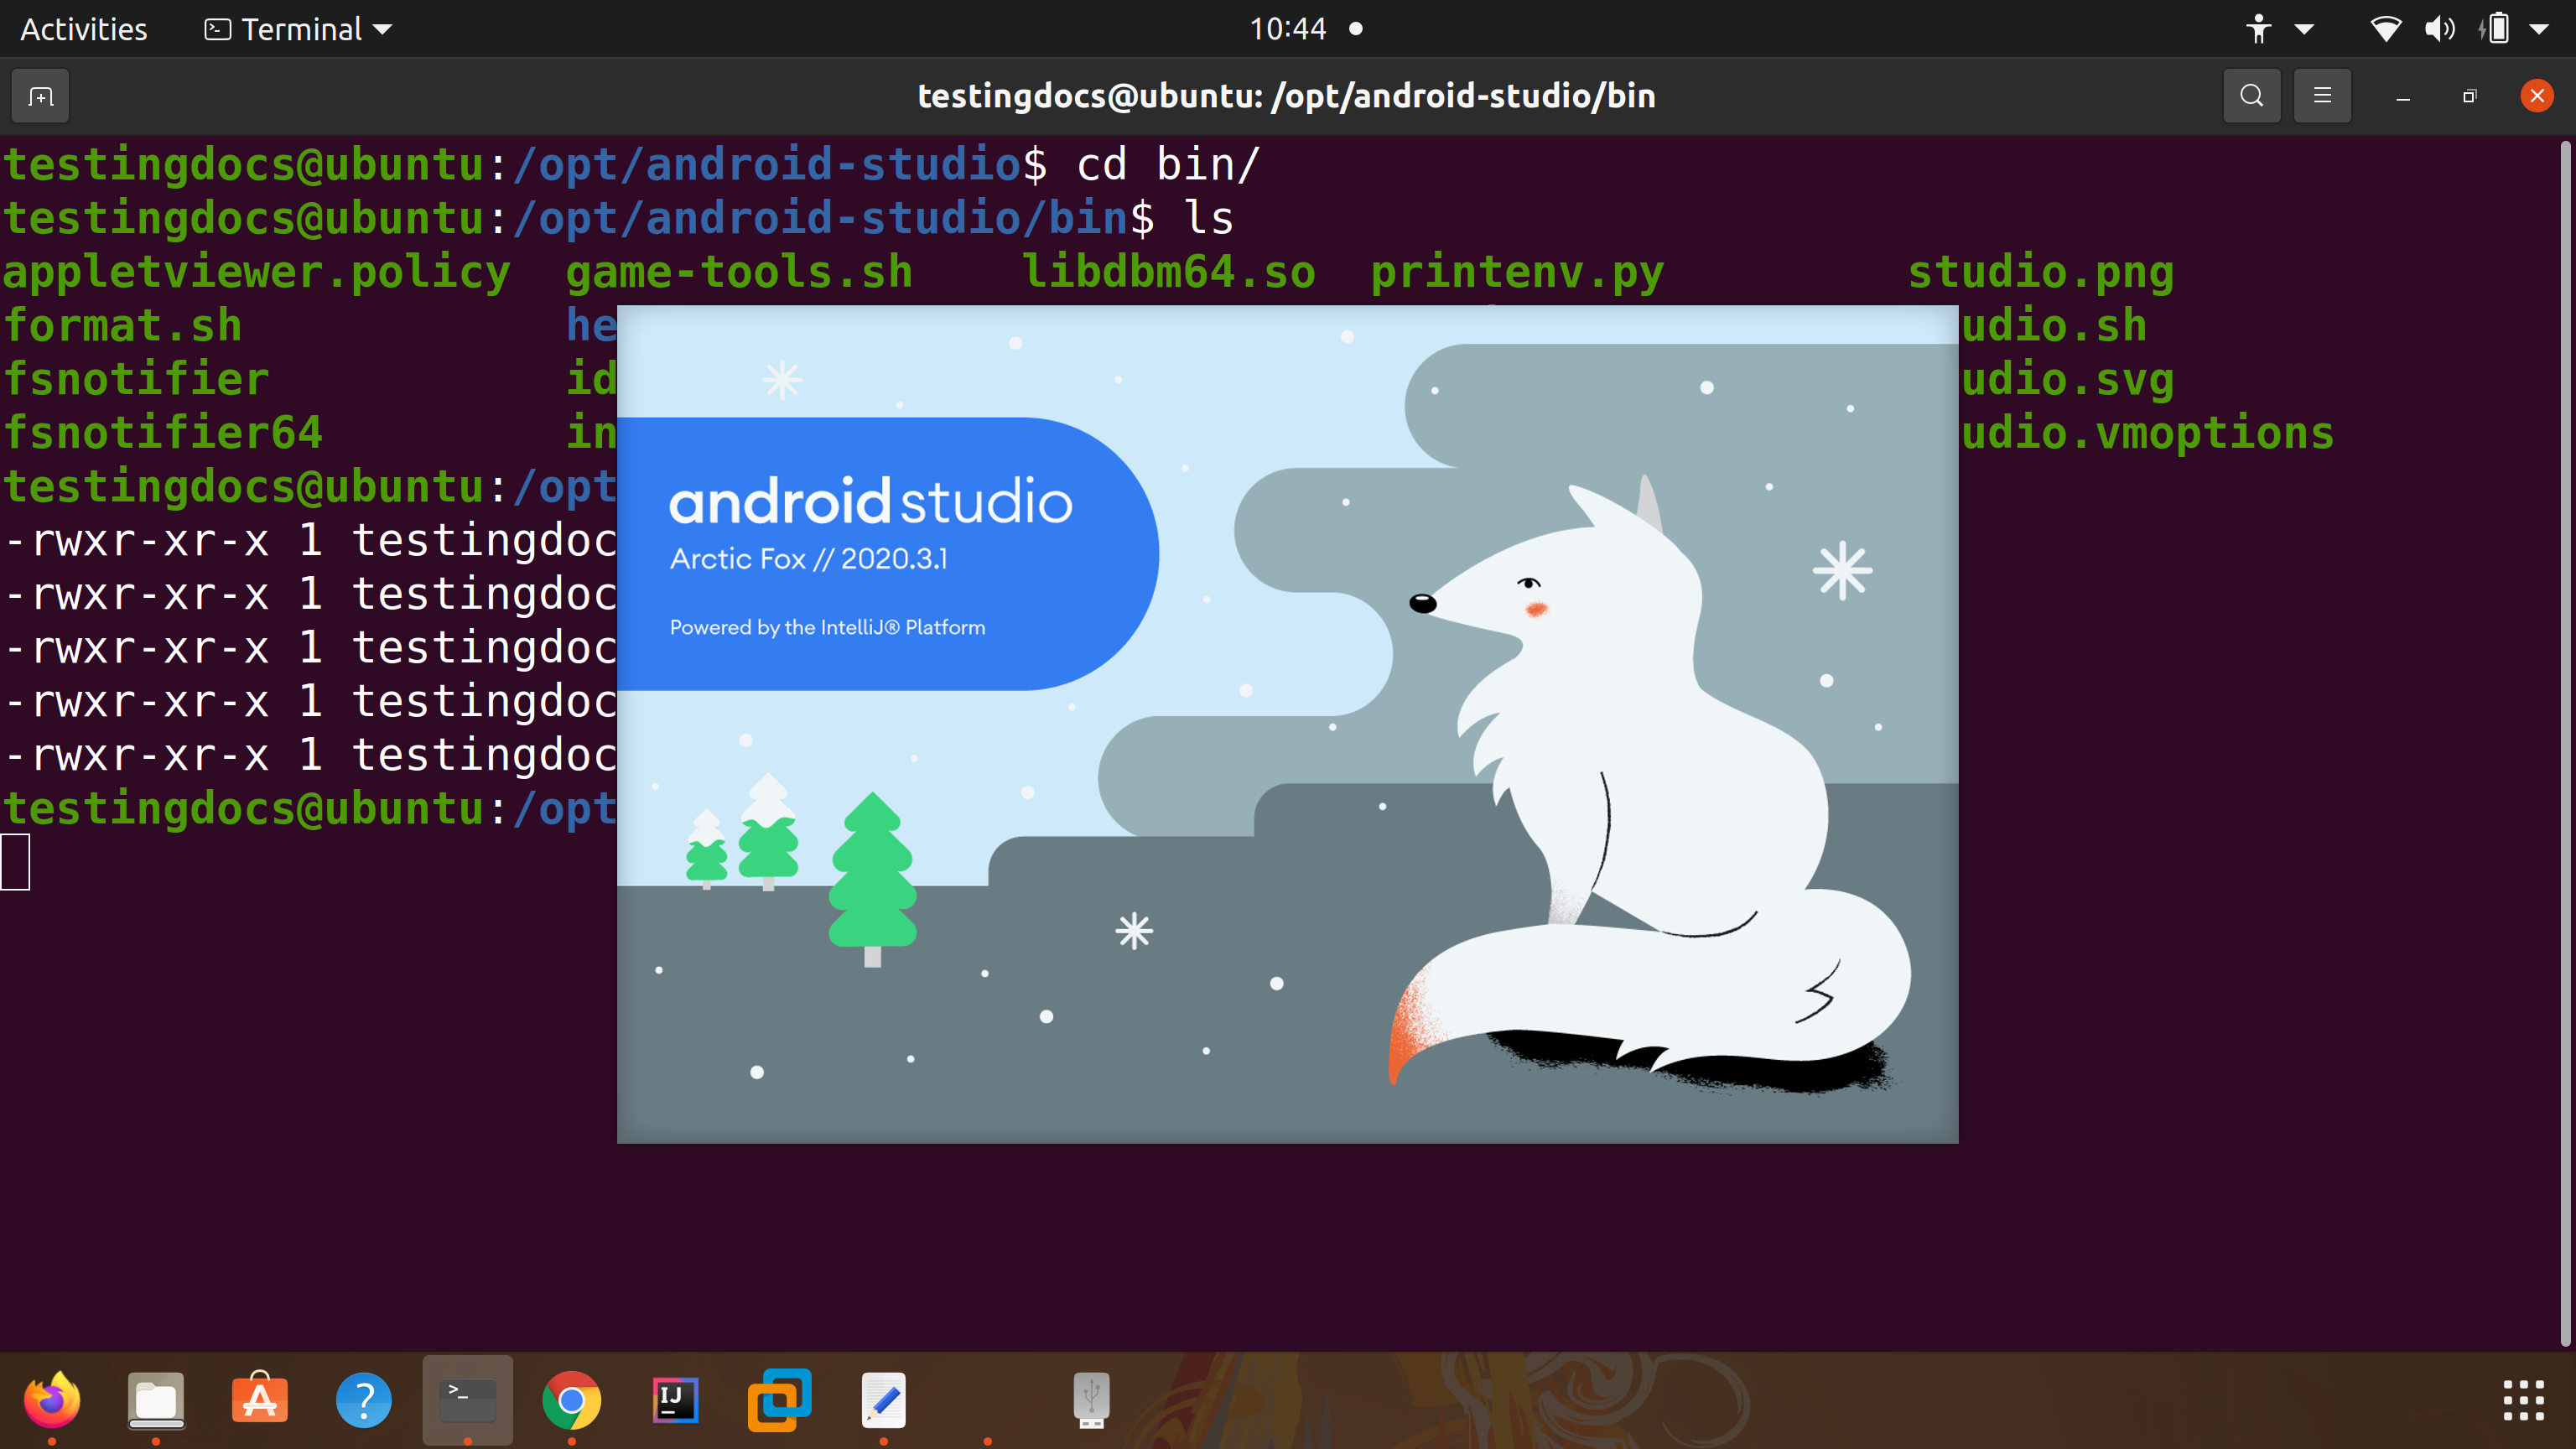
Welcome Screen
Click on the Next button.
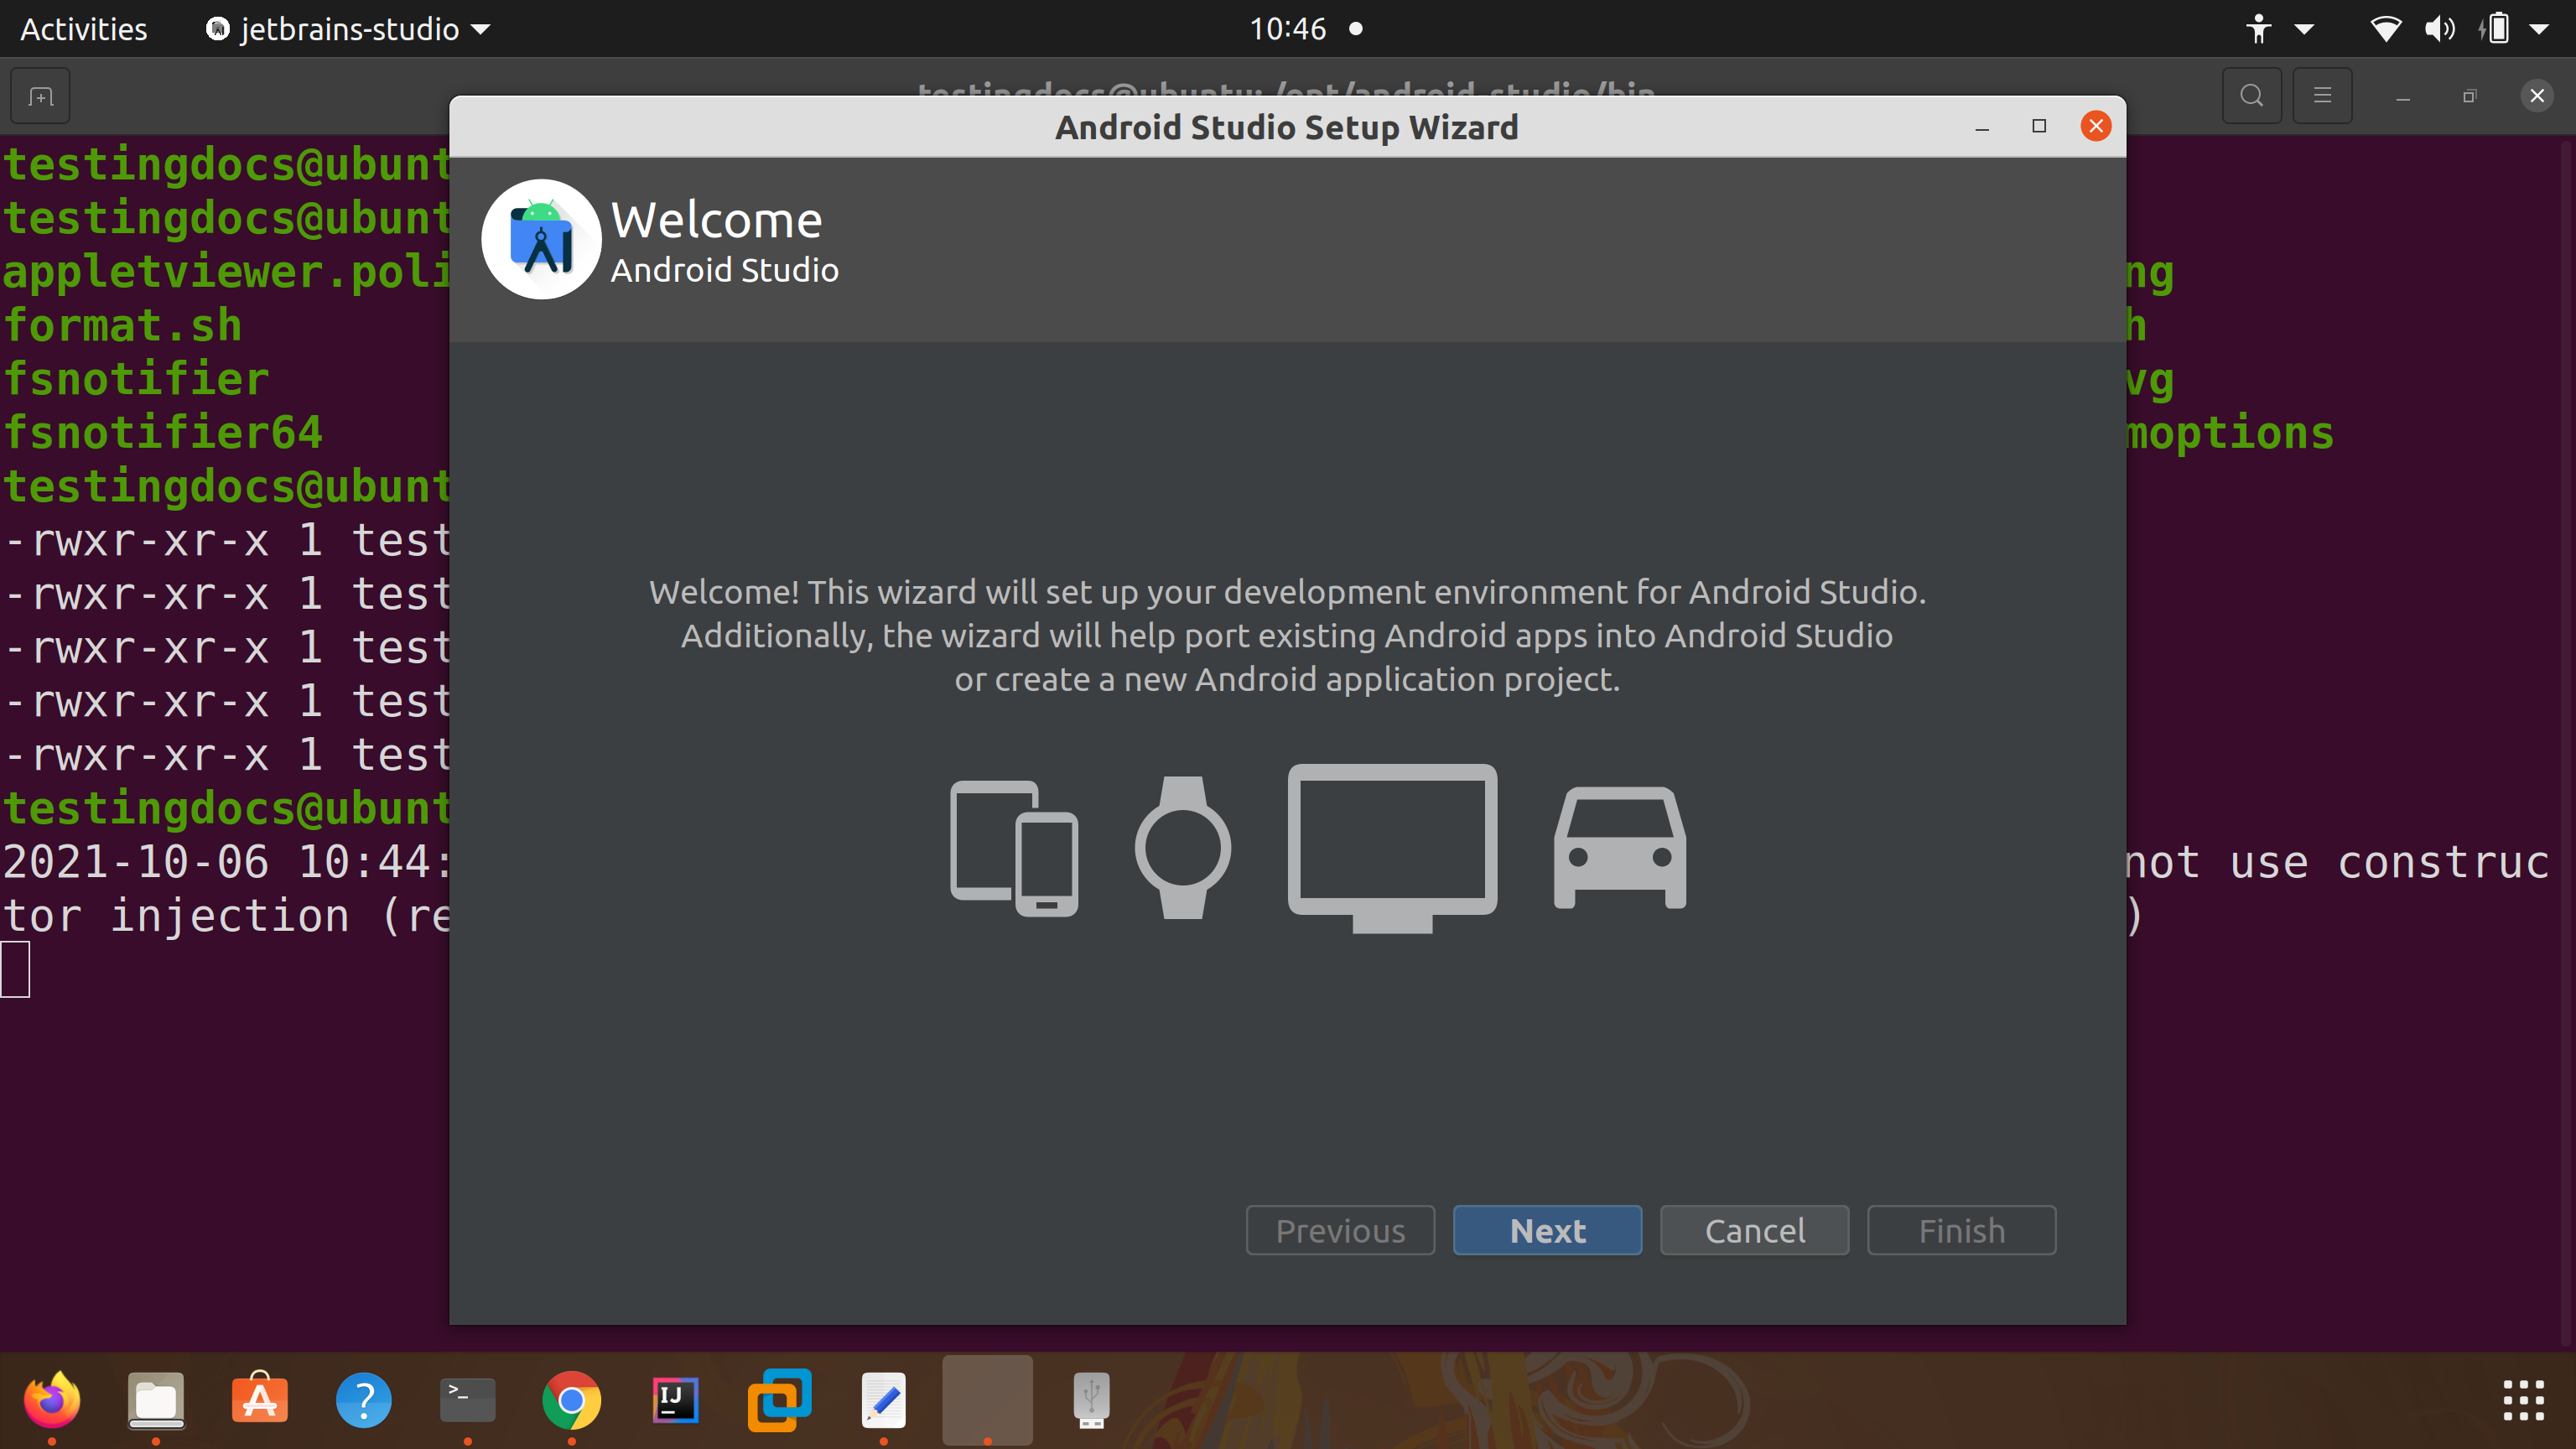
Data Sharing
We can allow Google to collect usage data for Android Studio. To allow click on the Send usage statistics to Google button.
To disallow click on the Don’t send button.
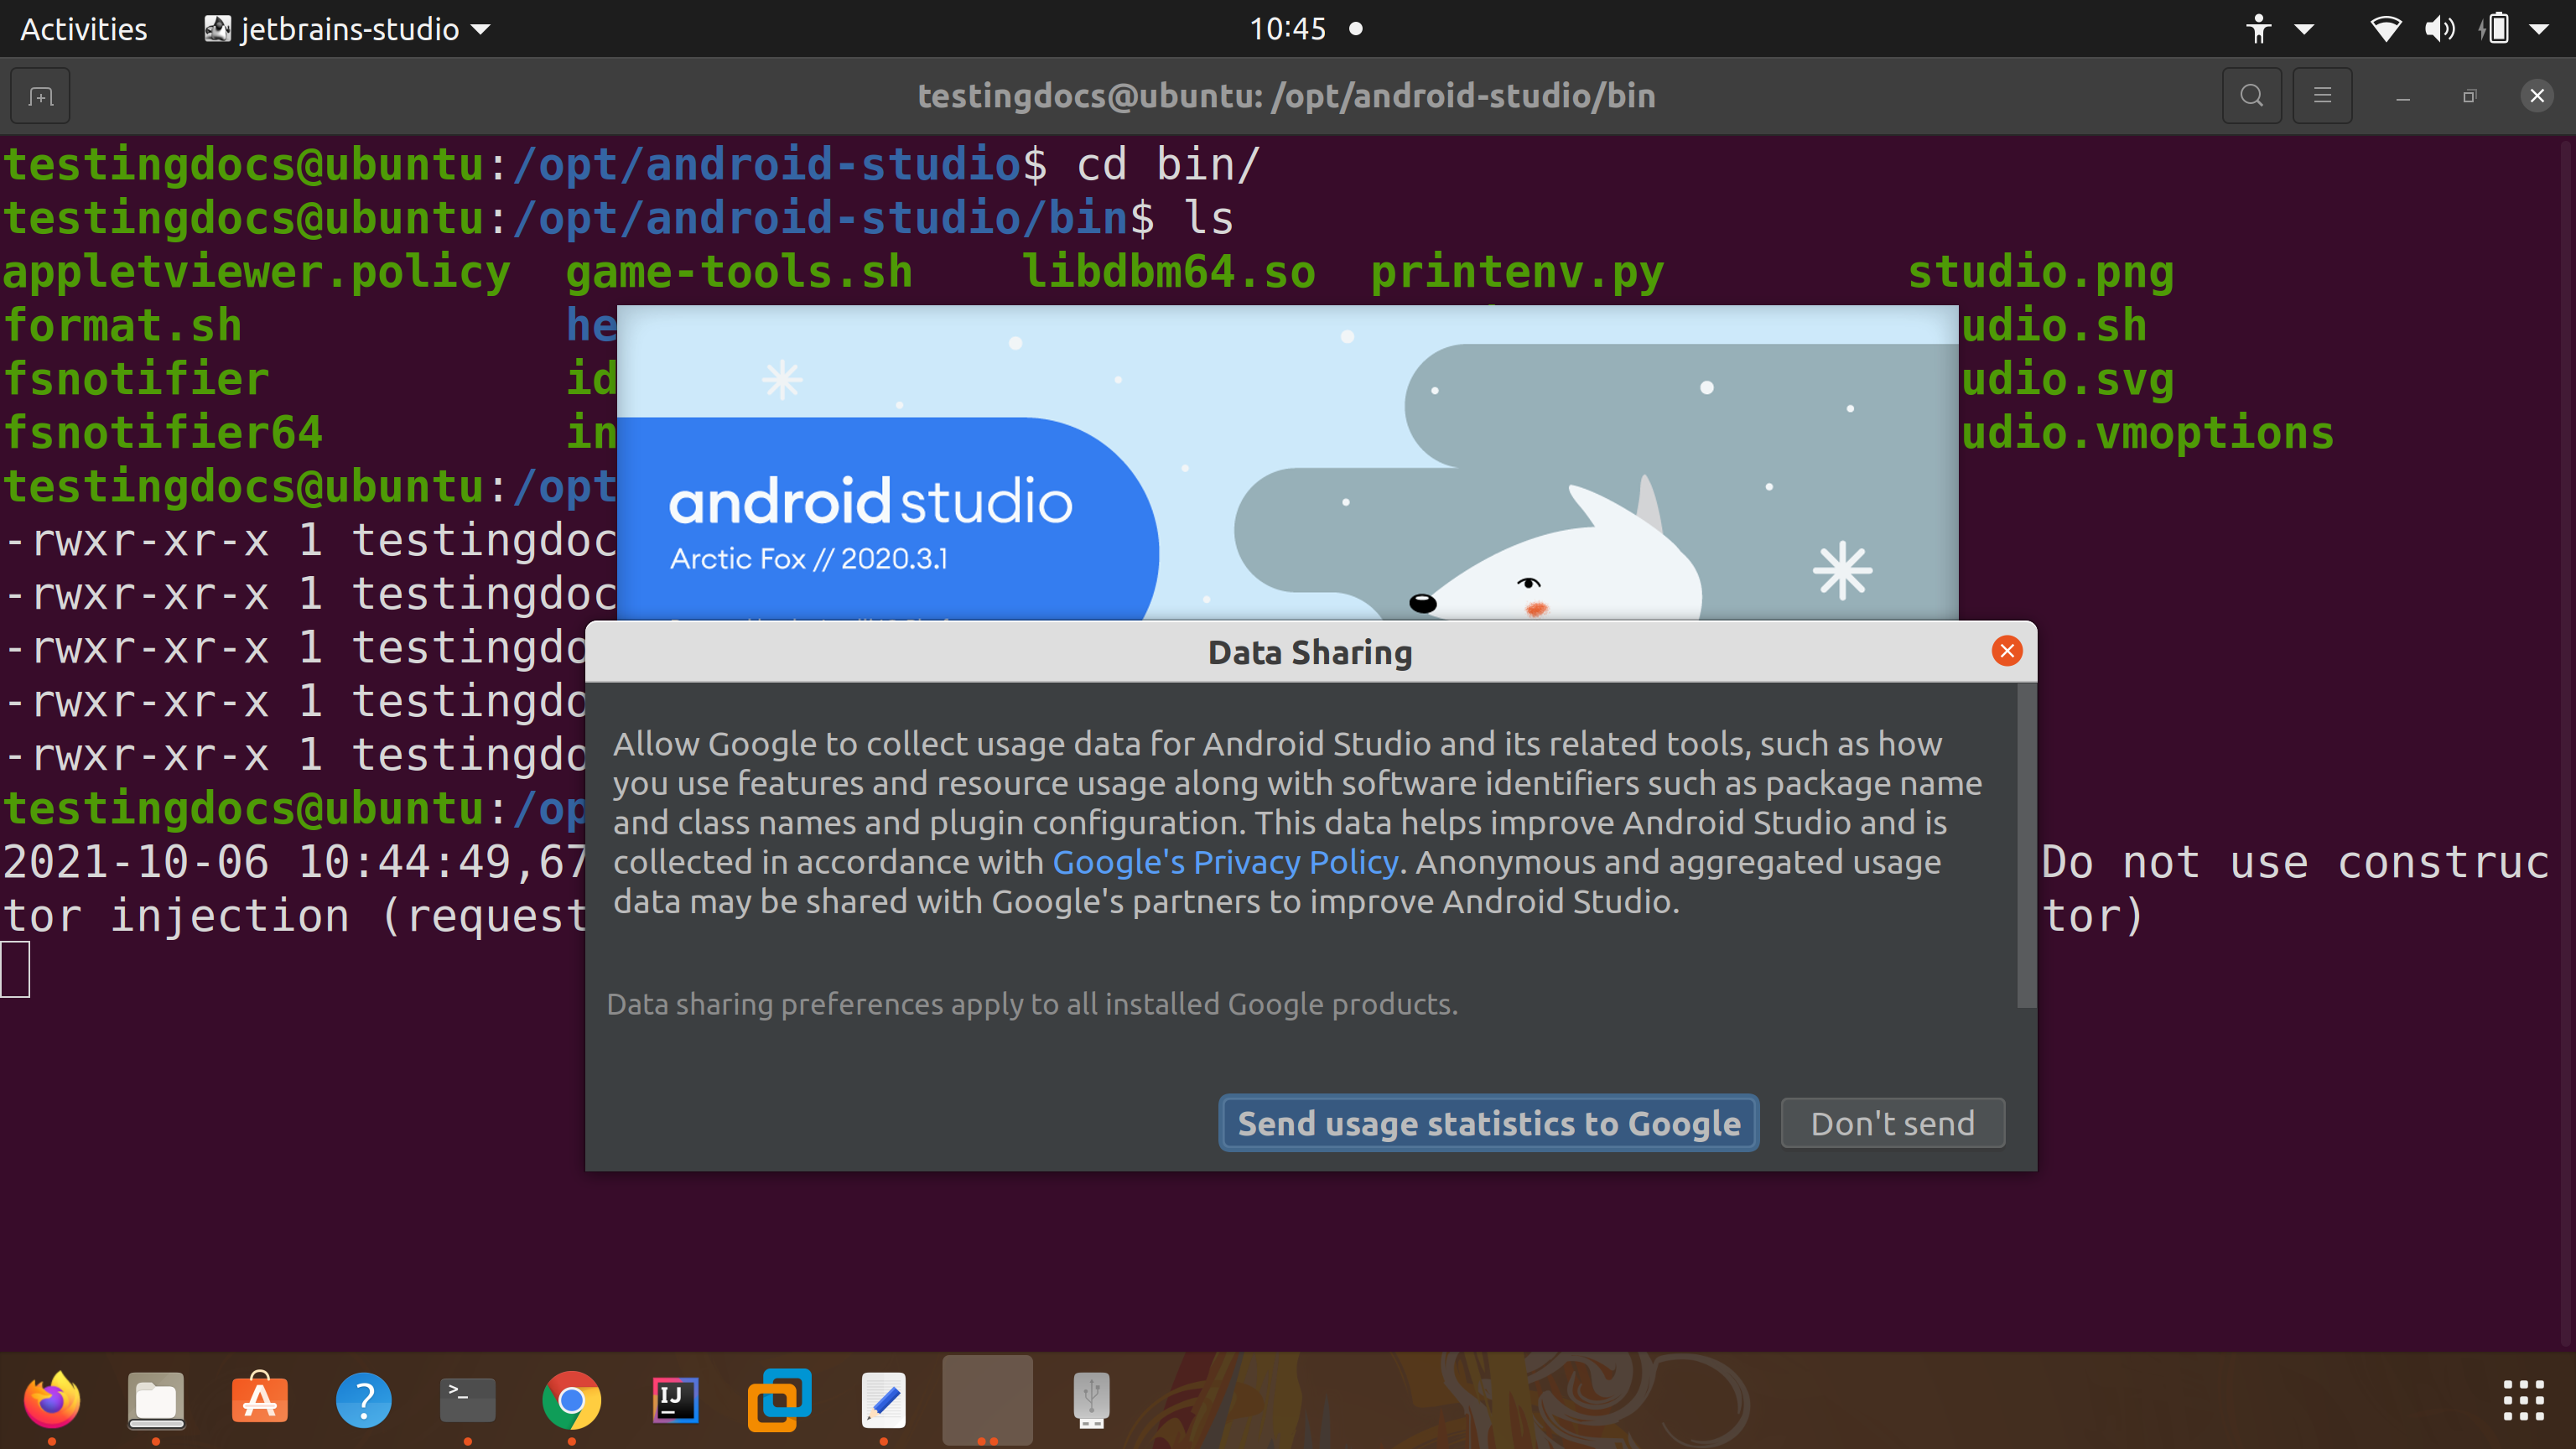
Install Type
Standard type install is the most common settings and options. To customize the install choose the components that needs to be installed. It really doesn’t matter which option you pick because we can later add any component on demand.
Click on the Next button.
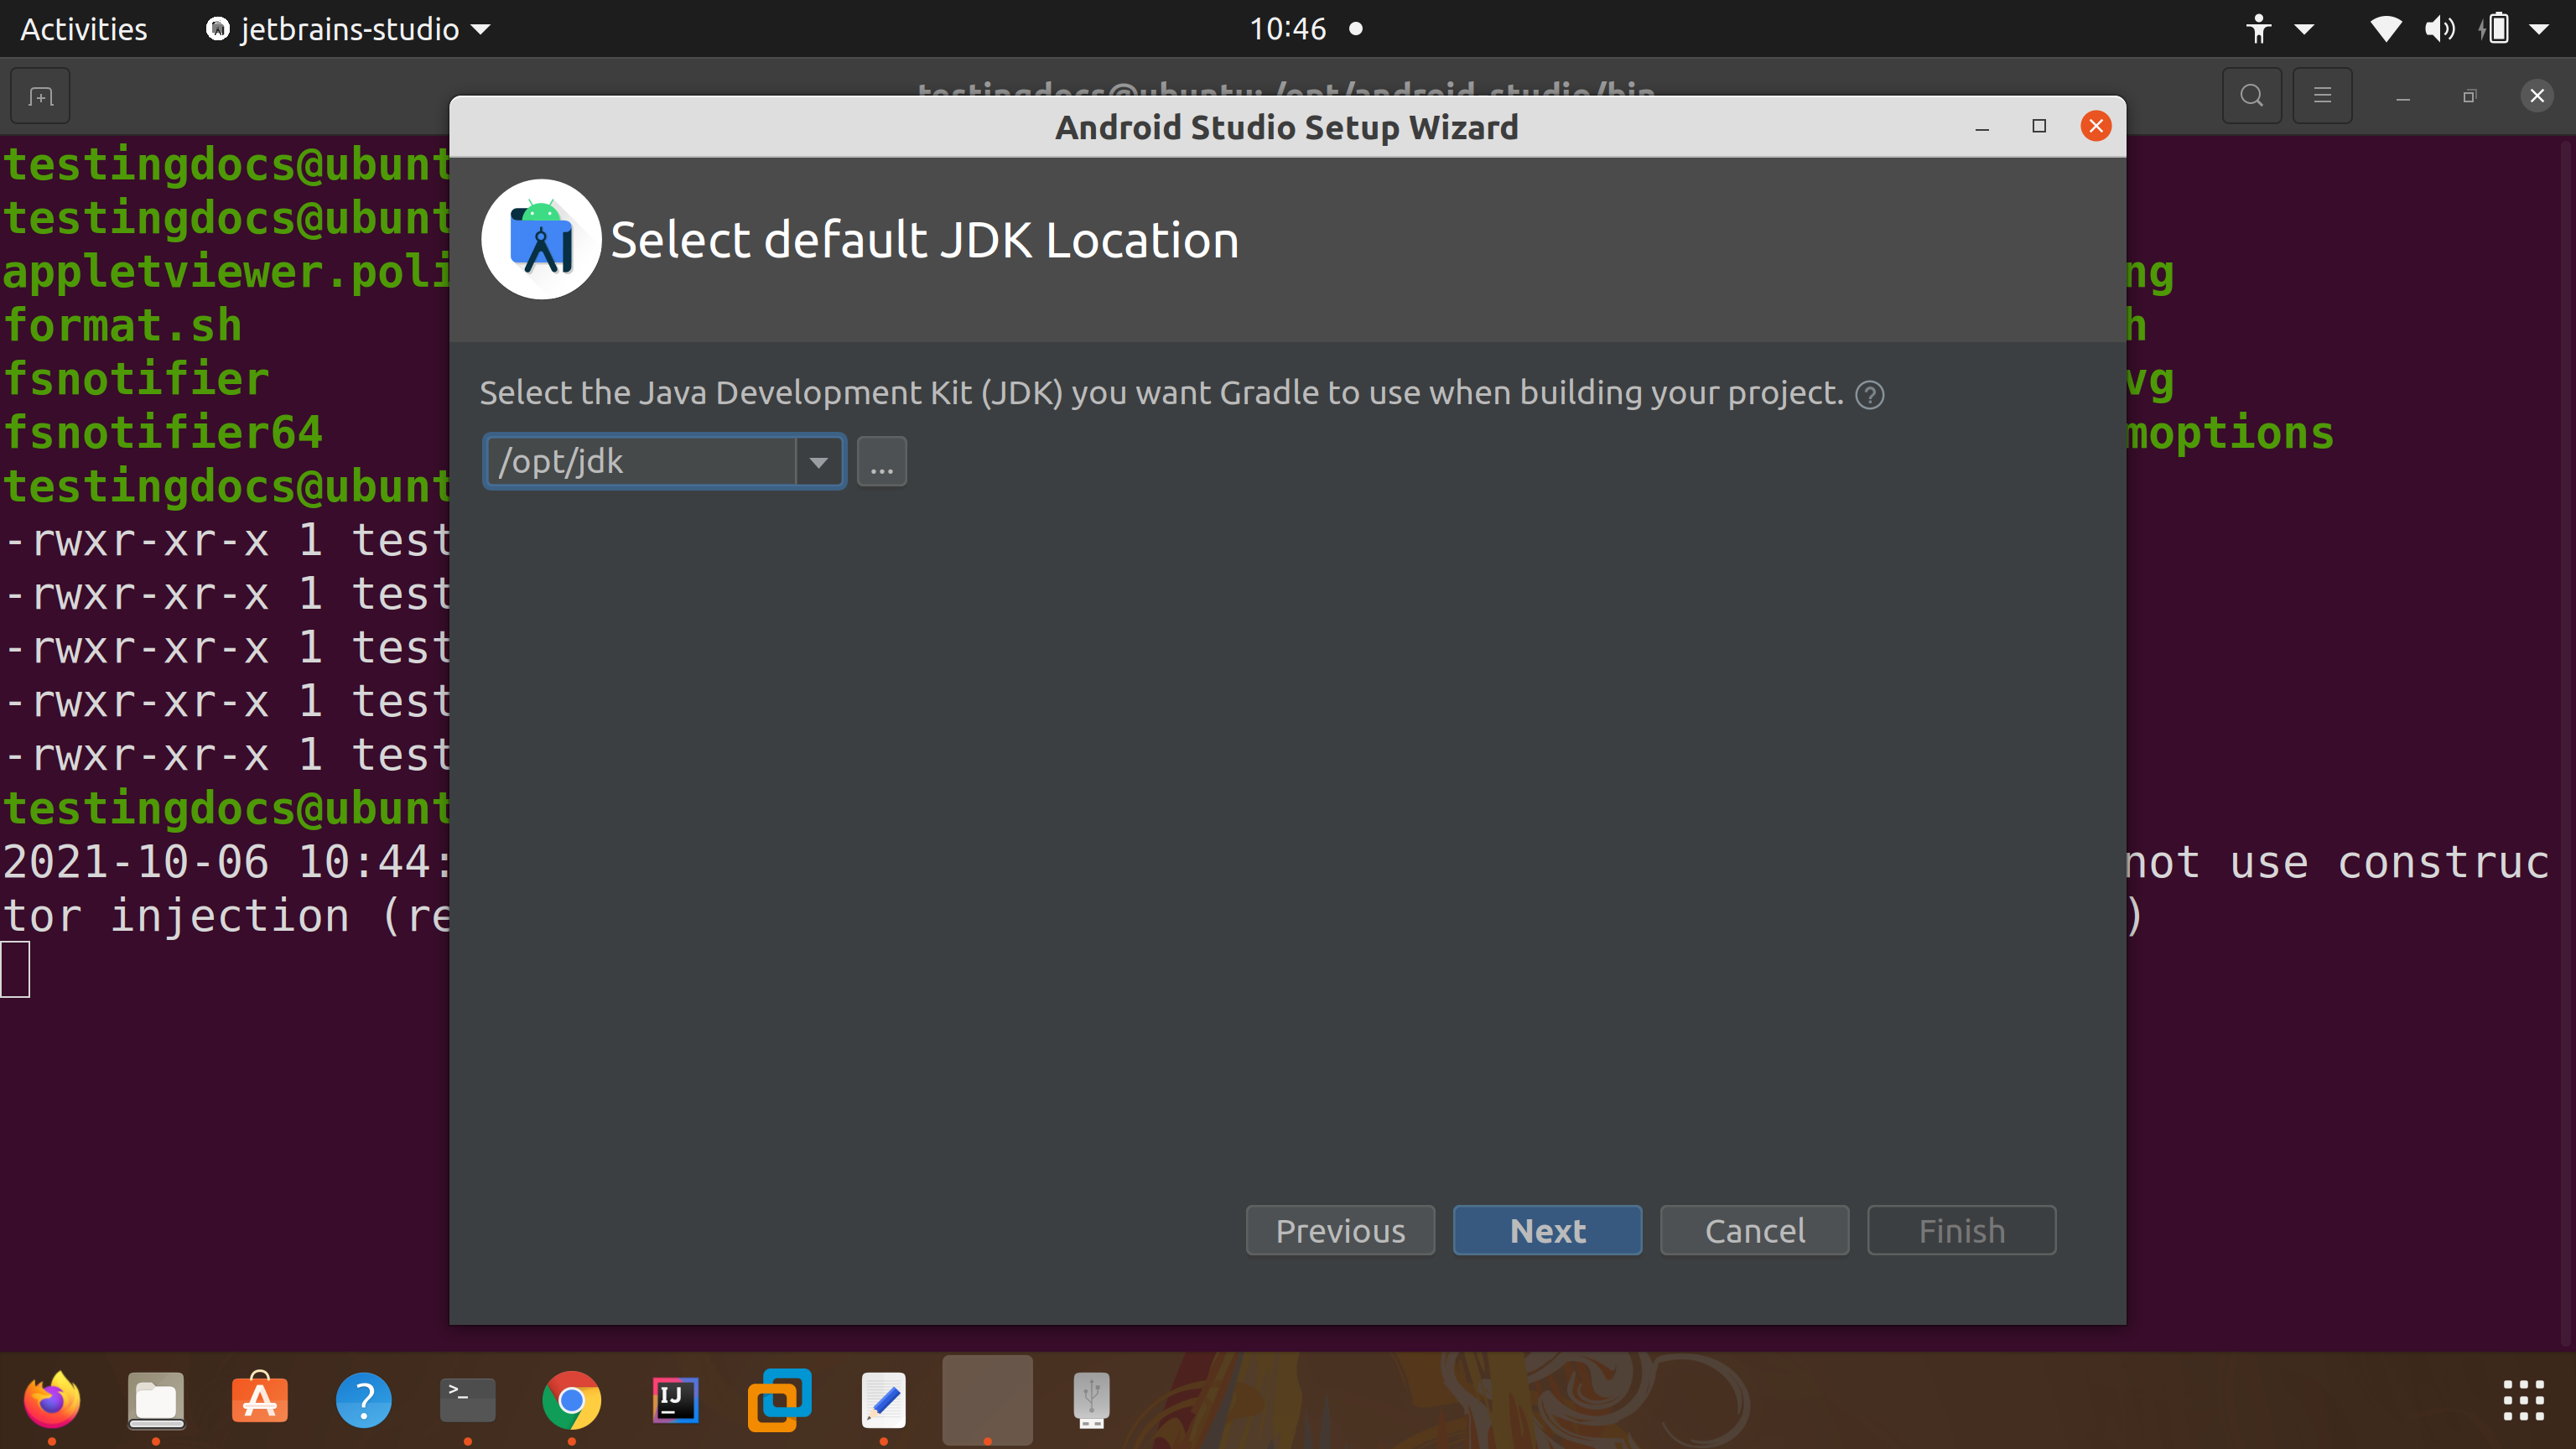
JDK
Select the JDK install that you want to use. When multiple JDKs are installed choose from the drop down list.
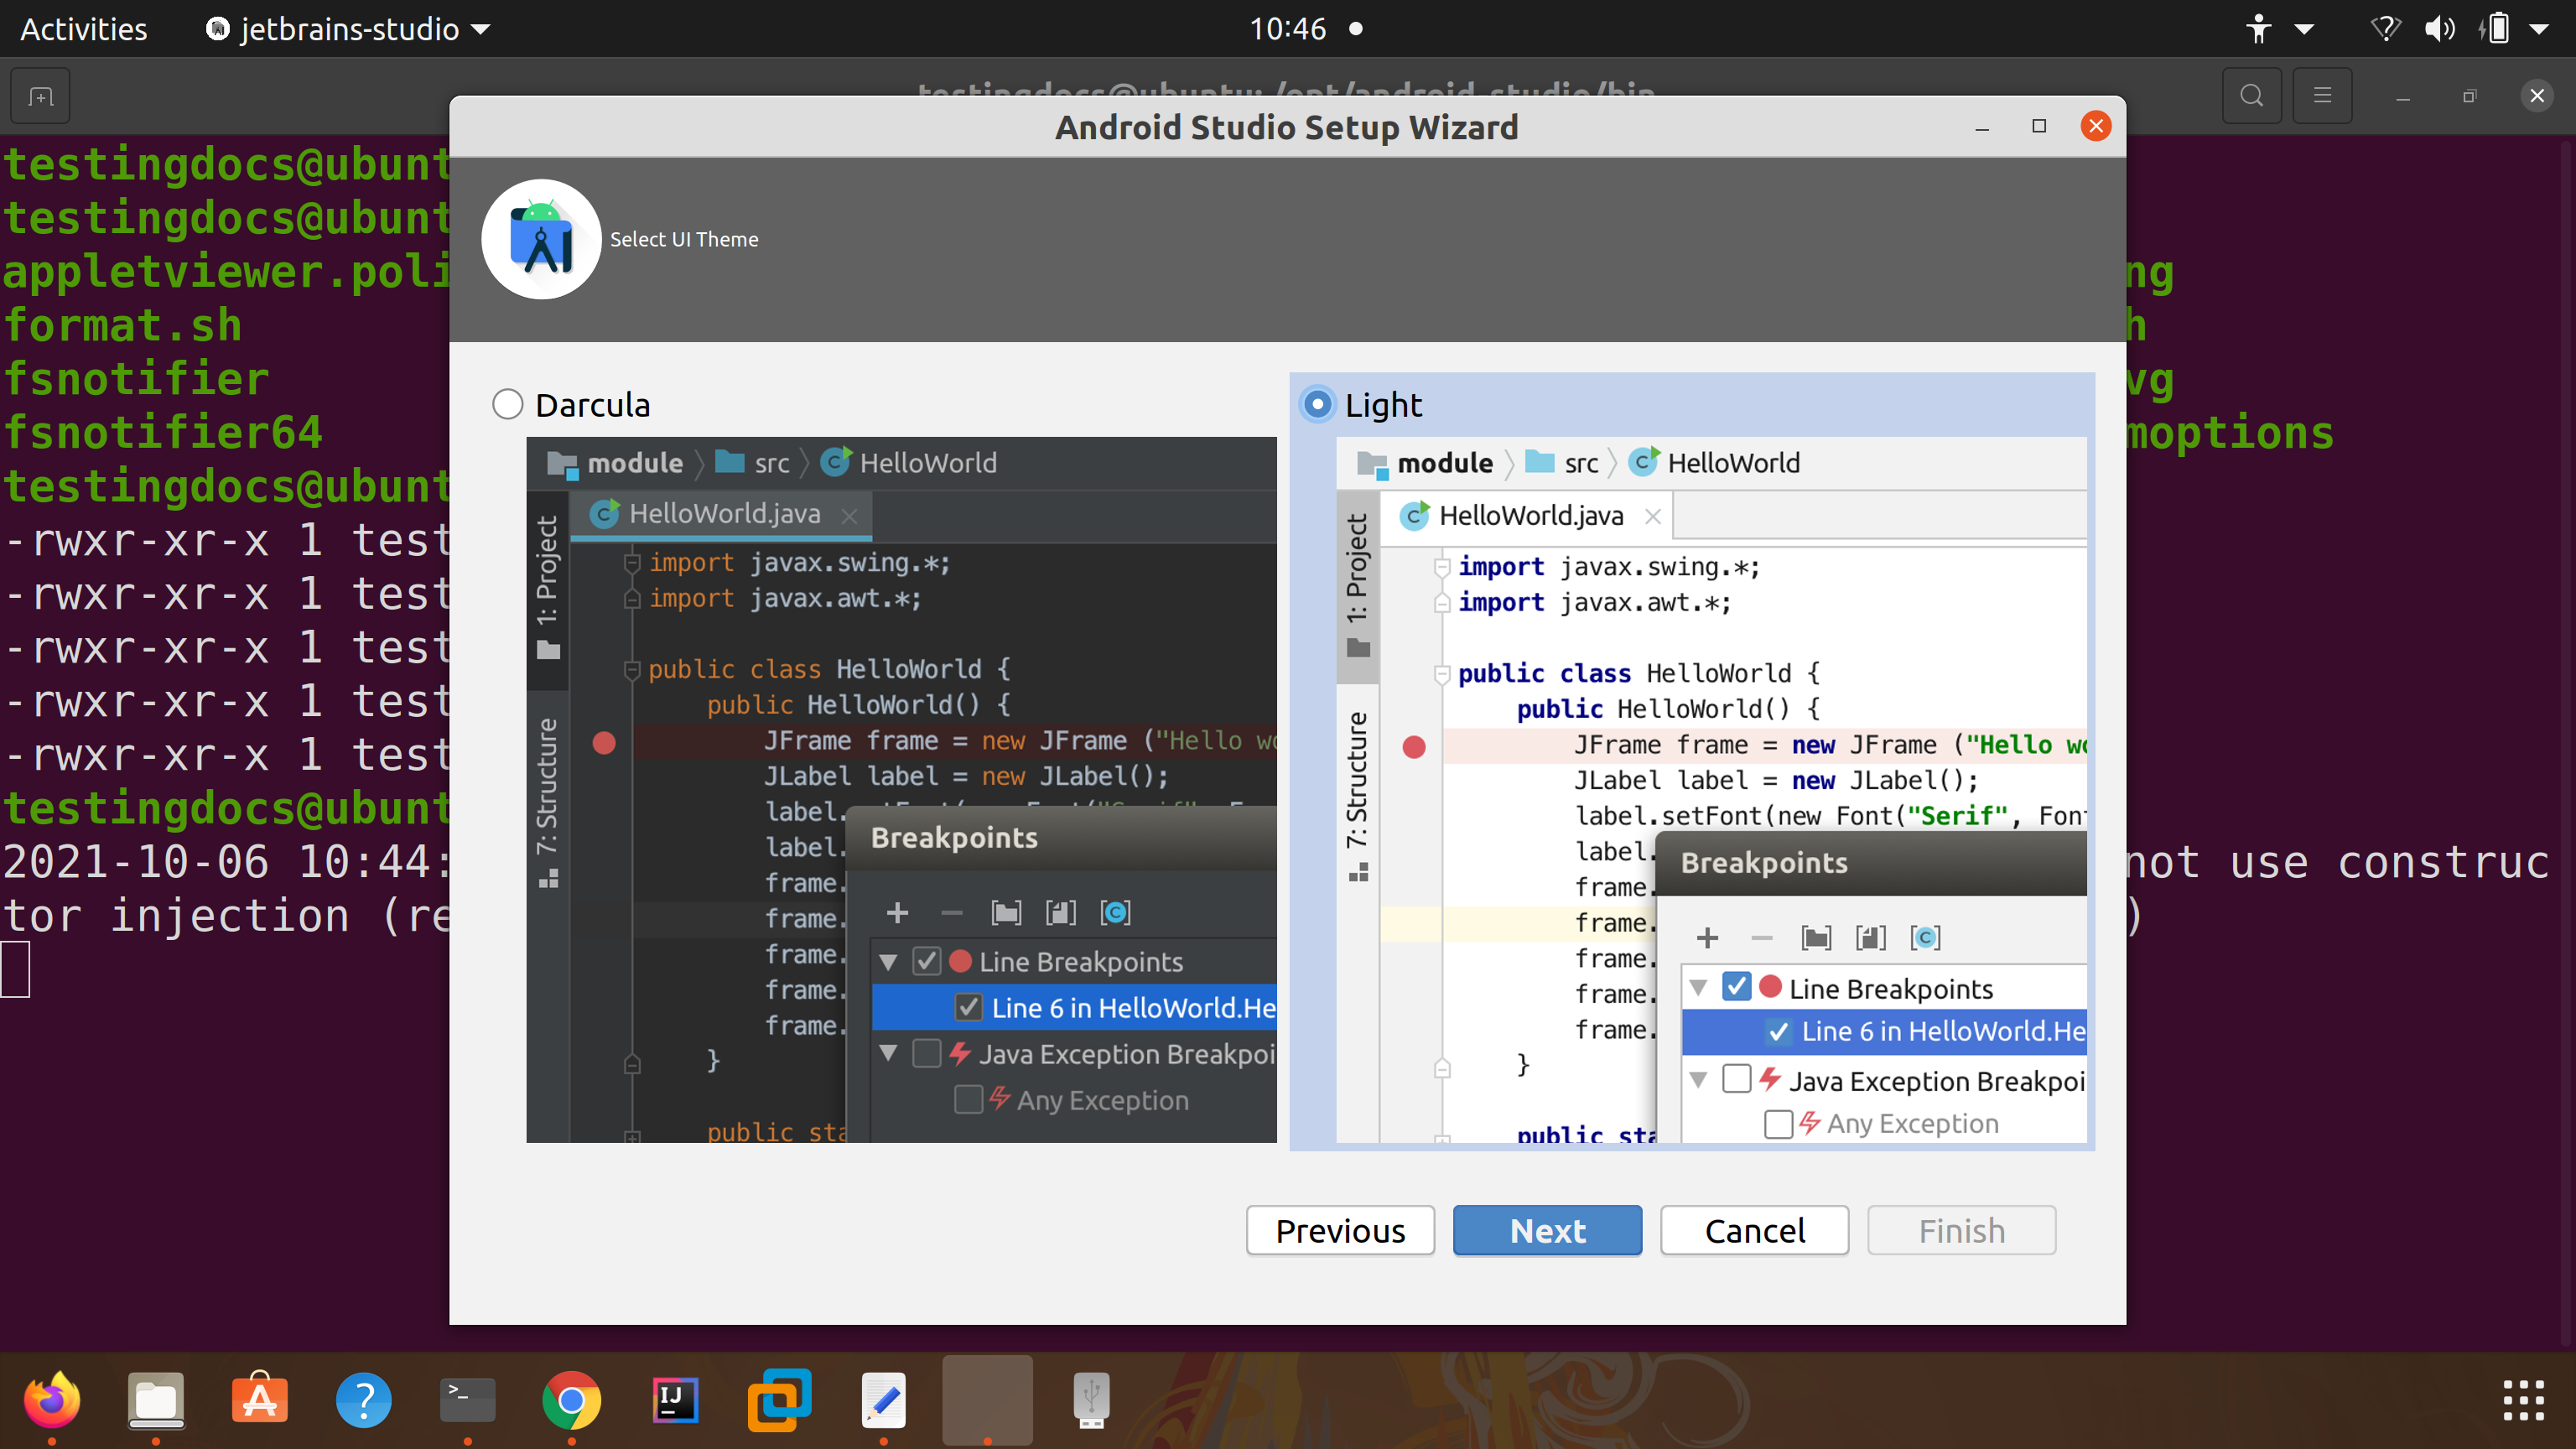
Theme
Choose the UI theme for the application. Dark or Light Theme.
Click on the Next button.
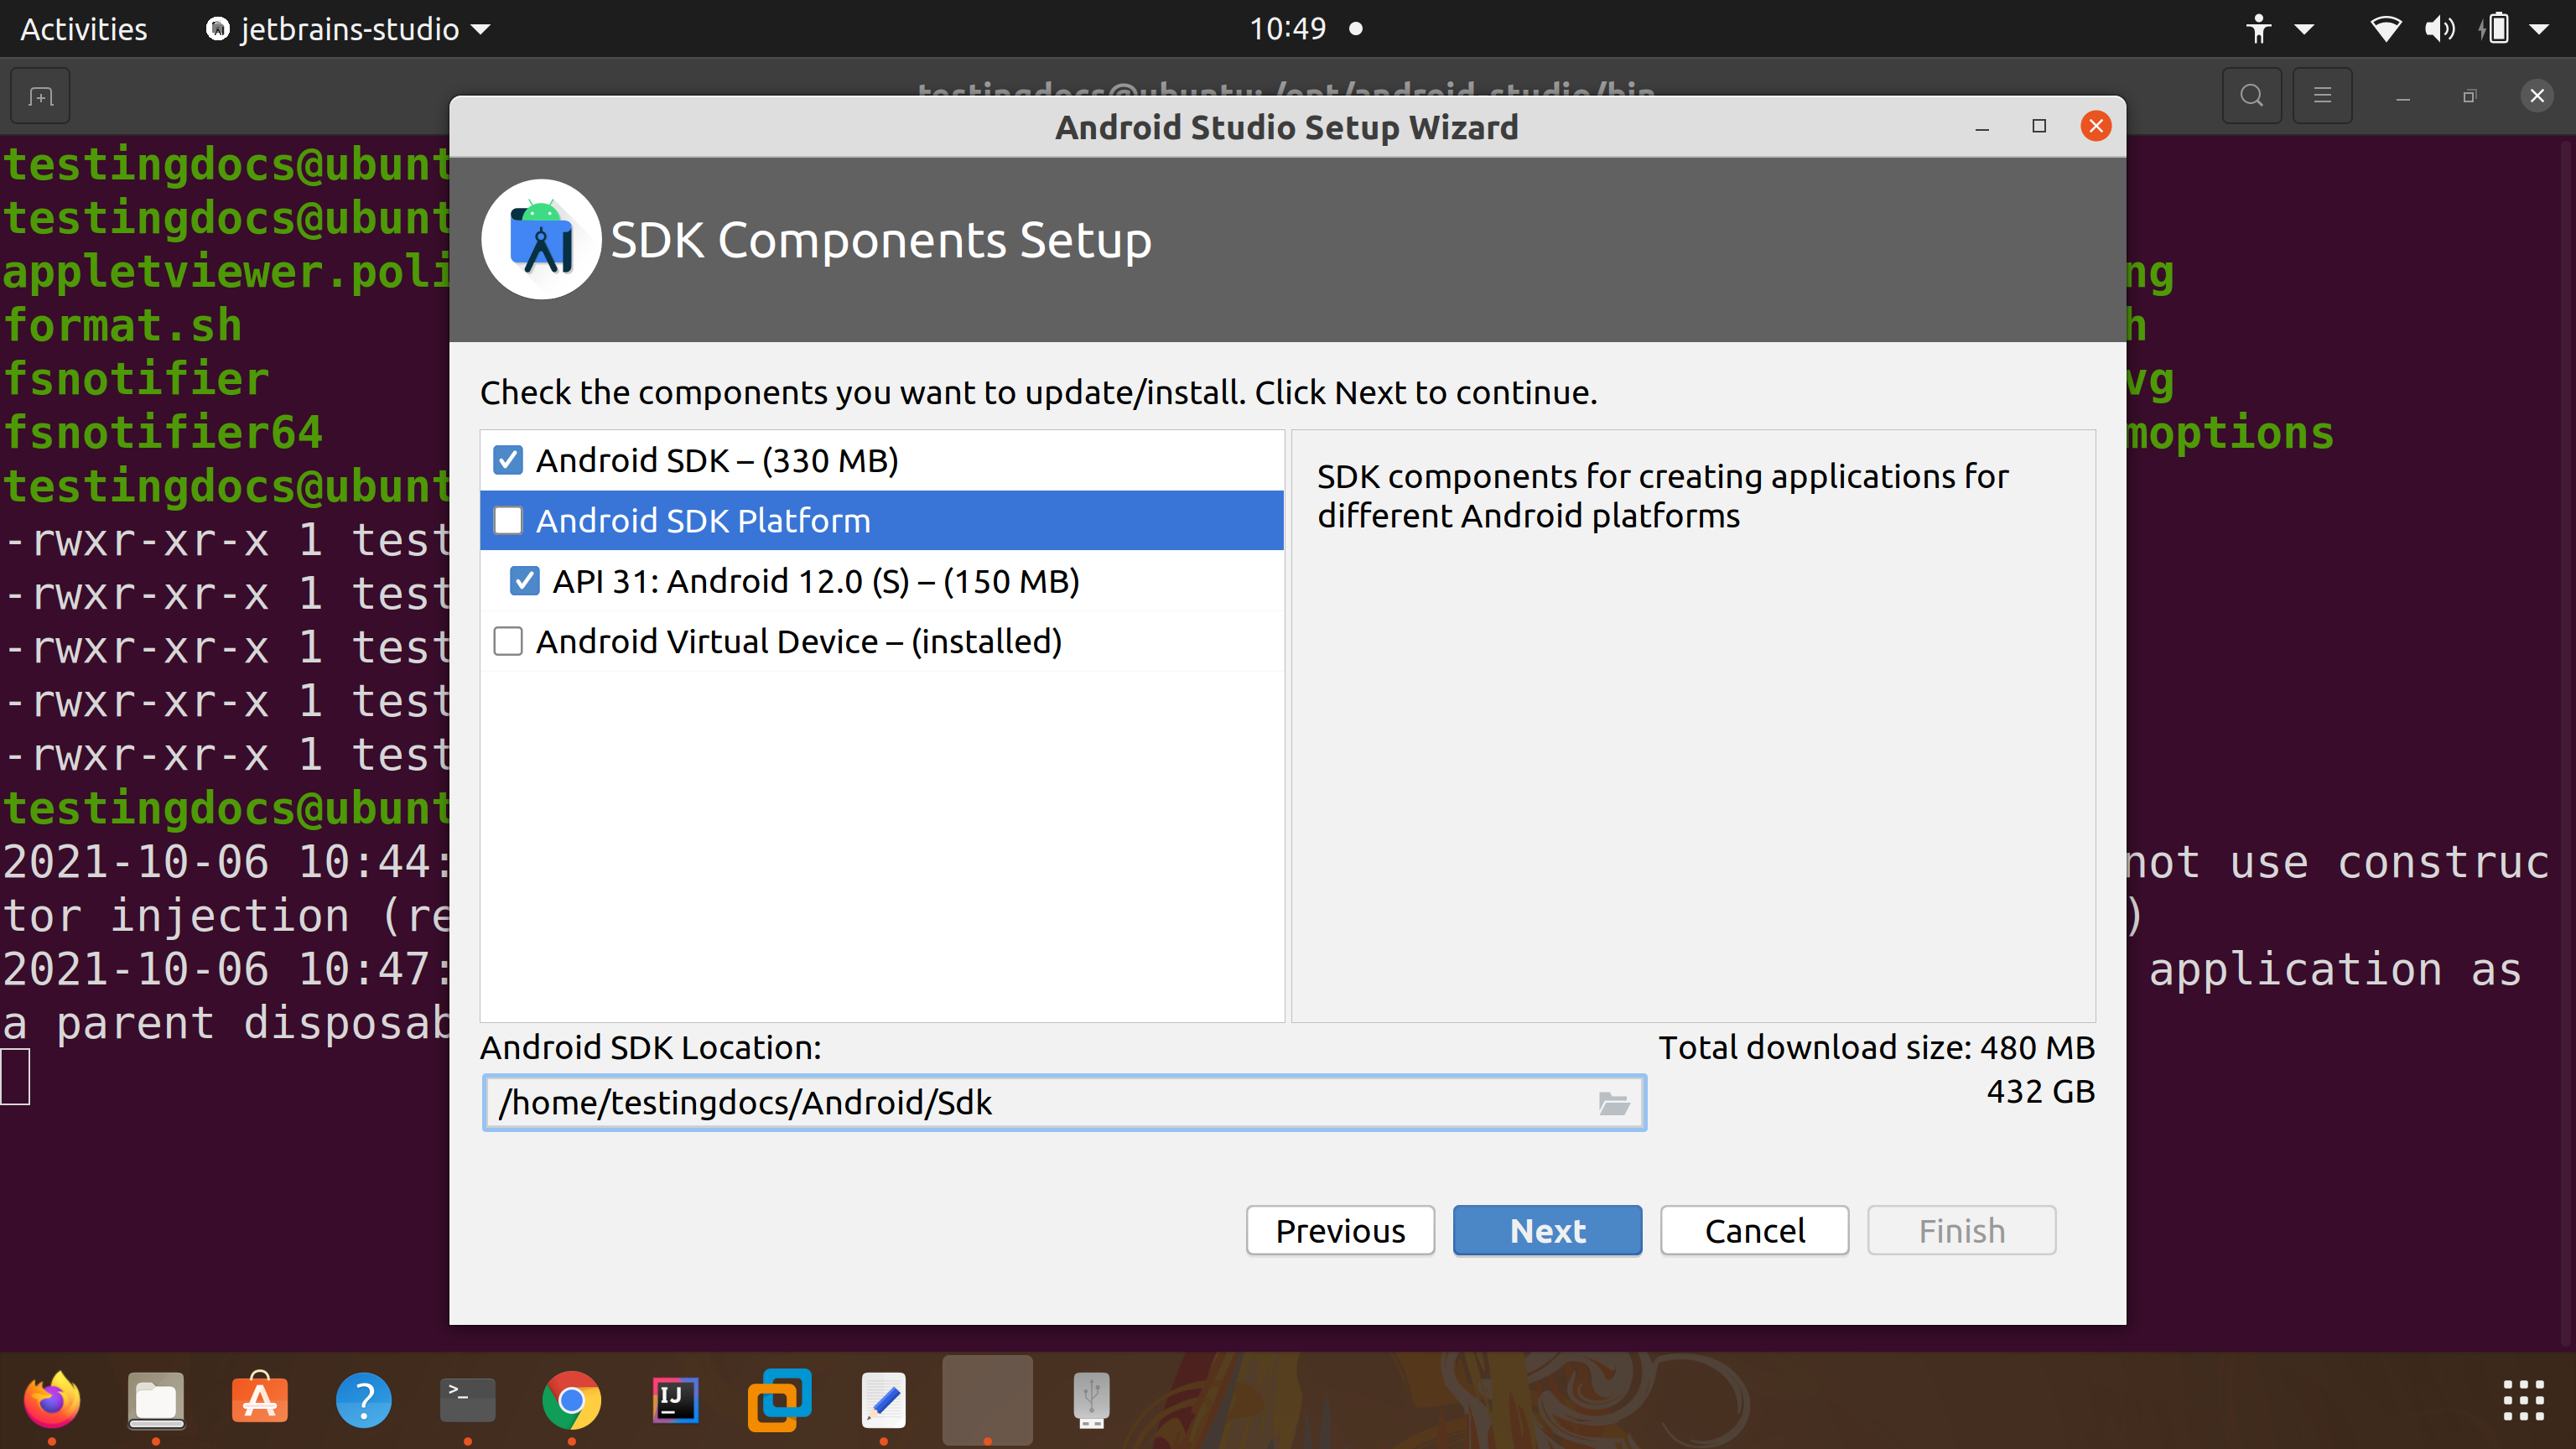
Download SDK Components
Download SDK platform, components and build tools.
Choose the components and Click on the Next button.
The setup wizard will download and install selected components.
- Android SDK Platform
- Android SDK Build Tools, etc
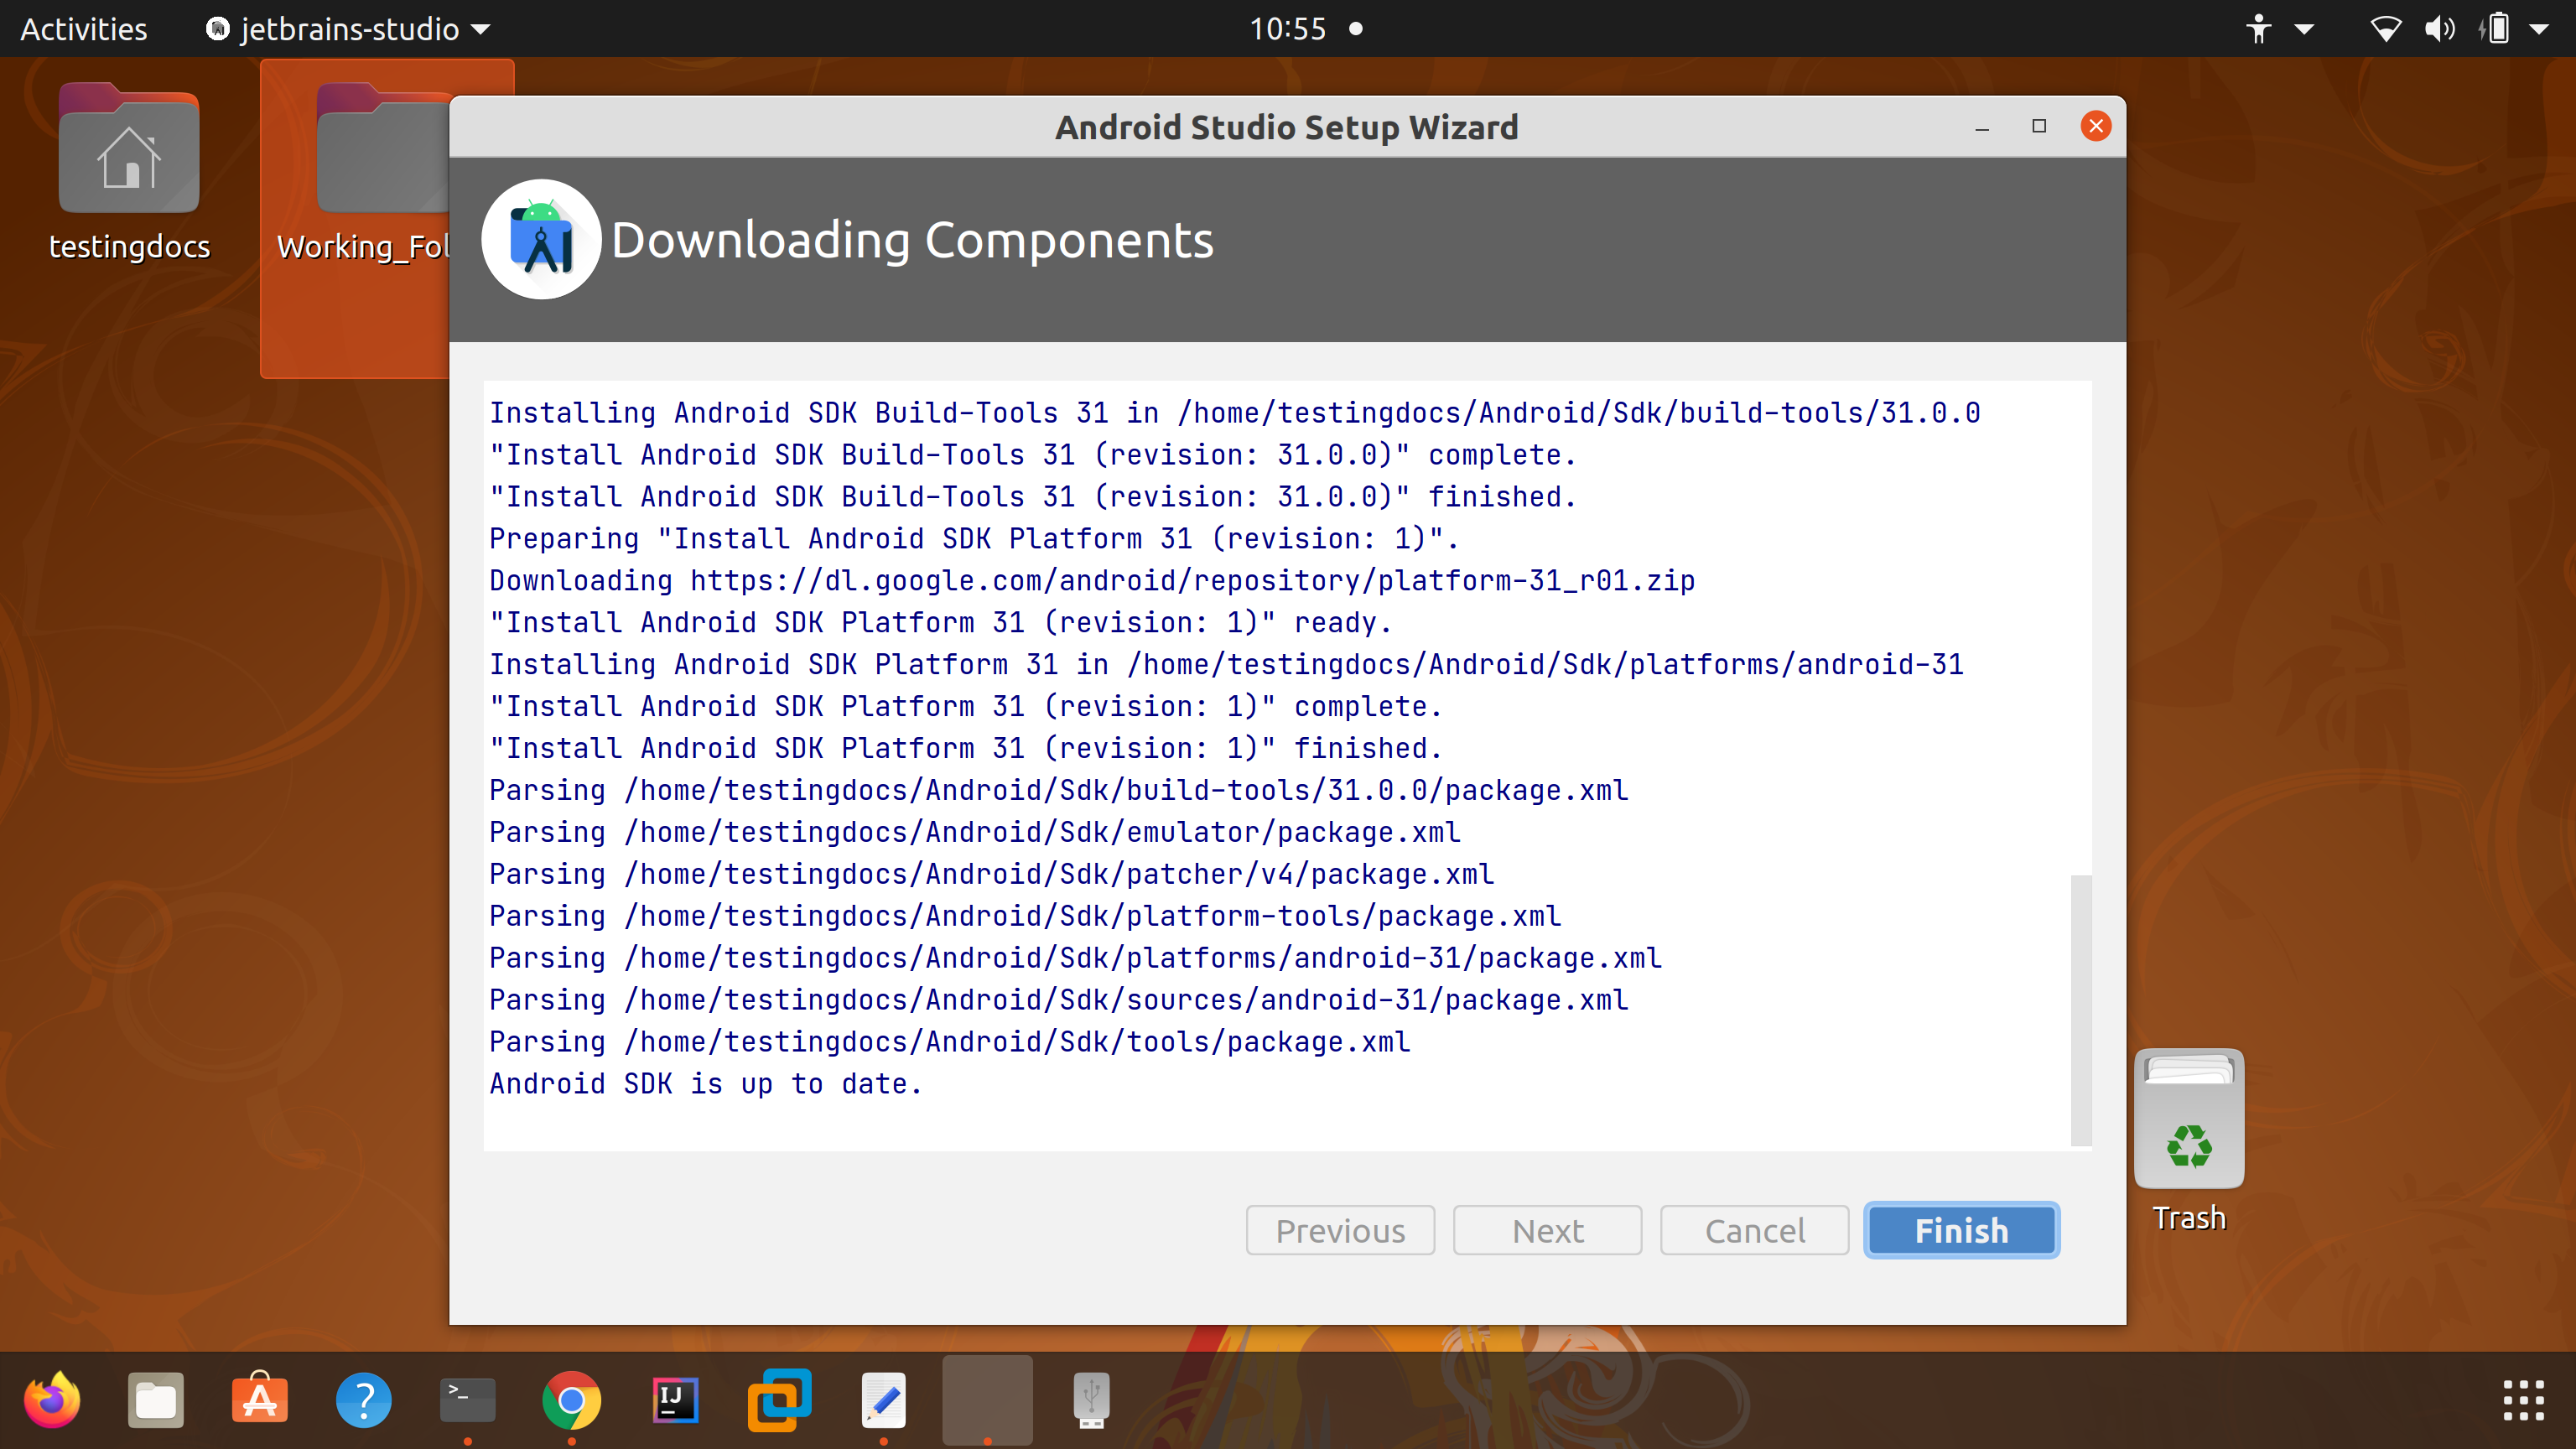
Once done, click on the Finish button.
This will launch the IDE Window. On this screen, we can create brand new Android Project. Open existing projects and Clone projects from Version Control systems like GitHub.
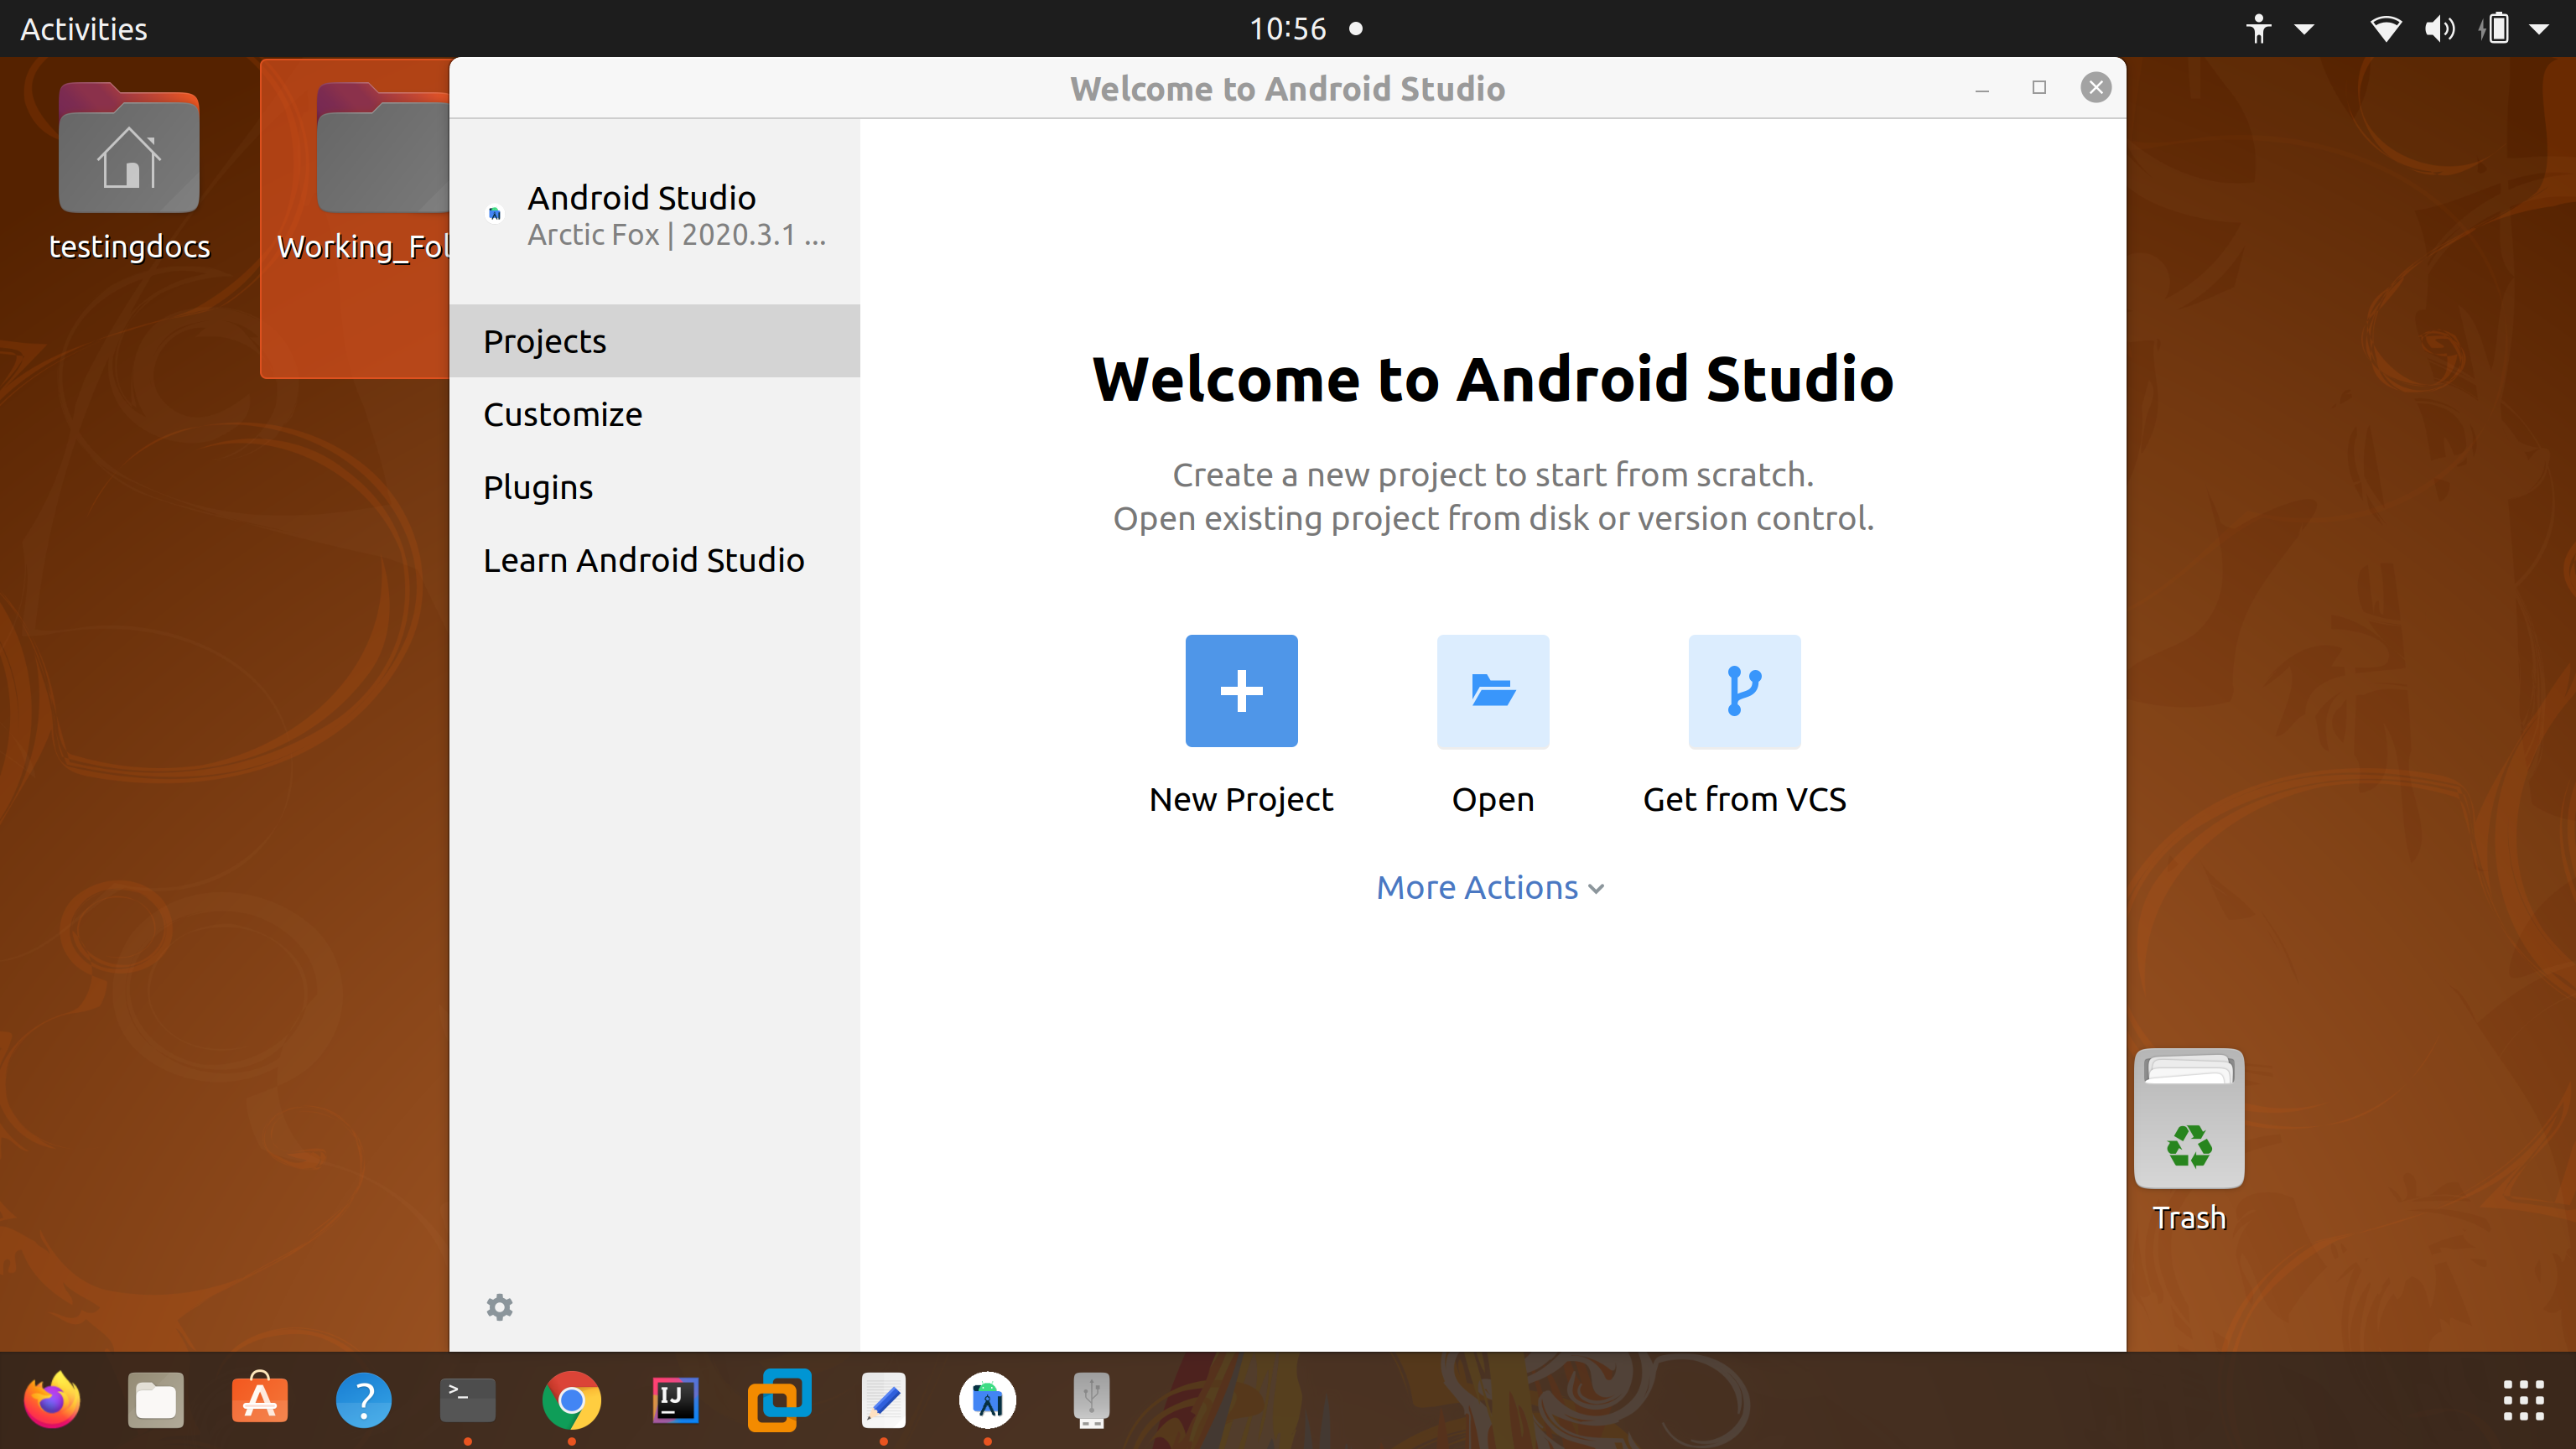
That’s it. We are done with customization of Android development environment using the Setup Wizard.


