TestingDocs.com
Software Testing website
  • Automation
    • Selenium
    • JBehave Framework
  • Tutorials
    • MySQL Tutorials
    • Testlink
    • Maven
    • Git
  • IDEs
    • IntelliJ IDEA
    • Eclipse
  • Flowcharts
    • Flowgorithm
    • Raptor
  • About

Java Tutorials

Export a Jar file in Eclipse

Eclipse Tutorials

Overview

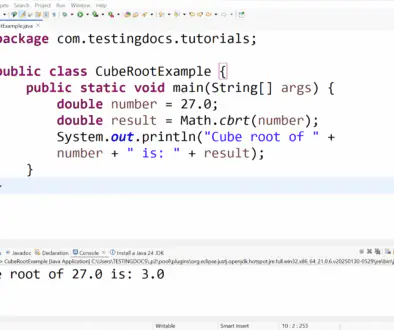
In this tutorial, we will learn the steps to create and export a jar file in eclipse IDE. Jar files allow you to package the code and distribute them so that other projects can reuse the code.

Steps to create a jar file:

Launch Eclipse.

Open the project that you want to export.

Right-click on the project in the Project Explorer and Choose Export…

Select Java >> JAR file


Click on the Next > button.

Give a name to the jar file and choose the resources that you want in the jar file.

Click on the Next > button.


jar file


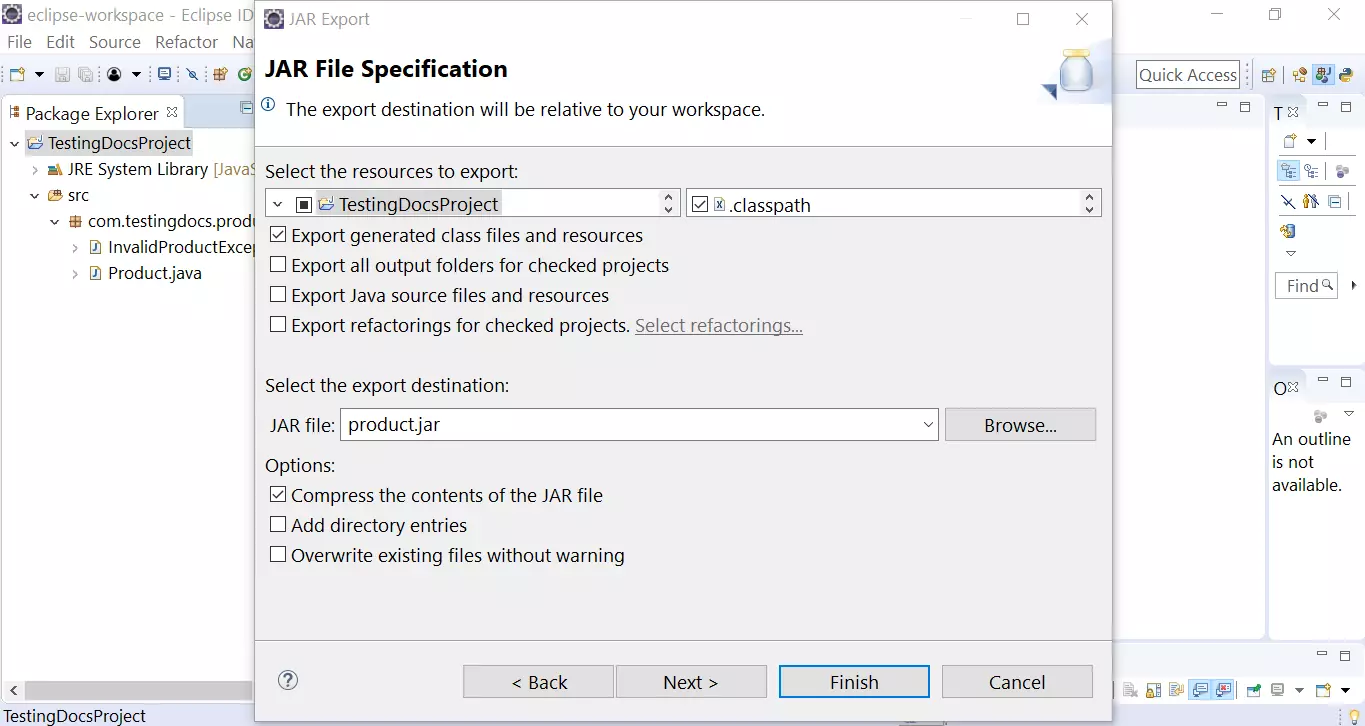
In the next screen, you can specify the jar packaging options. Click on the Next > button.

Jar File Manifest

In the next screen you can generate the manifest file and seal the contents of the jar file.


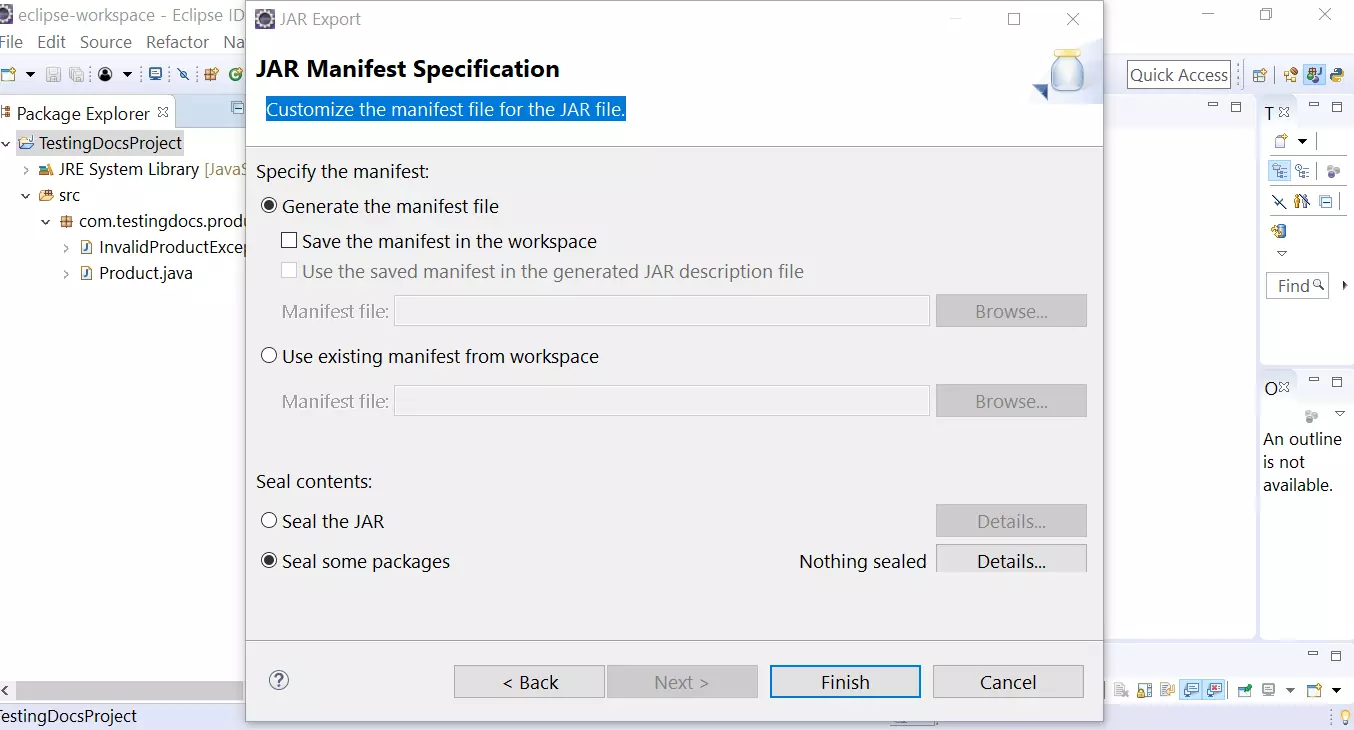
The manifest file is a file named  MANIFEST.MF. This contains the version and other details.

For a runnable jar, this file contains the class name which has the entry point i.e the main method.

Click on the Finish button to create the jar file.

See the below link to know how to use this created jar file in another project.

How to use the jar file created in another project.


—

Java Tutorials

Java Tutorial on this website:

https://www.testingdocs.com/java-tutorial/

For more information on Java, visit the official website :

https://www.oracle.com/java/

Related Posts

Download Greenfoot Windows

Java Tutorials /

Download & Install Greenfoot on Windows

Java Tutorials /

Java Static Code Analysis

Java Tutorials /

Java Testing Tools

Java Tutorials /

Handle Multiple Exceptions in Java

Exceptions_In_Java

Java Tutorials /

Exceptions in Java Programs

‹ Java Programs Practice› Java Access Modifiers

Recent Posts

  • MS Access Data Types
  • Install RAPTOR Avalonia on CentOS
  • Download RAPTOR Avalonia Edition on Windows
  • npm doctor command
  • Build & Run CLion Project
  • Create New CLion C Project on Windows
  • Configure CLion Toolchains on Windows
  • Launch CLion IDE on Windows
  • Activate CLion IDE
  • CLion IDE for C/C++ Development

Back to Top

Links

  • Contact
  • Privacy Policy
  • Cookie Policy

www.TestingDocs.com

Go to mobile version