Getting started with Jenkins
Getting Started with Jenkins
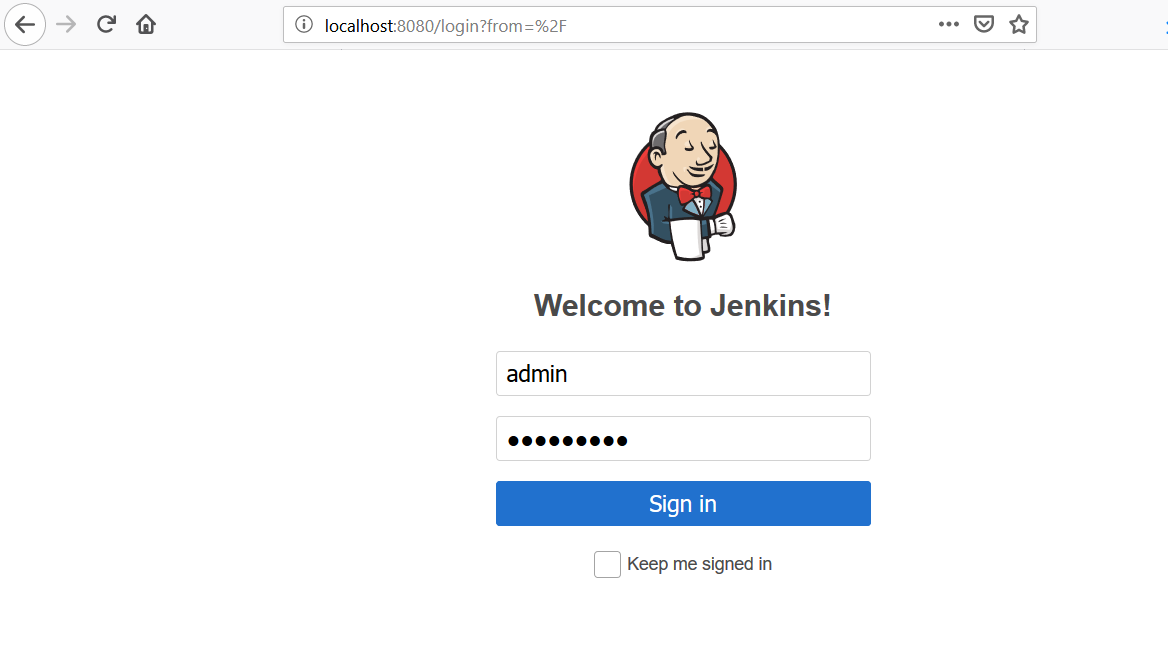
Jenkins is a self-contained Java-based program used for Continuous Integration. The tool supports Windows, Mac OS X, and Unix-like operating systems. Jenkins is mainly used as Continuous Integration and Continuous Delivery automation(CI/CD) server. It can also be used as a simple CI server or turned into a continuous delivery hub for any project. Jenkins is designed to automate the build, test, and deploy cycle or phases of any software project.
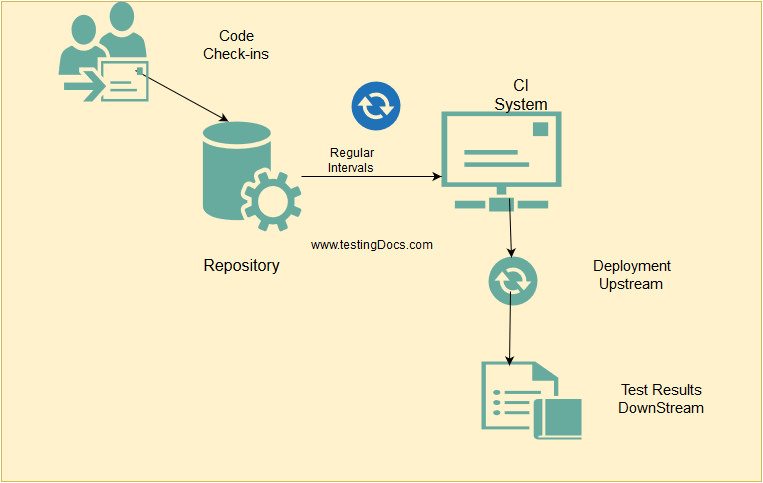
More Information about Continuous Integration:
https://www.testingdocs.com/jenkins-continuous-integration/
Download and Install
The Jenkins project produces two release lines, viz LTS and weekly.
Both release lines are distributed as :
- .war files
- native packages
- Installers
- Docker containers.
Choose the best distribution that suits your needs.
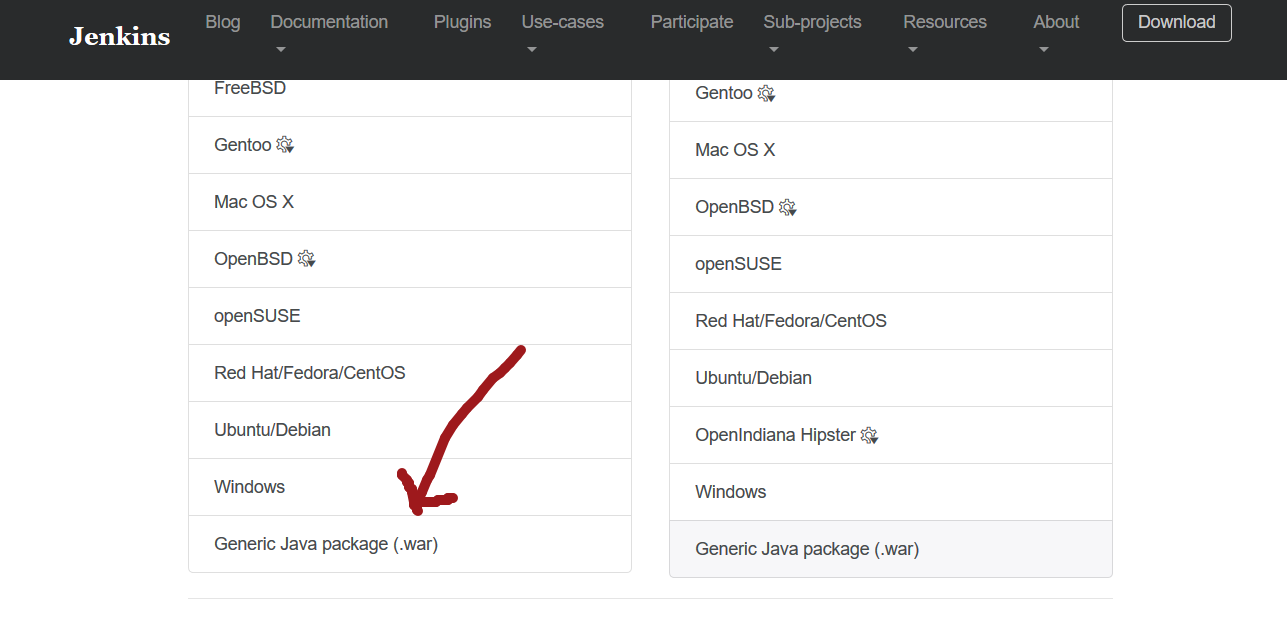
Let’s set up and demo using the headless war file on Windows OS.
Download the war file on to your computer.
Open a command shell.
Locate the file and run the following command.
/> java -jar jenkins.war
Unlocking
Open the configured URL in the browser ( ex: http://loclahost:8080 )
Enter the initial administrator password to proceed further.
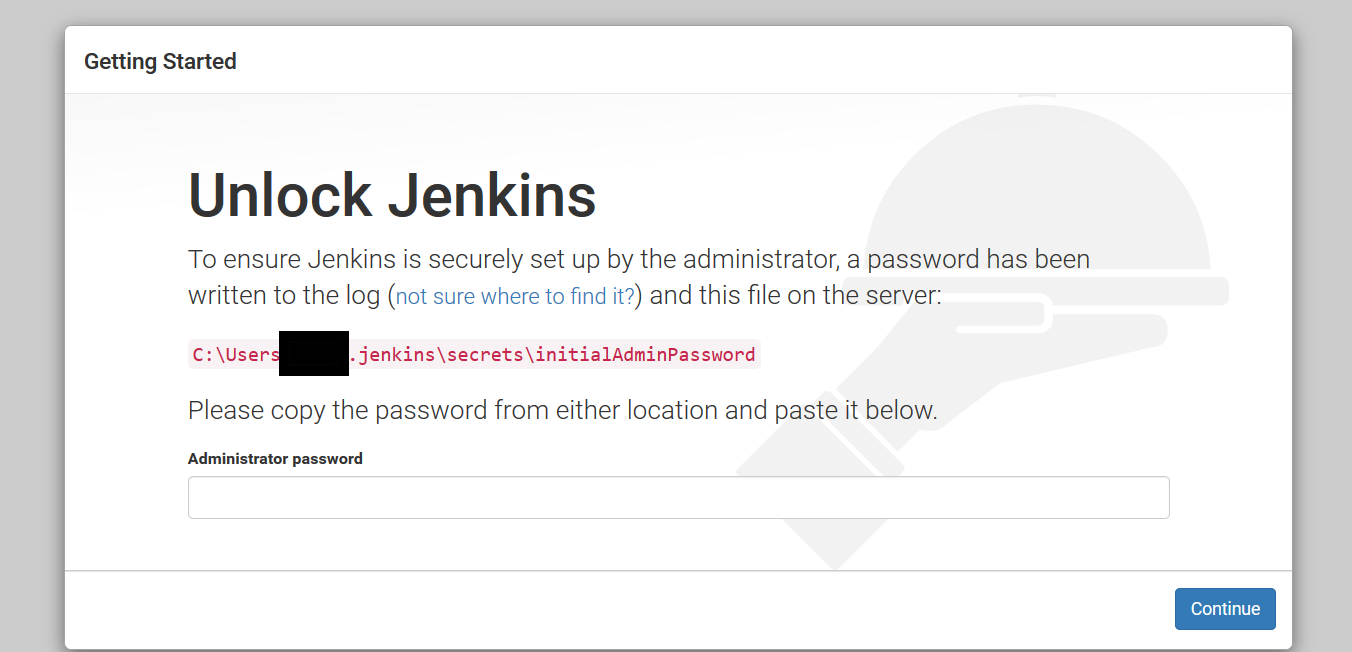
Enter the initial password to proceed further.
In the next step, you can customize Jenkins and install suggested plugins.
Customize
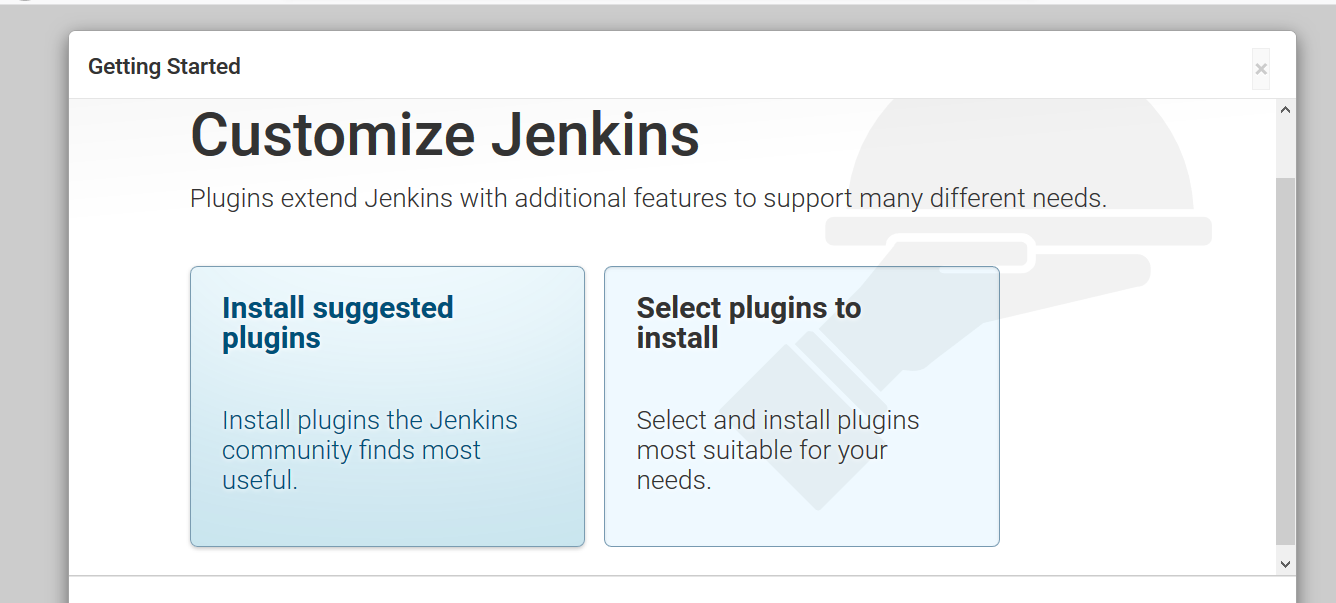
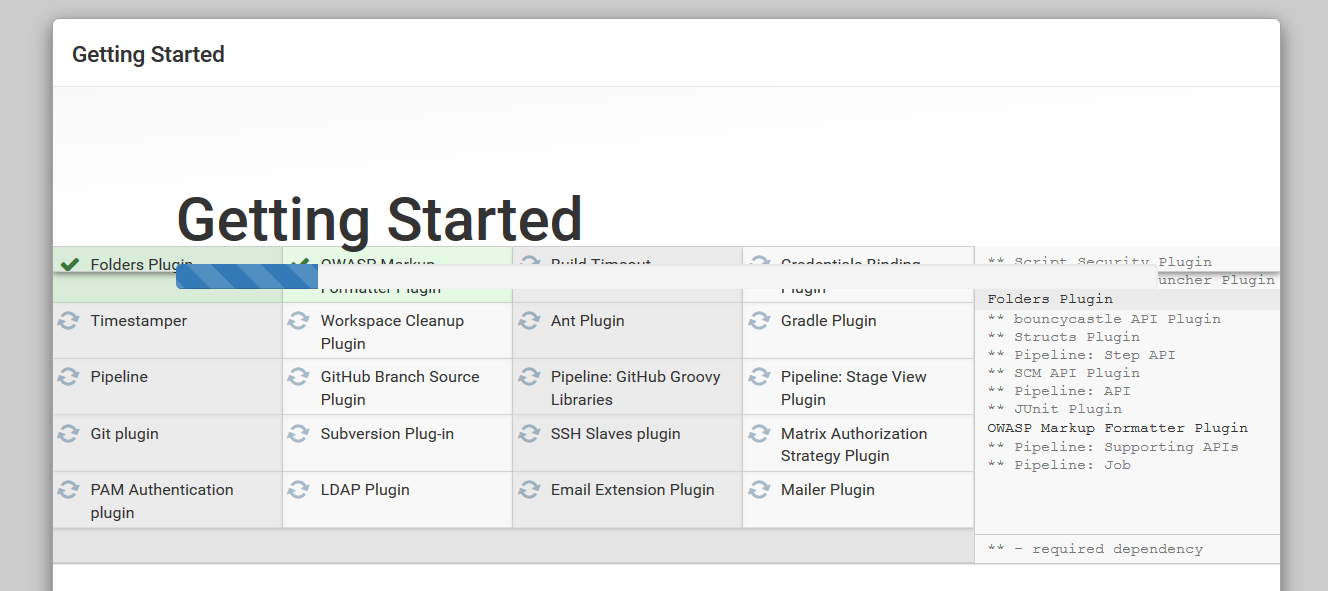
After you select the ‘Install suggested plugins’ option, the plugins will get installed.
Admin User
After the installation of the suggested plugins, a form is displayed for you to create the admin account.

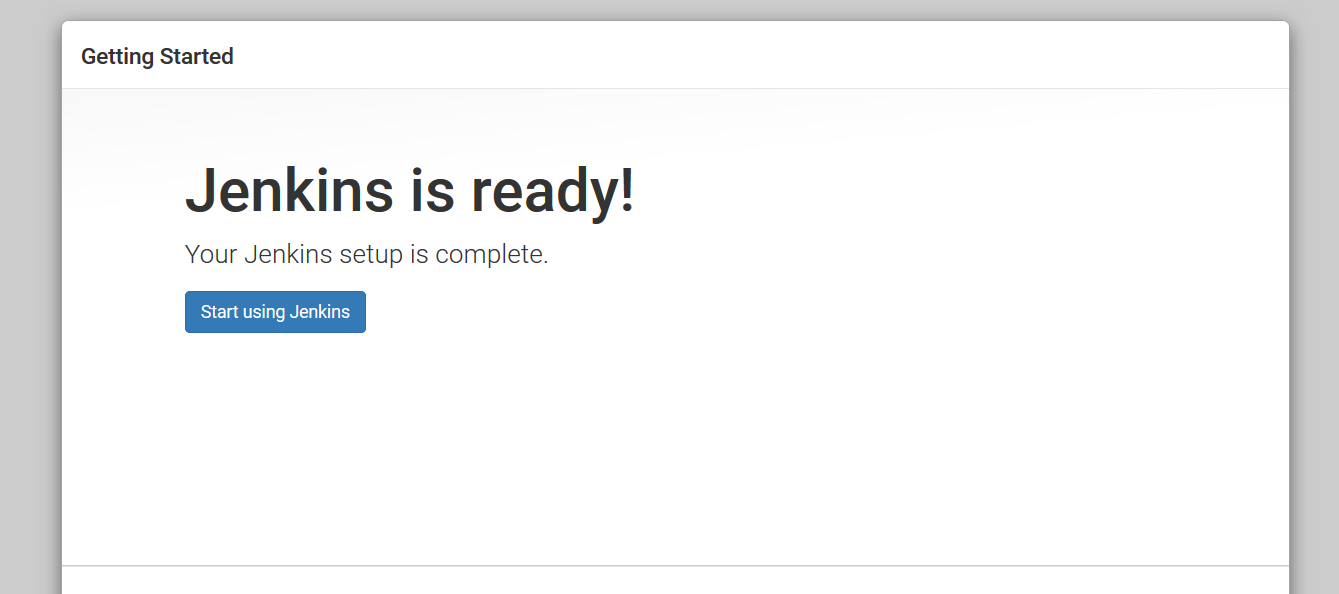
Setup complete ready page will be displayed.
You can start using the tool by clicking the ‘Start using Jenkins’ button.
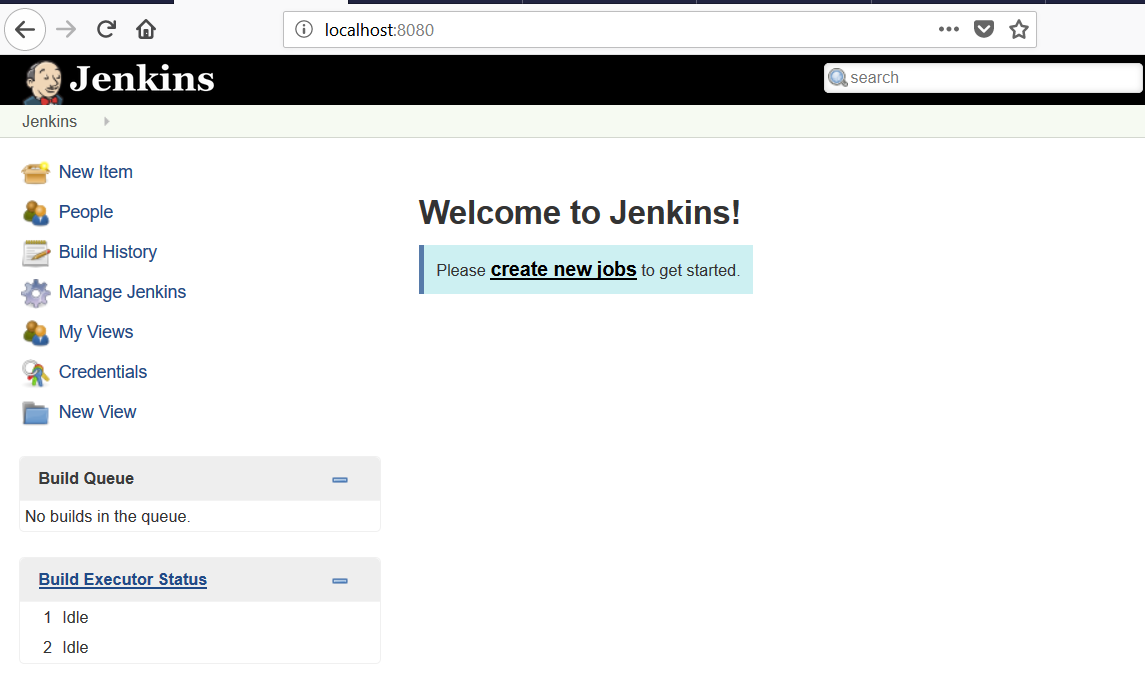
Dashboard
Jenkins Tutorials on this website can be found at:
https://www.testingdocs.com/jenkins-tutorial
For more details on the Jenkins CI, visit the official website at:


