HTML Images
HTML Images
HTML Images are defined with the <img> tag. We need to use the src attribute to display an image on the web page. Src stands for “source”.
Syntax
src is an attribute that specifies the location of the image. The src attribute’s value is the URL of the image you want to display.
<img src=”path_to_the_image”/>
For example, if we have an image named “SampleImage.jpeg” under the images directory, then the image tag that will add the image to the web page would look like this:
<img src=”images/SampleImage.jpeg”/>
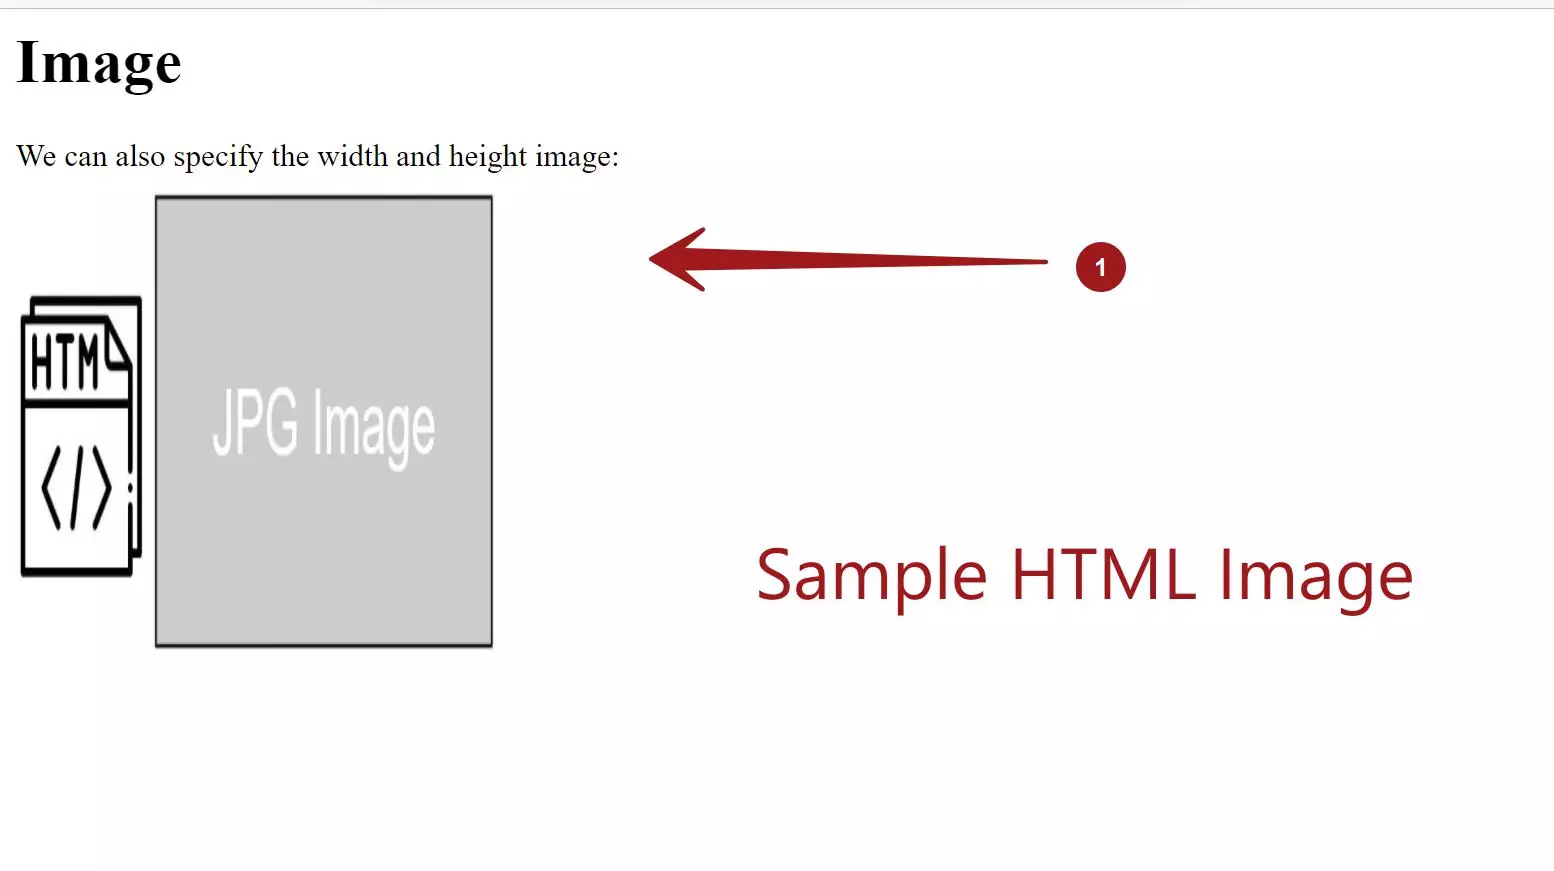
To display width and height of the image in pixels(px). For example, to specify the image of the width and height of 250px:
<img src=”SampleImage.jpeg” width=250 height=250 />
Example
We will use the img tag to display a sample placeholder image.
<html>
<!–
####################################
# HTML Image Display Demo
####################################
–>
<head>
<title> HTML Tutorials – HTML Image Tag Demo</title>
</head>
<body>
<h1> Image </h1>
<p>
We can also specify the width and height image:
<br>
<img src=”SampleImage.jpeg” width=250 height=250 />
</p>
</body>
</html>

Display Link and Image Example
We also add a link to the image:
<a href=”target_URL” target=”_blank”>
<img src=”images/image_to_be_displayed.jpg”/>
—
HTML Tutorials
HTML Tutorials on this website:


