Start Tomcat Server on Windows
Start Tomcat Server[Windows]
In this tutorial, we will learn how to start a Tomcat server on the Windows operating system. There are multiple ways to start the server on the Windows platform.
Initial Launch
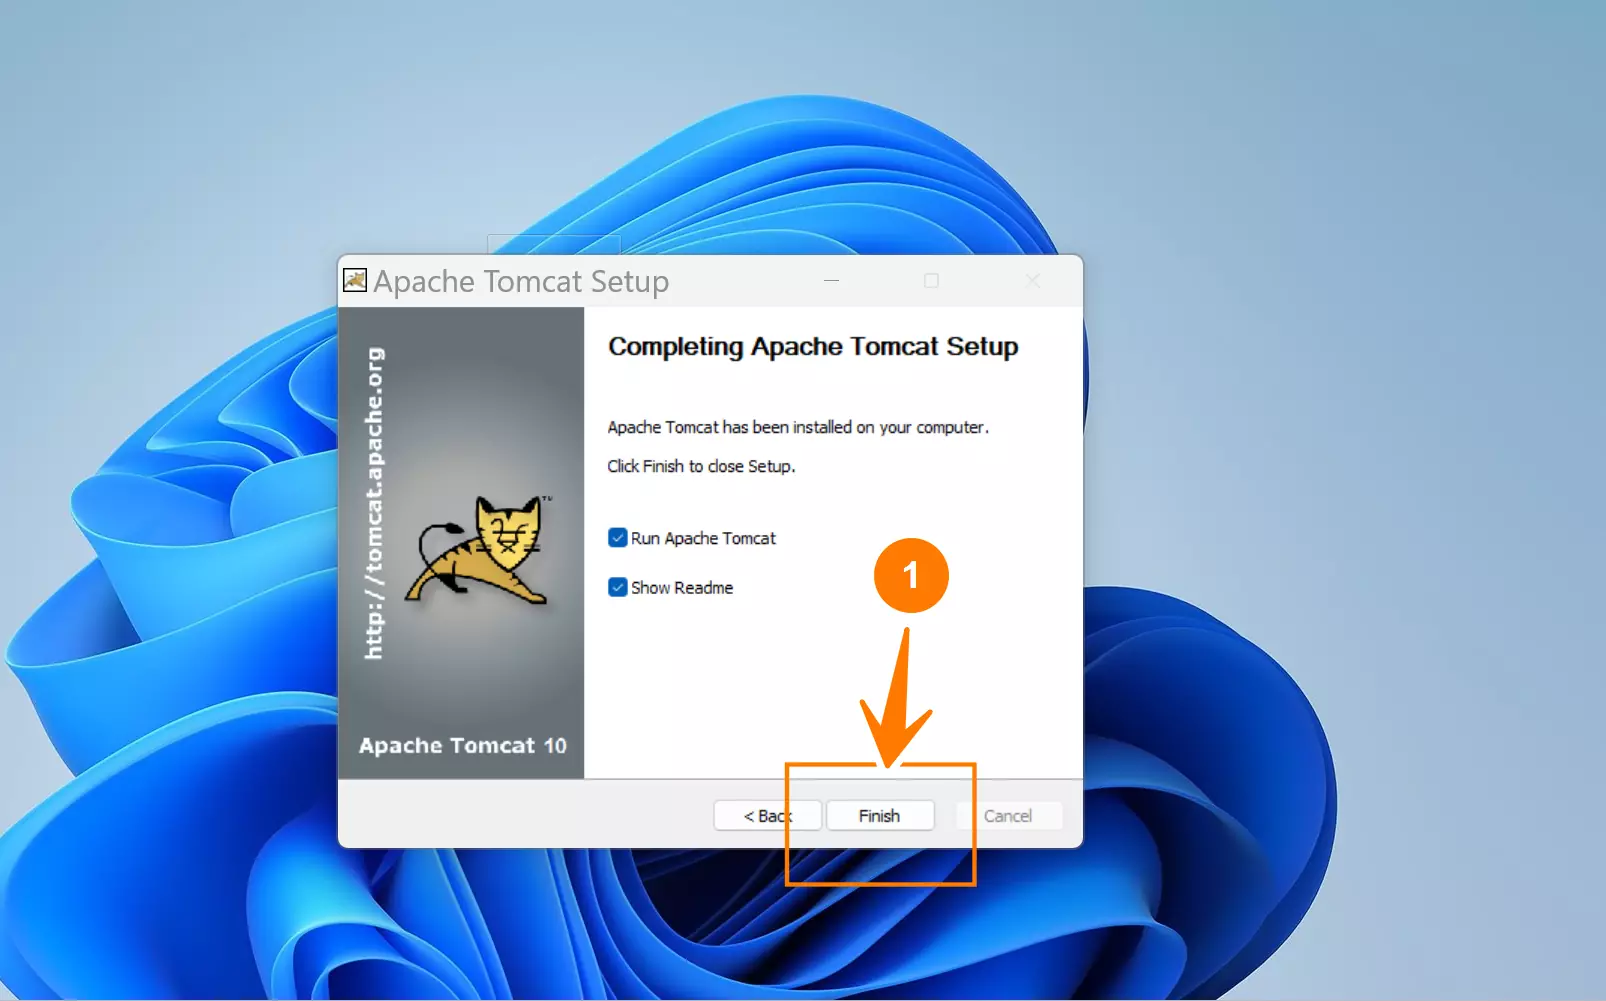
When we install the Tomcat server using the Windows installer, we can start it through the install screen. This option is on the last finish screen of the Apache Tomcat Setup wizard.
Check the checkbox option Run Apache Tomcat to start the server.

Tomcat Service
Launch the Services App and locate the Tomcat service. Right-click on the service name and choose the Start option.
Install Folder
Double-click the Tomcat exe file to start the server. The Tomcat.exe file is installed in the bin folder.
For example:
C:\Program Files\Apache Software Foundation\Tomcat <version number>\bin
Start Menu
We can also start the server from the Start menu.
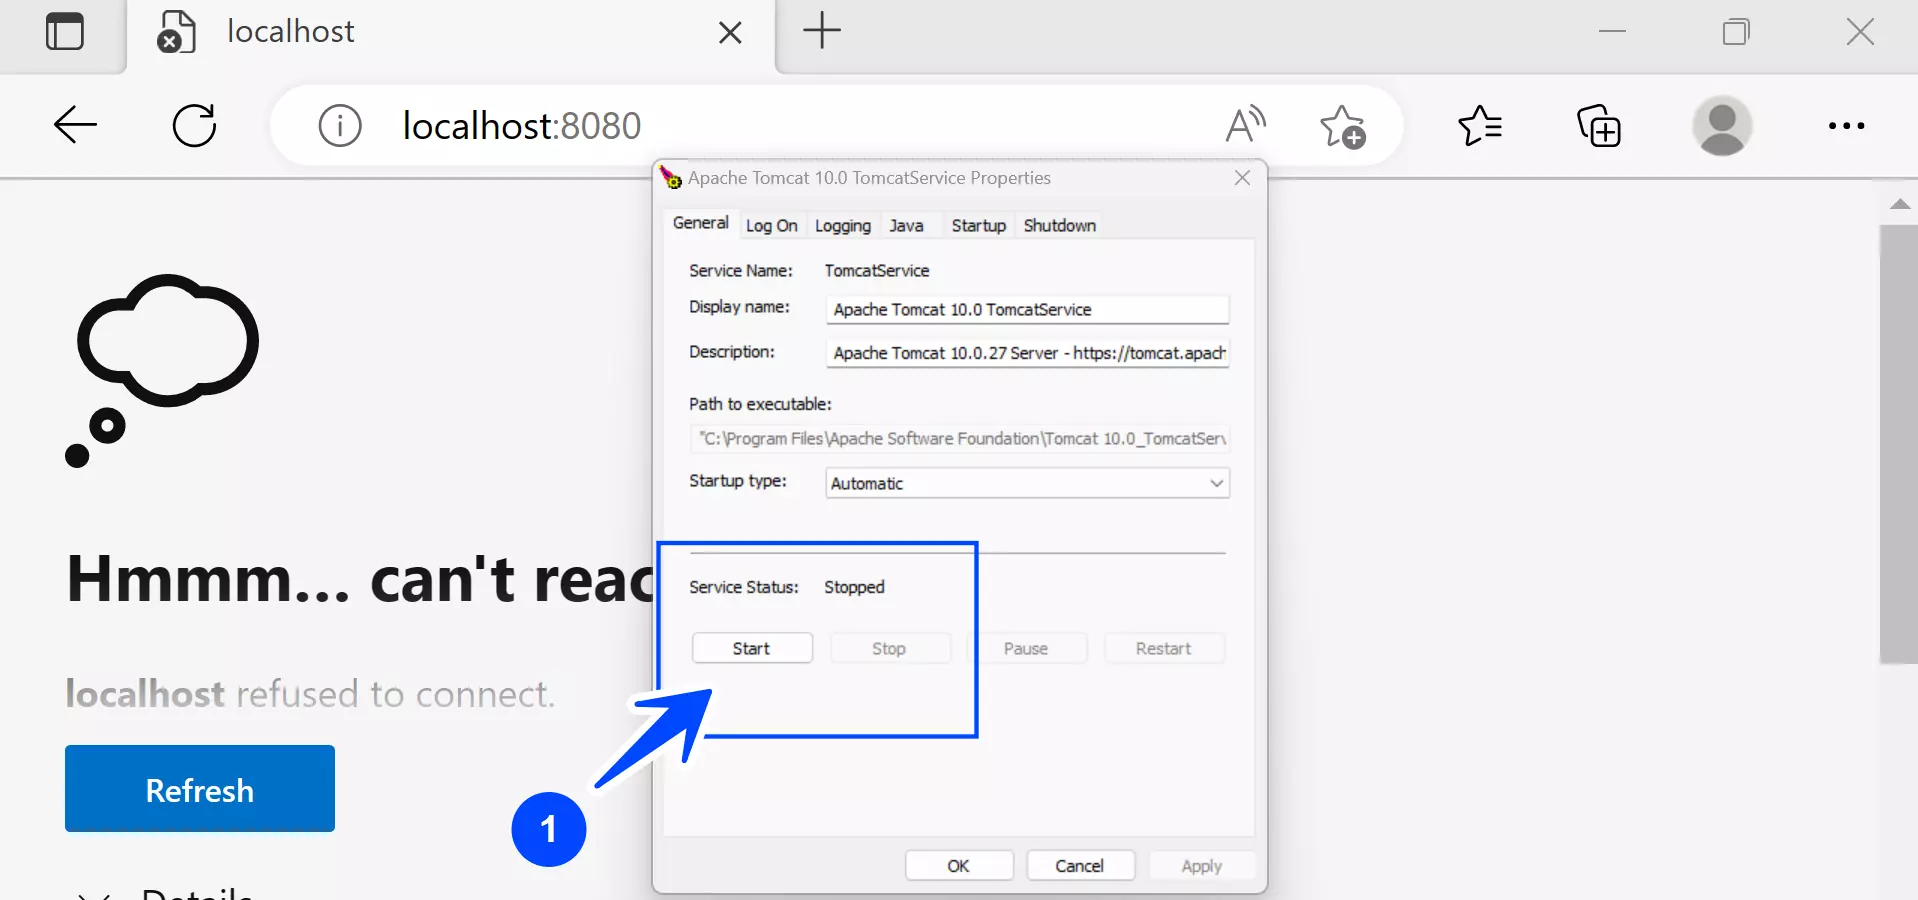
Start >> Tomcat start menu folder >> Configure Tomcat >> Choose the General tab and click on the Start button to start the server.
The Tomcat Service Manager will attempt to start the server.

Verification
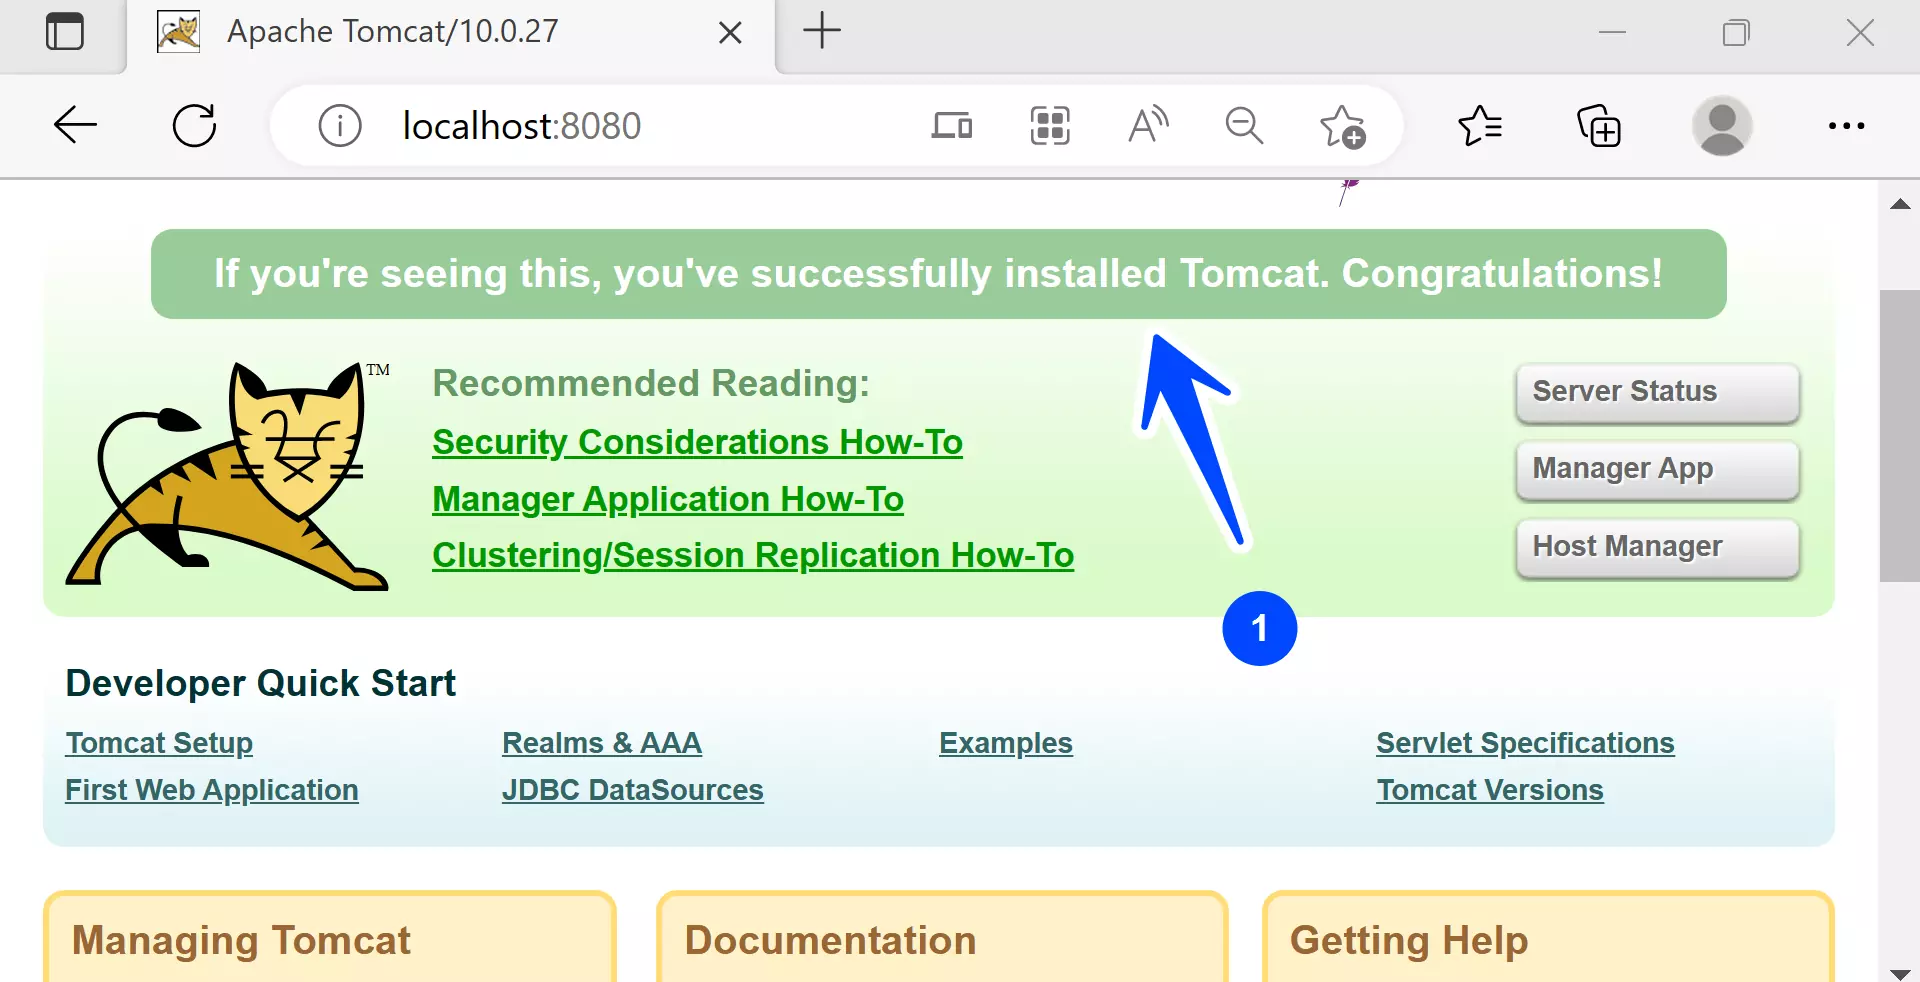
When we start the Tomcat server it will by default listen to the connection on the HTTP port 8080. To verify the server start, we can launch the web browser and type the following address in the browser address bar.
http://localhost:8080/

The Tomcat web page should be displayed. The default Tomcat http connector port is configured in the server.xml file. We can find the file in the conf folder under the Tomcat home directory.
<!– A “Connector” represents an endpoint by which requests are received
and responses are returned. Documentation at :
HTTP Connector: /docs/config/http.html
AJP Connector: /docs/config/ajp.html
Define a non-SSL/TLS HTTP/1.1 Connector on port 8080
–>
<Connector port=”8080″ protocol=”HTTP/1.1″ connectionTimeout=”20000″ redirectPort=”8443″/>
—
Java Tutorials
Java Tutorial on this website:
For more information on Java, visit the official website :


