XAMPP Control Panel
XAMPP Control Panel
Once you have downloaded and installed XAMPP on your machine, we can use the XAMPP Control Panel. By default, XAMPP would be installed on your computer’s C Drive on Windows. We can specify a different directory during the installation process.
The XAMPP Control Panel is a user-friendly graphical interface that allows you to manage the XAMPP server suite, which includes Apache HTTP Server, MySQL, and other components needed for local web development.
How to Launch?
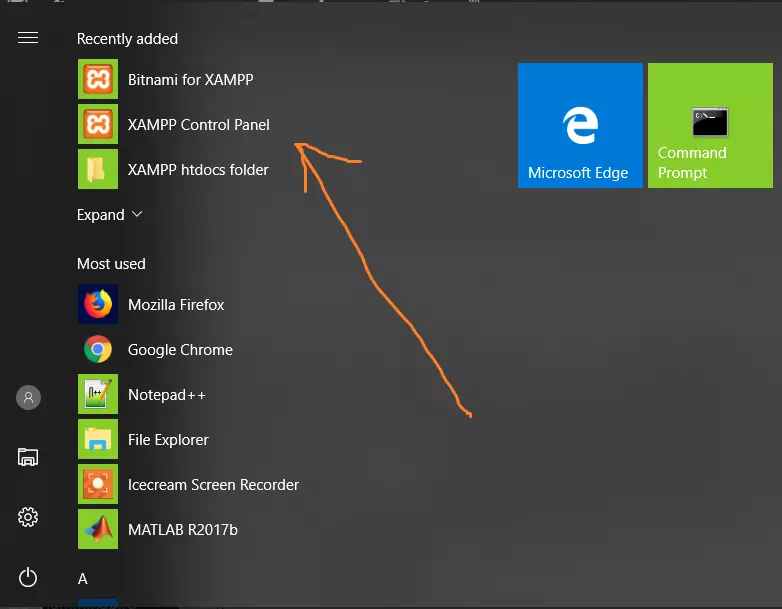
You can start the XAMPP Control panel either by launching the system tray icon or from the Start menu as shown below:
XAMPP Control Panel
Once you start the control panel, you start using it to start, configure, and view logs as shown in the picture.

Using the control panel, you can start services like Apache webserver, Tomcat, MySQL database, etc.
Click on the start button for the Apache server module. You can verify that the server started by looking at the logs or visiting the below URL:
http://localhost/dashboard/
XAMPP Control Panel reflects the server status to check, as shown above.
XAMPP is meant only for development purposes. Certain configuration settings make it easy to develop locally but are insecure if you want to make your installation accessible to others. If you want to make your XAMPP accessible online, ensure you understand the implications. Alternatively, you can use LAMP or other stacks, which are similar packages that are more suitable for production.
PHP Tutorials
PHP Tutorials on this website:


