Create Requirement Specification in TestLink
Create Requirement Specification in TestLink
In this tutorial, let’s look at the steps to Create Requirements Specification in the TestLink application. We can create URS as well as SRS documents using the steps outlined here.
Launch the TestLink application. Log in with a user with a role that has Requirements rights.
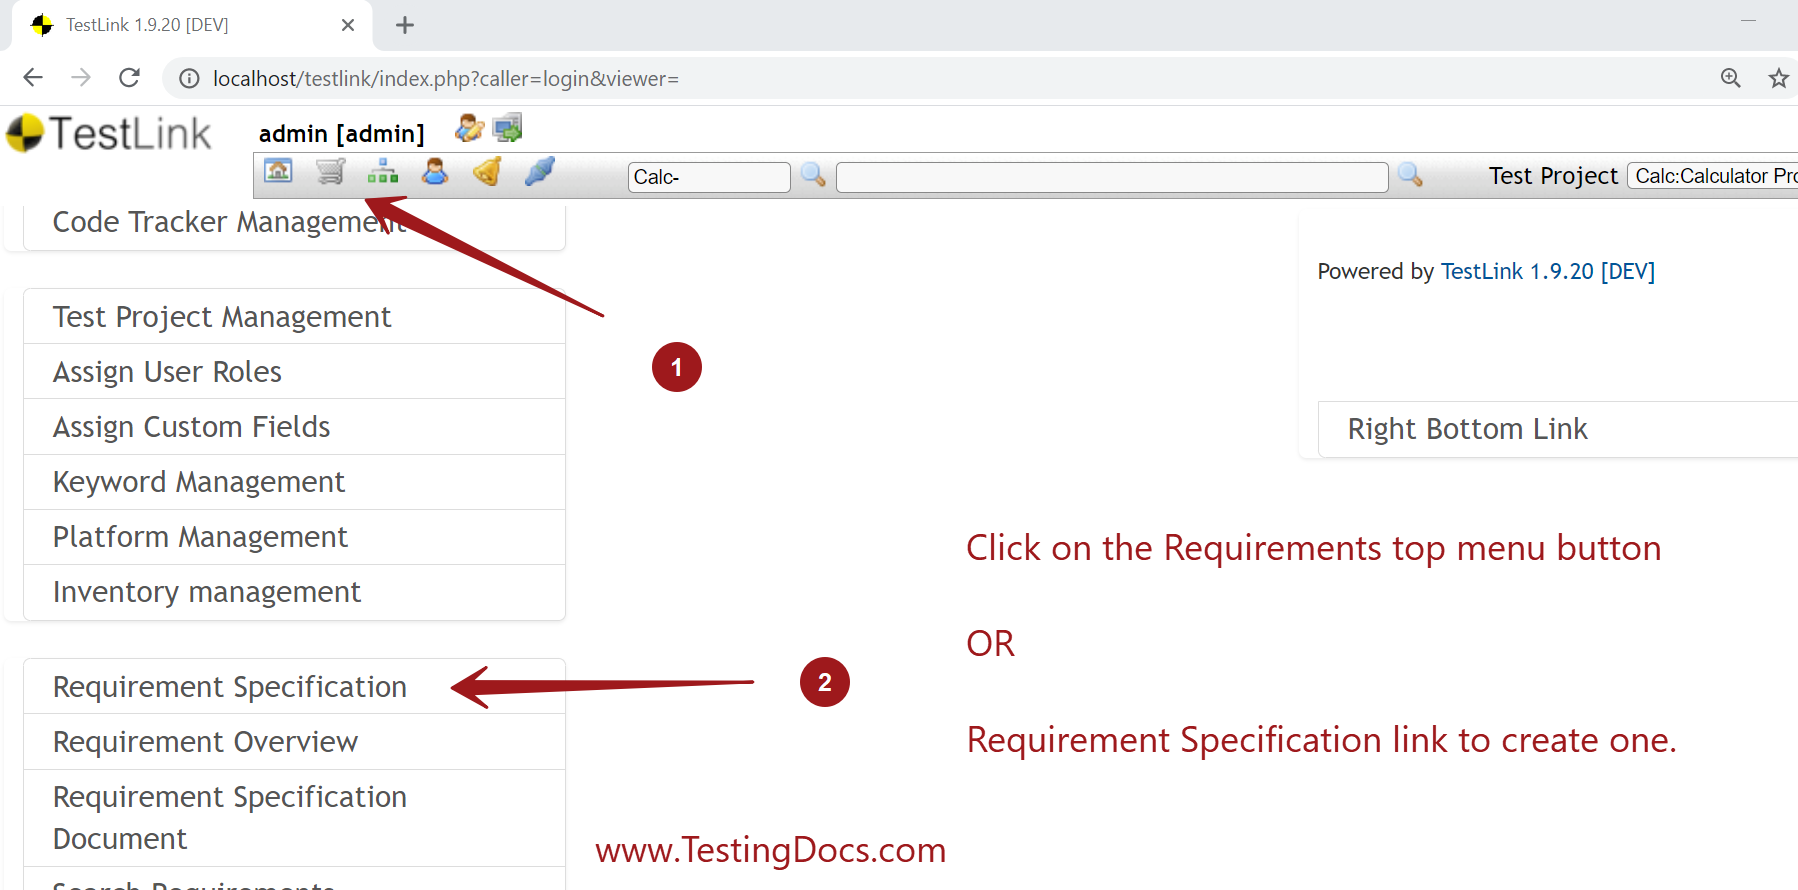
Click on the Requirements button.
Or on the Requirement Specification link on the Testlink Dashboard.
Click on the Create button to create the Specification.
Fill in necessary details like
- Document ID
- Title
- Scope
- Specification type: User /System
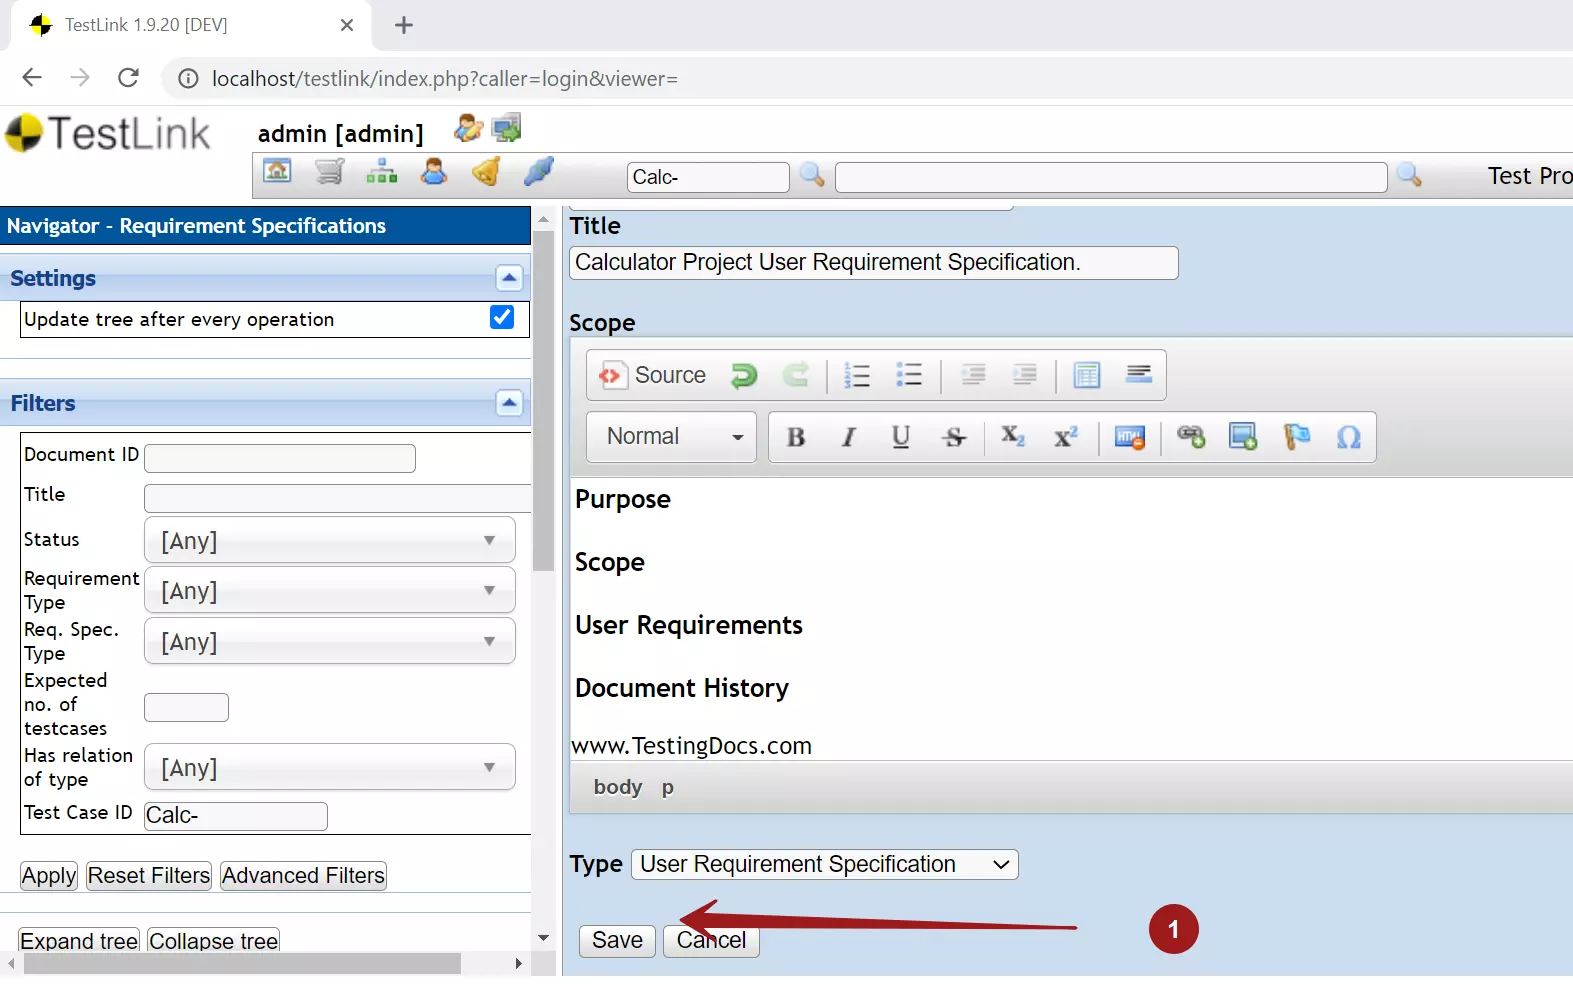
Click on the Save button to create the requirements specification for the project in the TestLink system.
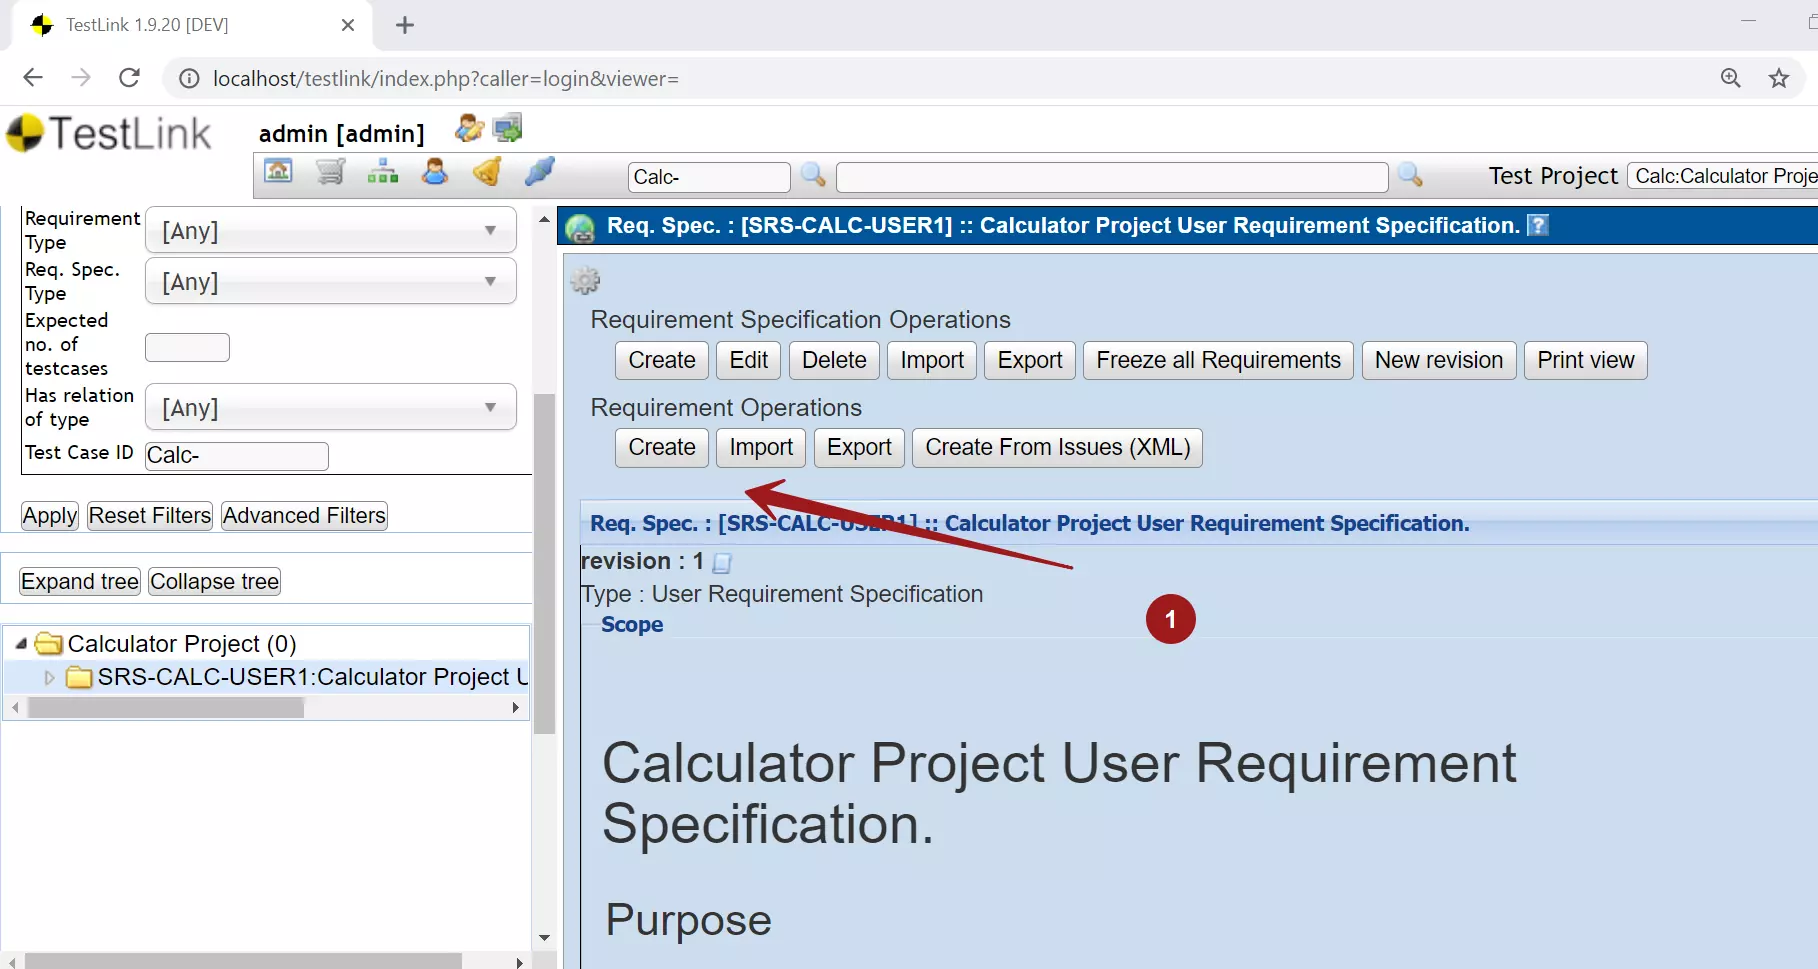
To add requirements to the document, click on the created Specification in the left navigation tree.
Click on the Setting wheel icon.
We can either Create or Import/Export the requirements for the project using this screen.