Install FileZilla tool on Windows
Install the FileZilla tool on Windows
In this post, you will learn the steps to install the FileZilla tool on the Windows operating system.
FileZilla is a collection of the FTP server and FTP client. FileZilla is an open-source FTP tool. Using the client tool you can store and retrieve files from the FTP server. Pro-version has features to store the files on different cloud vendors like Amazon S3, Google Cloud, etc.
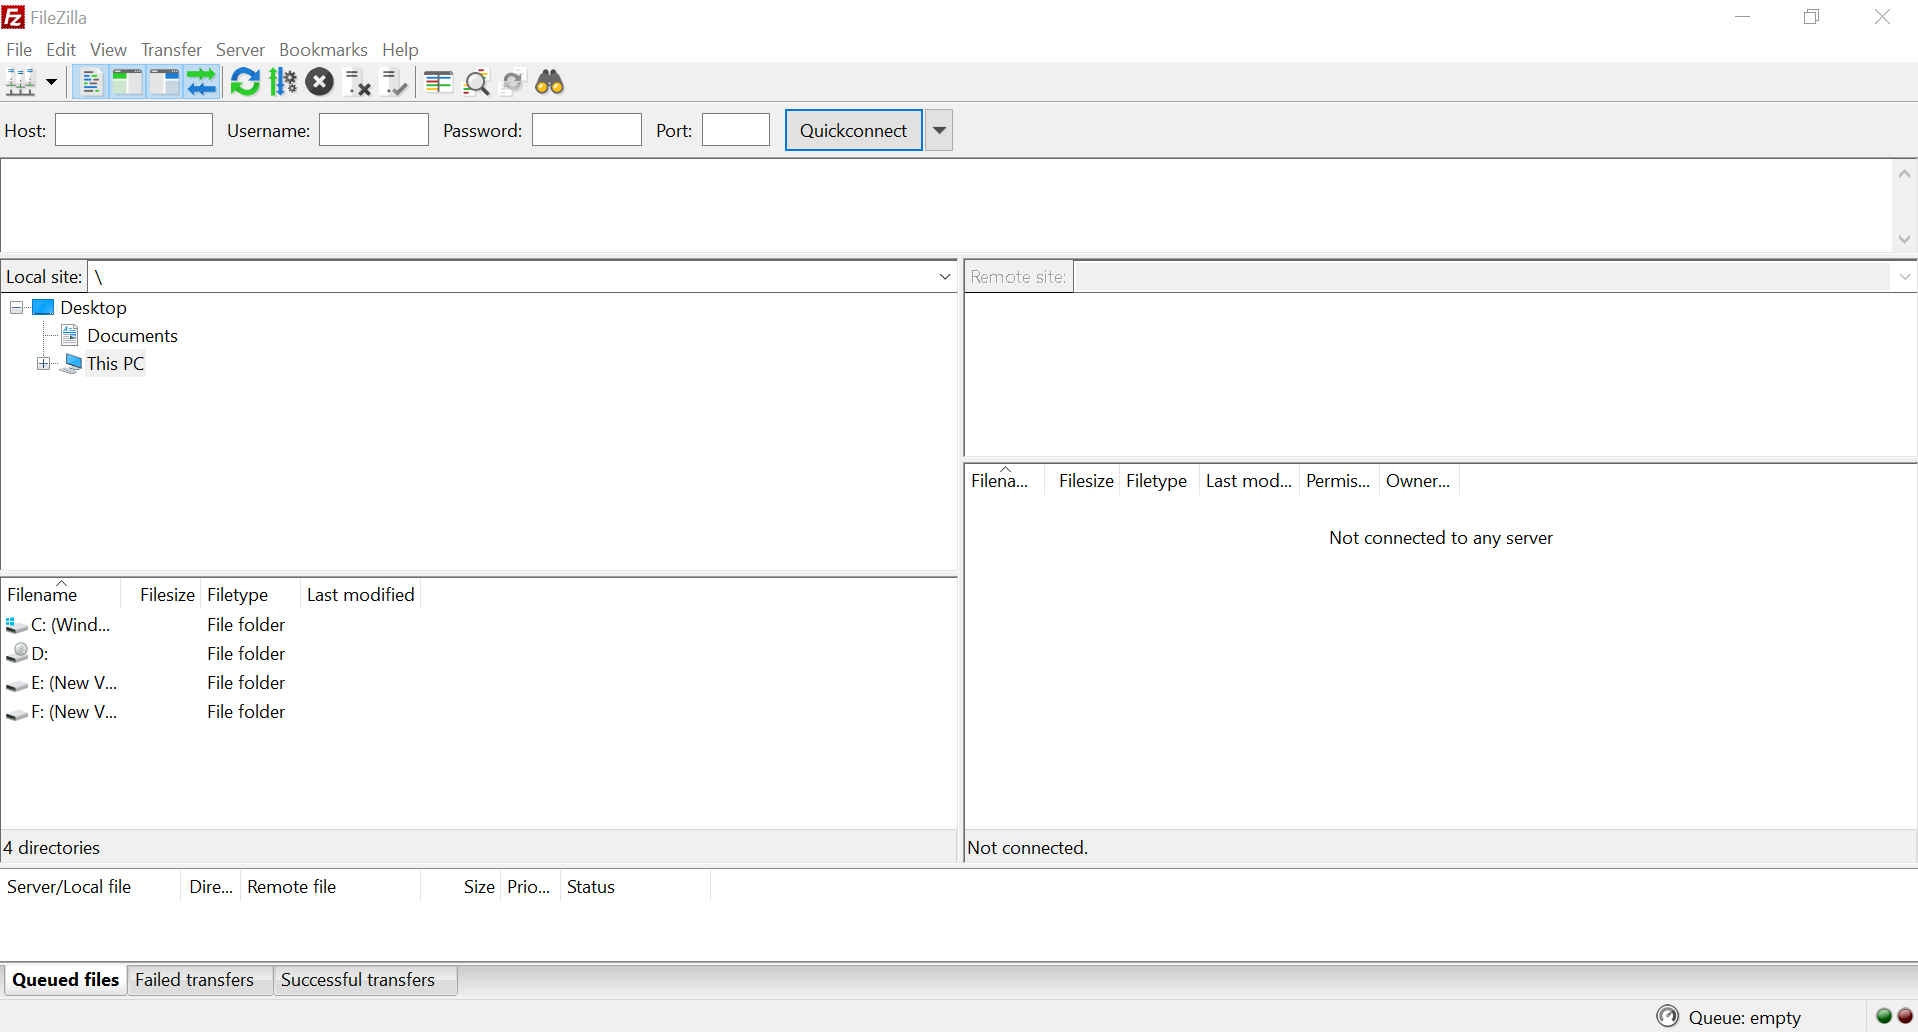
FileZilla Client
This is the most commonly used version. It allows users to connect to FTP servers and transfer files between their local machine and a remote server. It supports protocols like:
-
-
FTP
-
FTPS (FTP over SSL/TLS)
-
SFTP (SSH File Transfer Protocol)
-
FileZilla Server
This is used to host an FTP server on a Windows machine. With this, other users (using FTP clients like FileZilla Client or others) can connect and upload/download files.
Official website link:
- https://filezilla-project.org
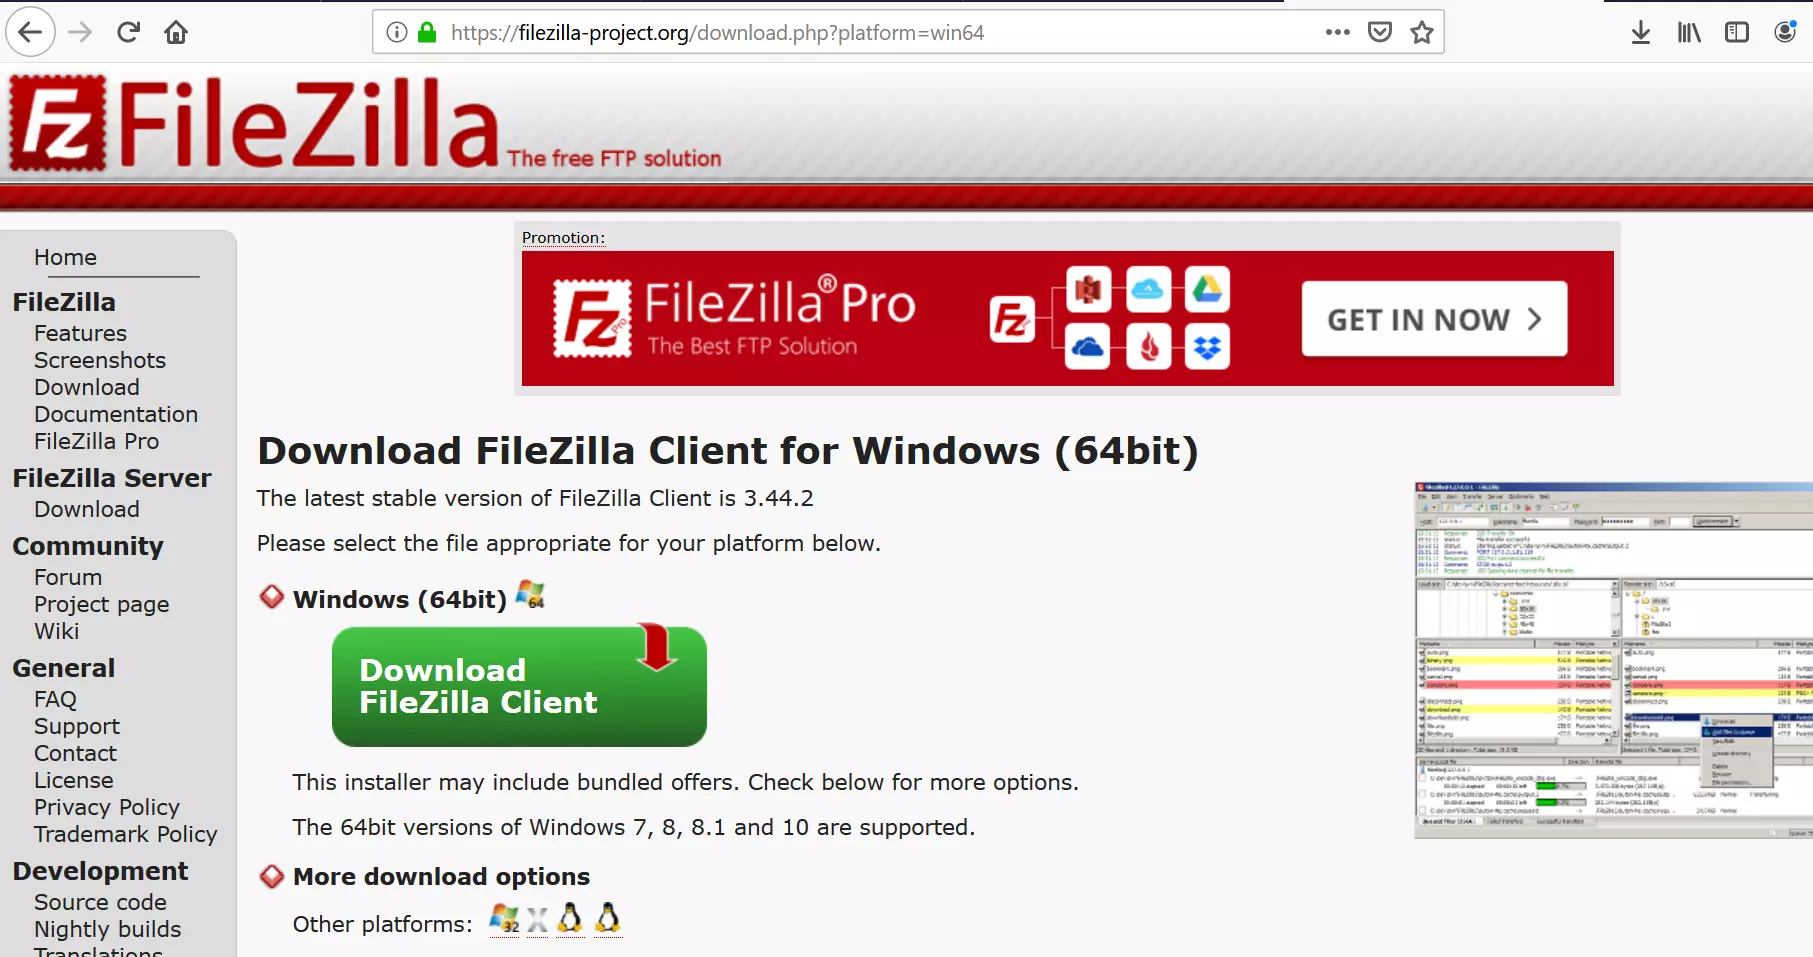
Download
Steps to Download FileZilla are as follows:
- Navigate to the official website.
- Click on the Download button.
- Save the .exe file onto your computer.
Install
Steps to Install FileZilla are as follows:
- Locate the file and click on the .exe.
- Click yes on the elevation prompt. Non-administrators need to enter the administrator credentials.
- Read the License agreement and click on the ‘I agree’ button.
- Choose the user option to install for everyone or only for you.
- Choose the features and components and click on the Next> button.
- Choose the install location.
- Click on the Next> to install the tool.
- You can install or uncheck additional software bundled with the installer.
- Click on the Finish button to complete the installation.
That’s it. We have successfully installed FileZilla software on the Windows 10 operating system.


