Start JBoss Server from Eclipse with JBoss Tools
Overview
JBoss Tools provides support to start JBoss server from within the Eclipse IDE. The tool also offers common tasks like deploying application to the server, etc.
Install JBoss Tools
Steps to install JBoss tools on the Eclipse IDE.
https://www.testingdocs.com/install-jboss-tools-in-eclipse-ide/
Server Tab
Enable Server view tab in Eclipse. Launch Window >> Show View >> Other…
Under Server select Servers and click on Open button.
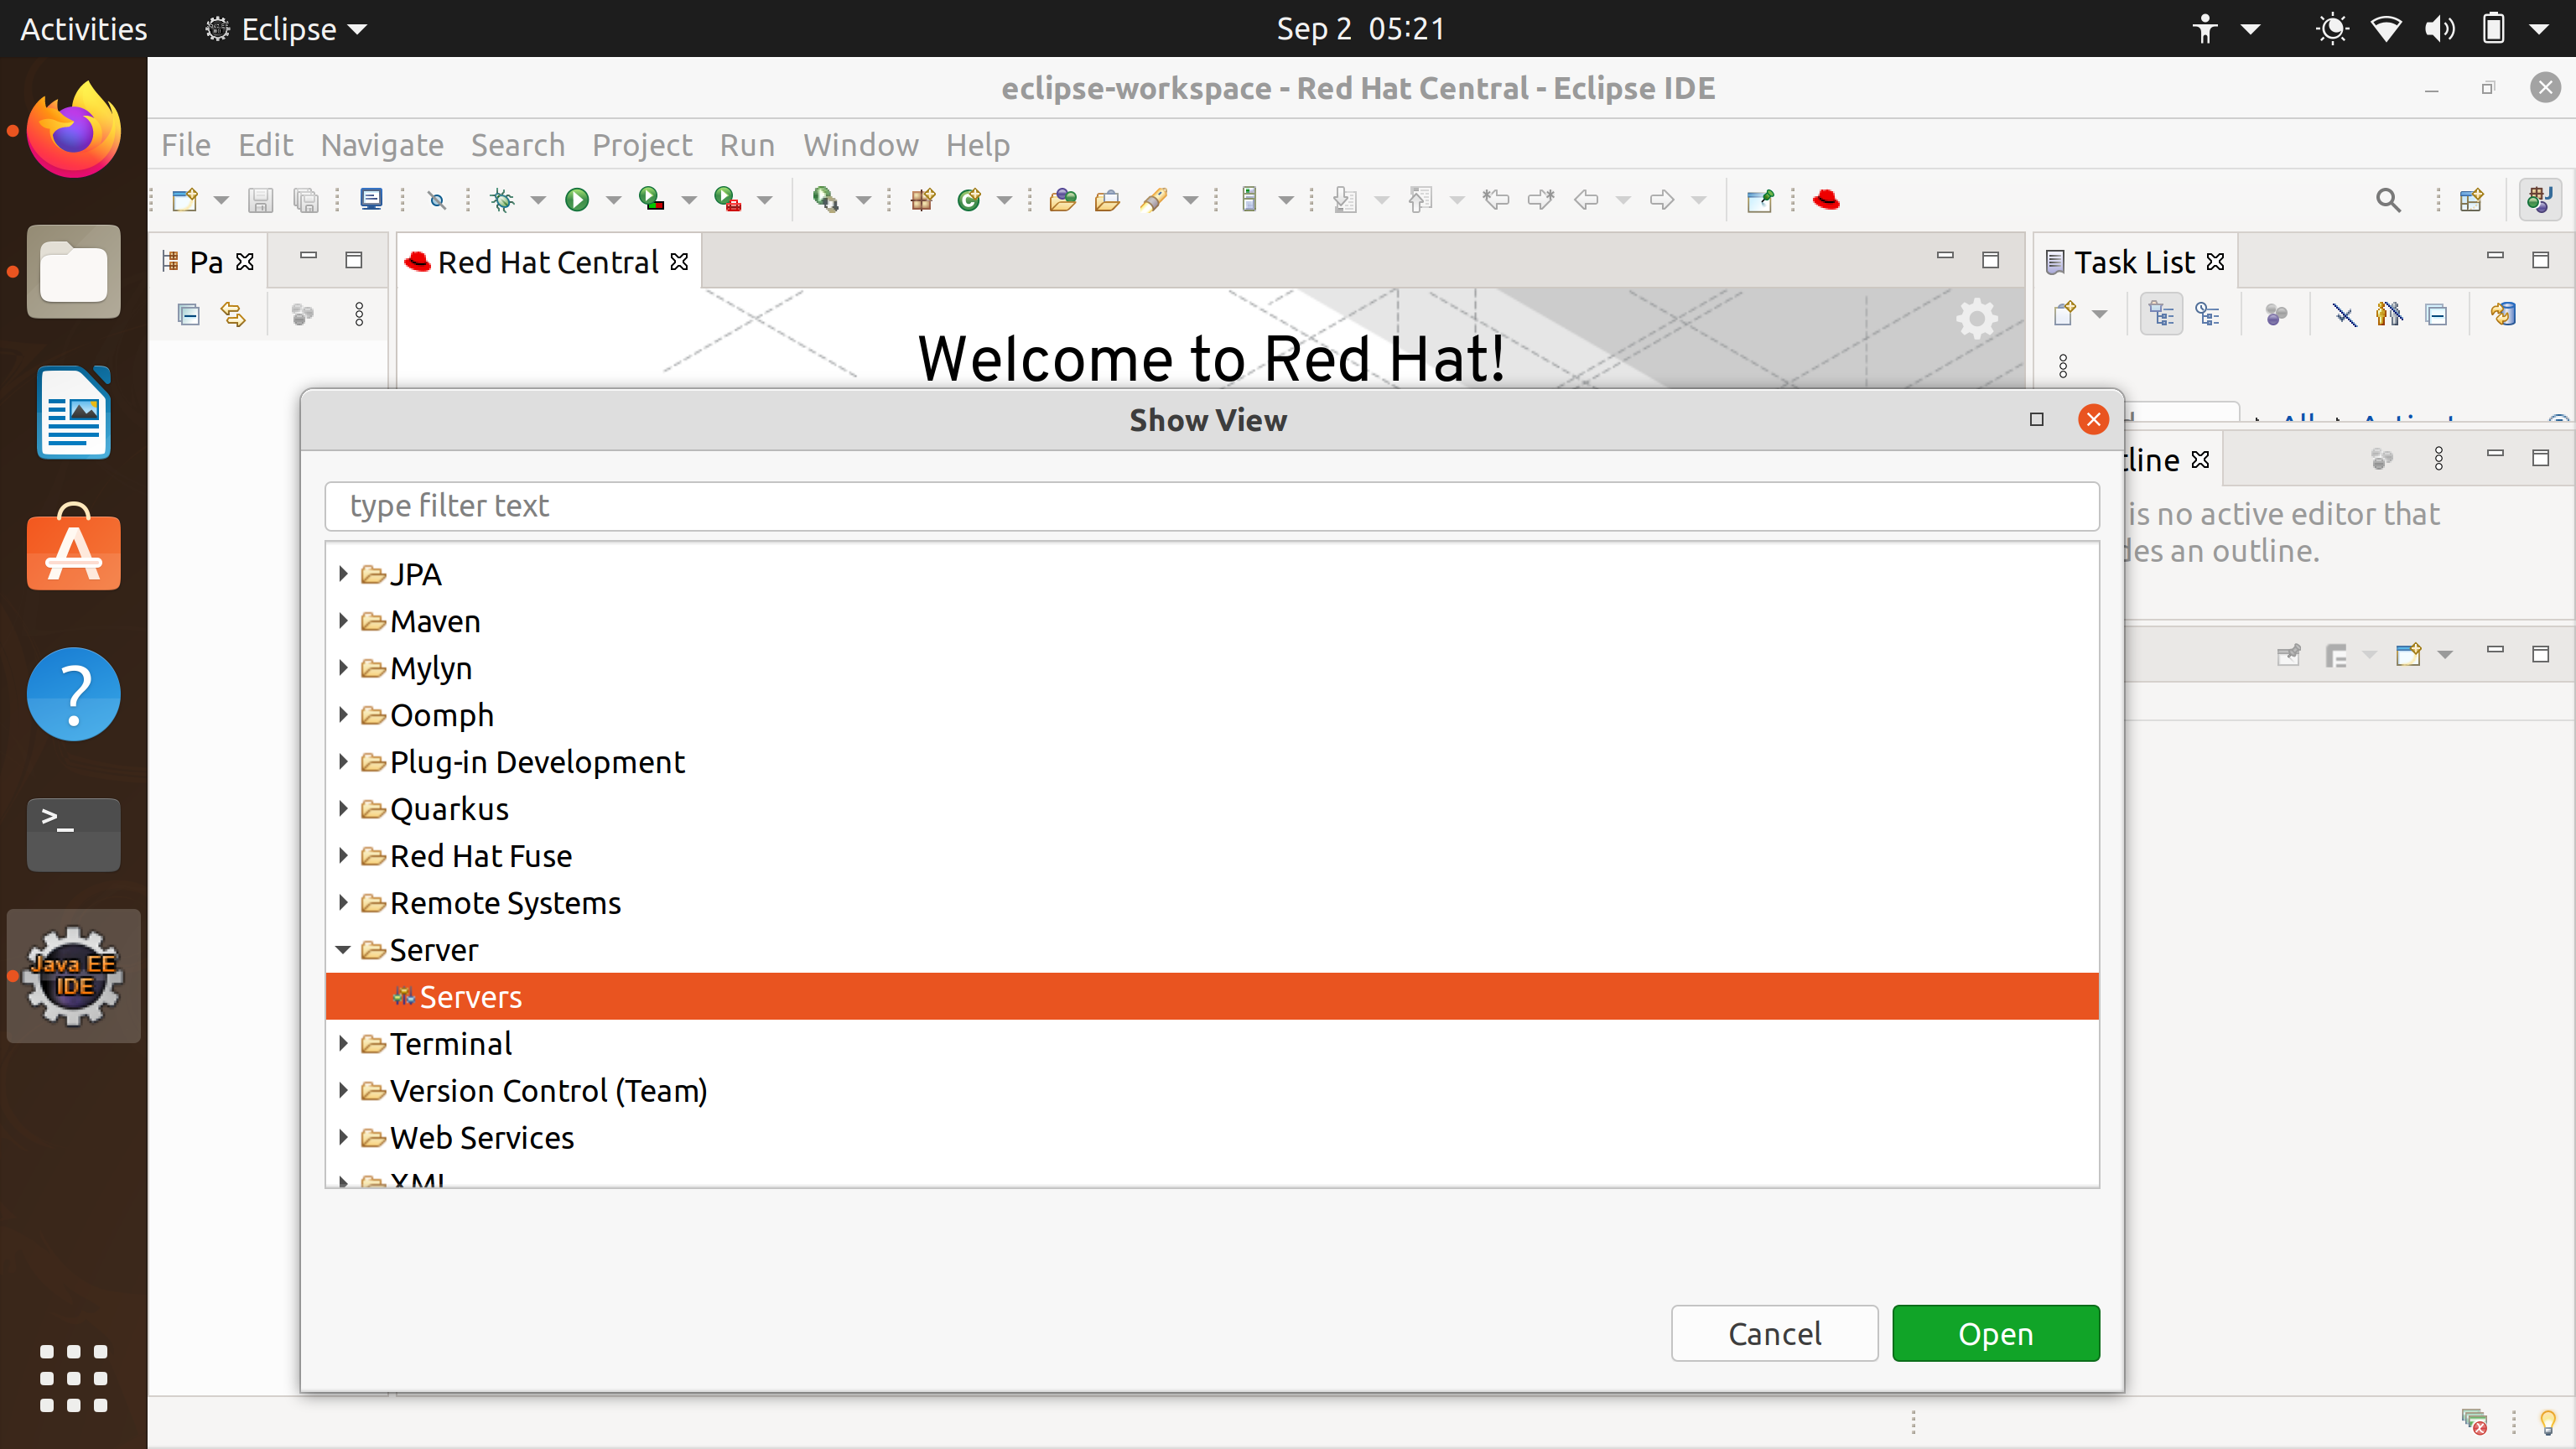
This will add Servers tab in Eclipse. On fresh install, we need to define and create a new Server Runtime. If there are any servers created, by default the tab would detect the servers already created.
Define a New Server
Right click on the Servers tab >> New >> Server
To create JBoss Server Runtime in Eclipse.
Choose the category JBoss Community >> Wildfly <version
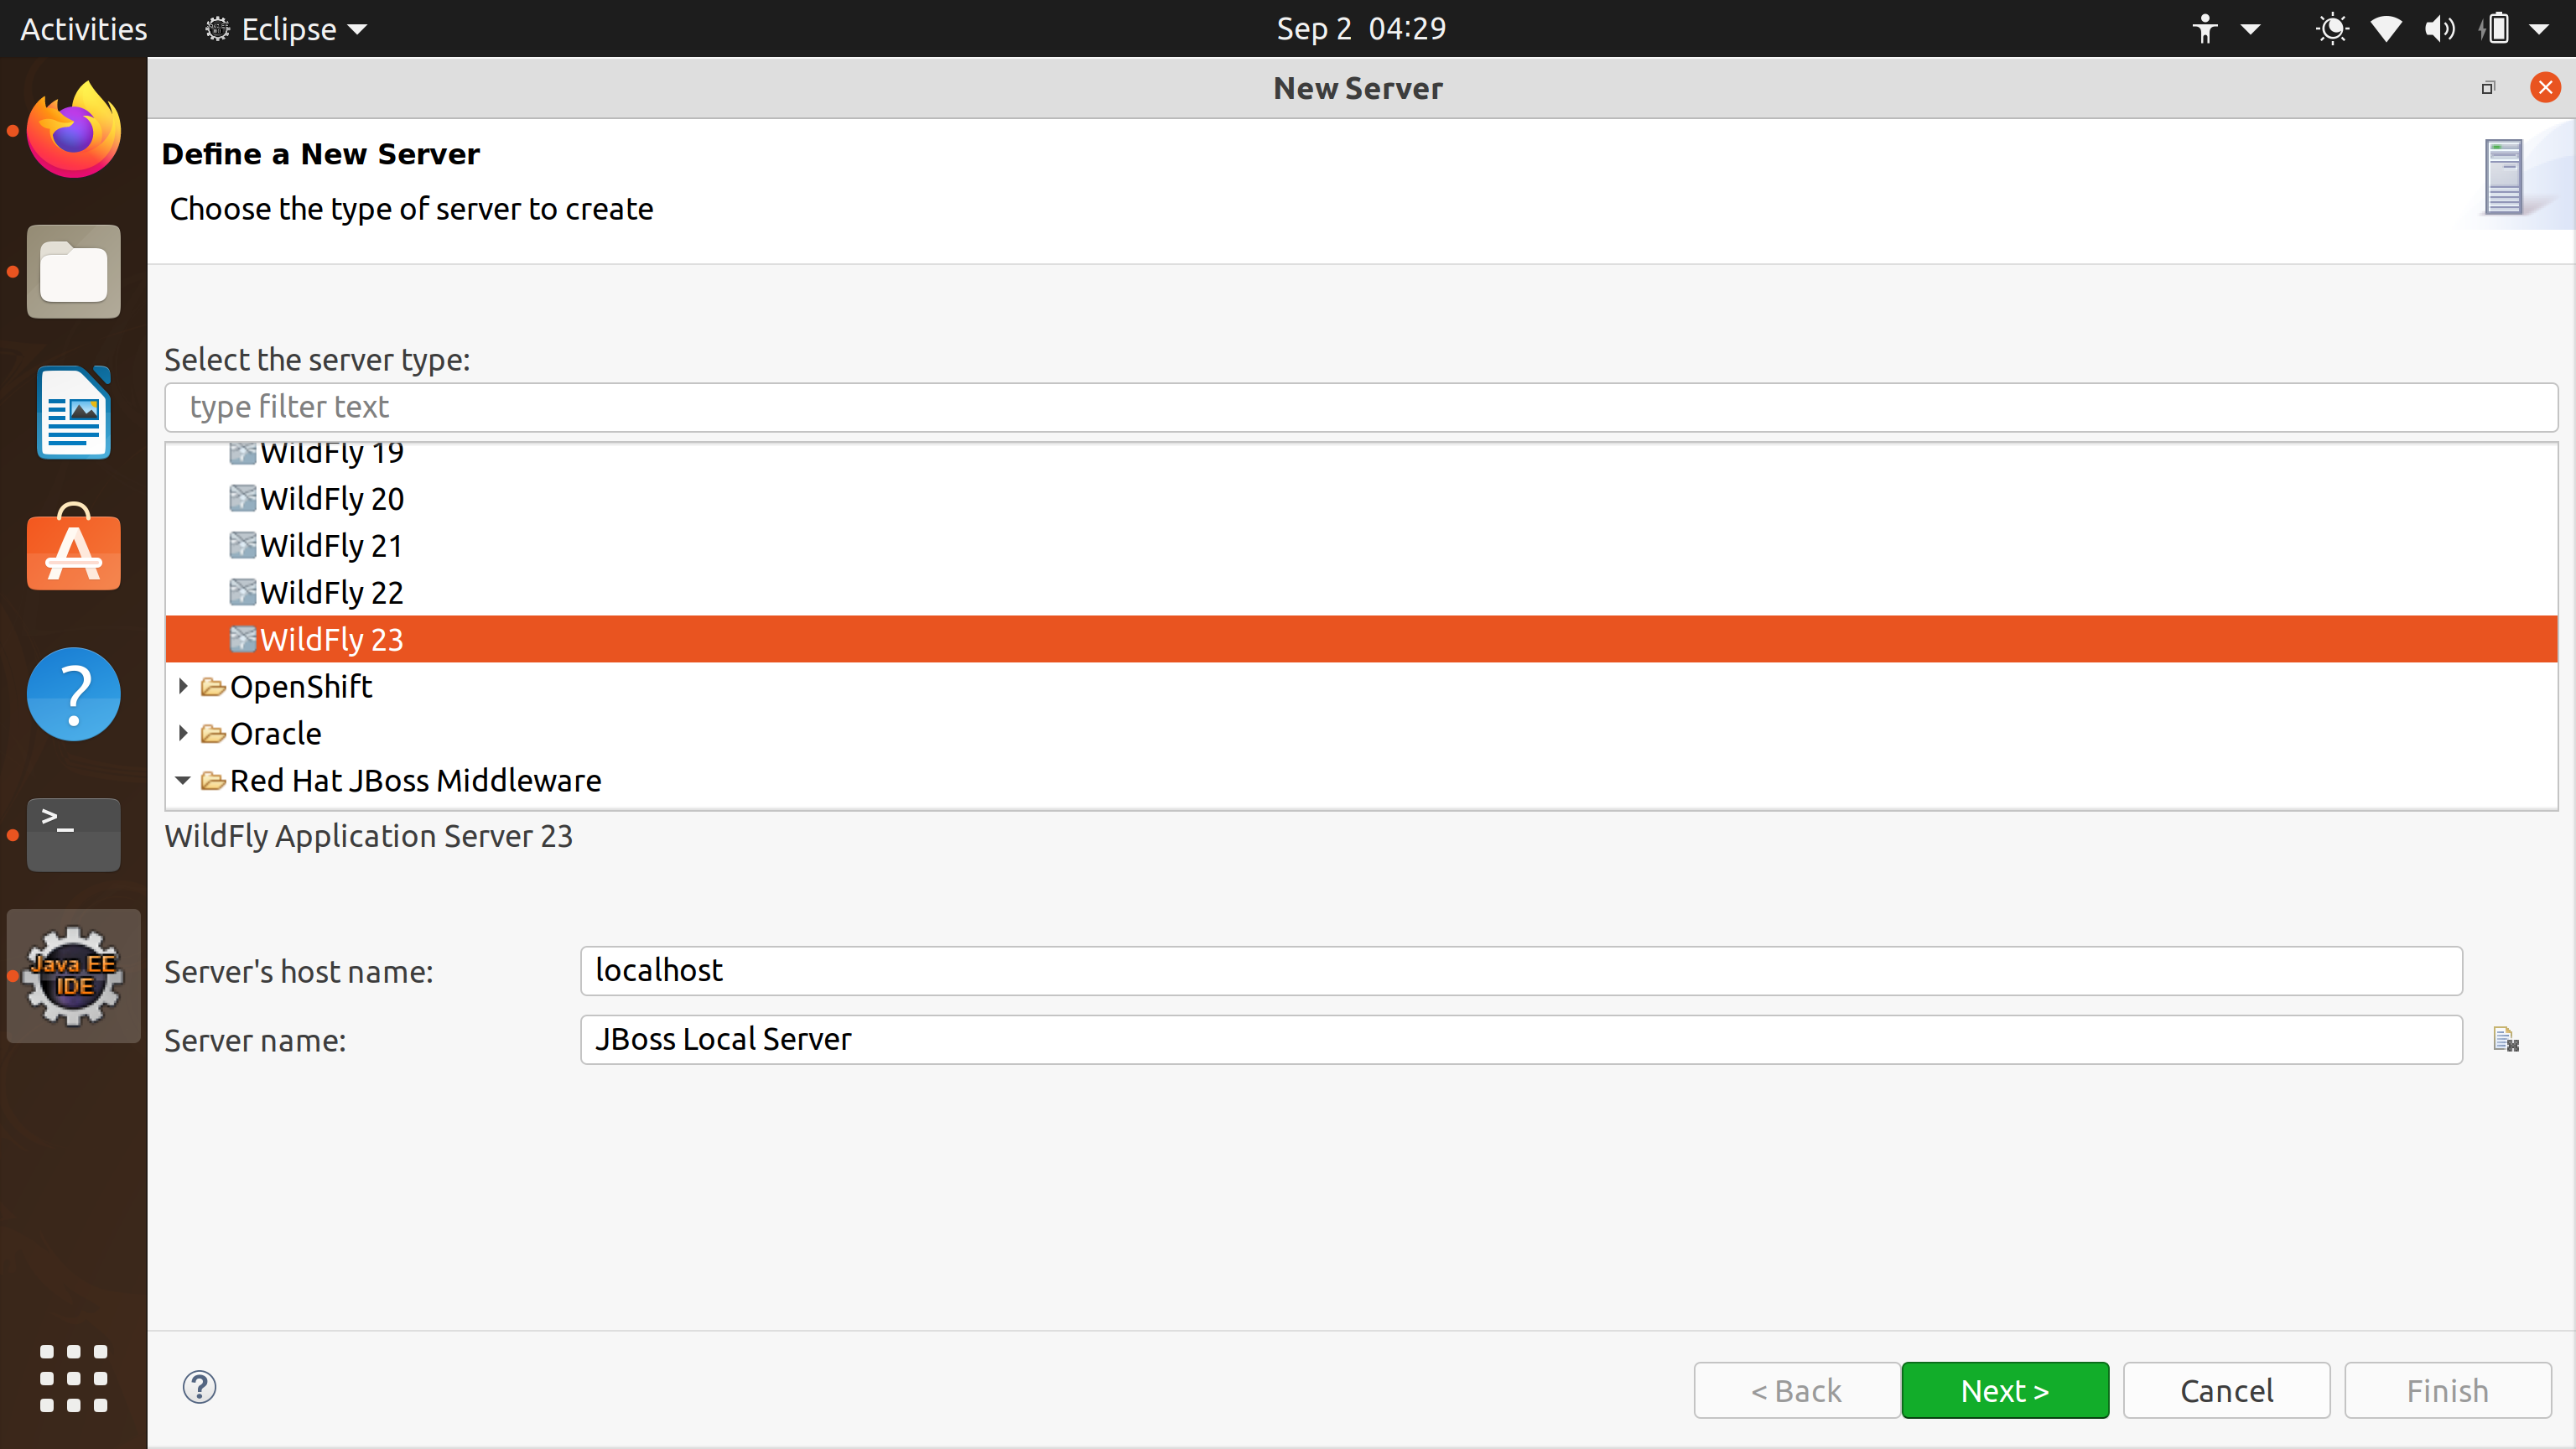
Click on the Next > button. Choose the Server Adapter properties. A server runtime references or points to the server install directory. Give a server name, point to the JBoss Home directory and the JRE setting.
Choose the Server base directory and configuration file.
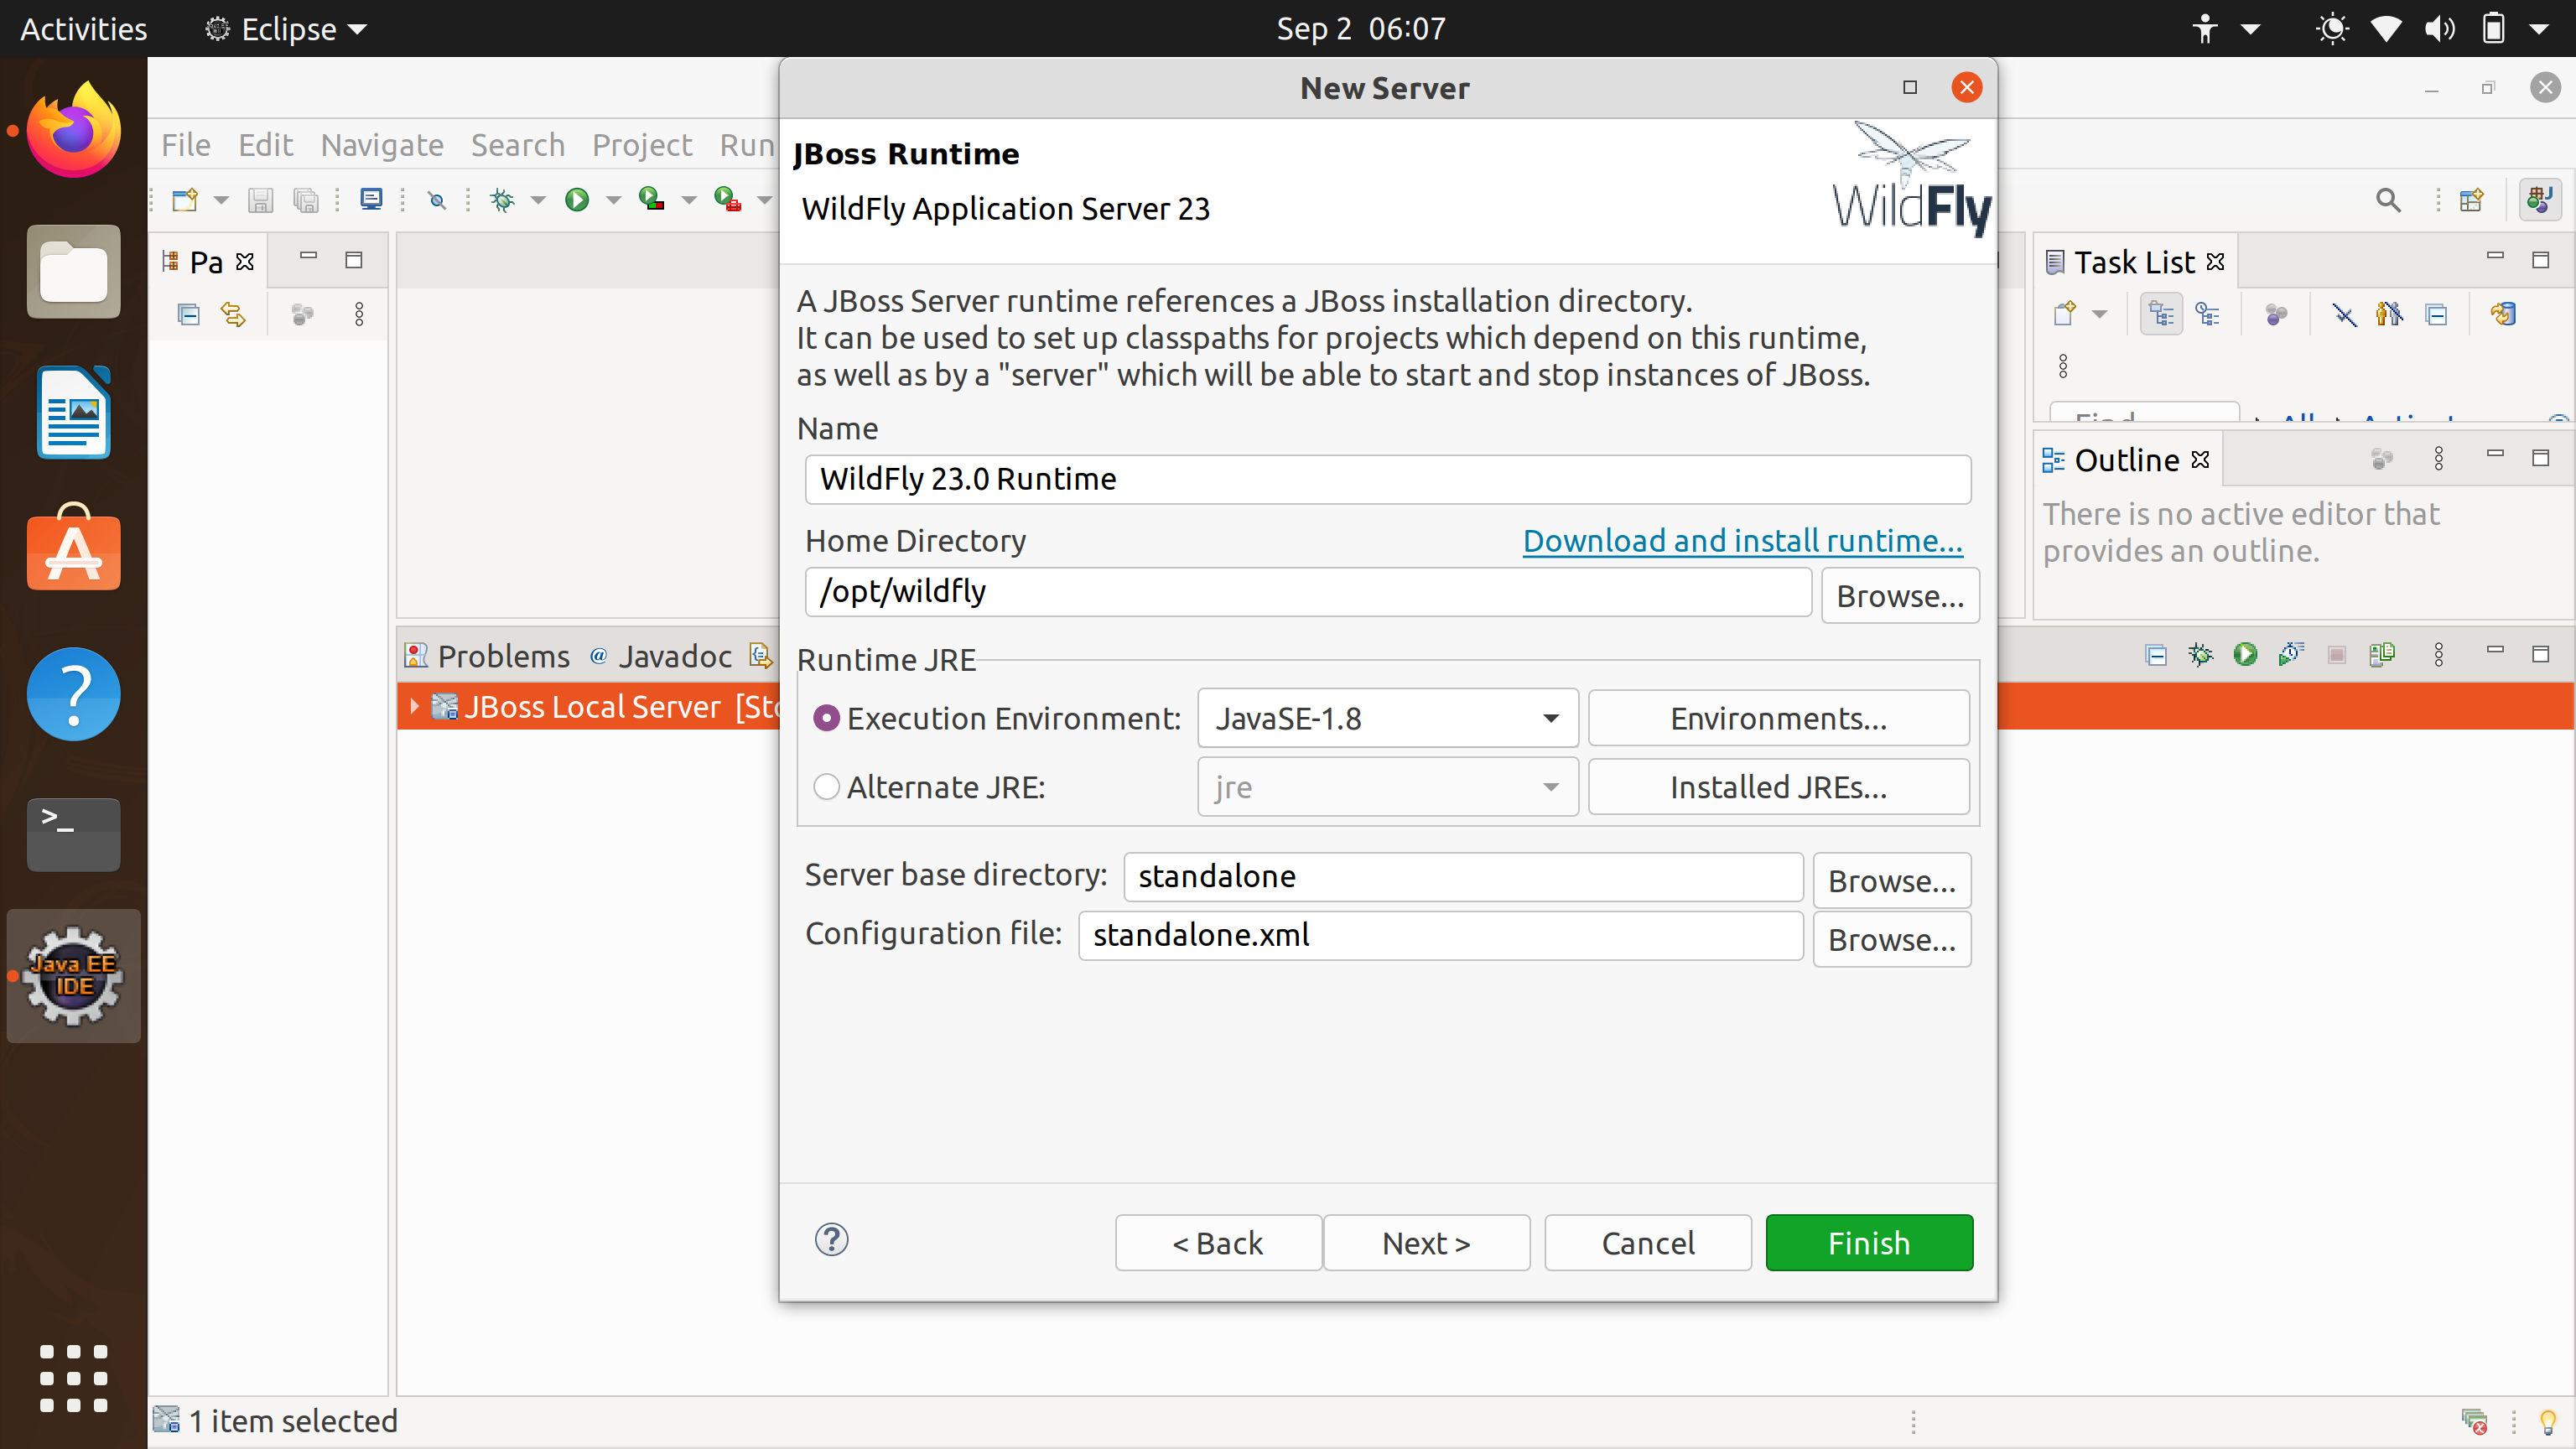
Once done click on the Finish button to add the JBoss Runtime.
Start JBoss Server
In the Server view tab, Right click on the server and select Start to start the server.
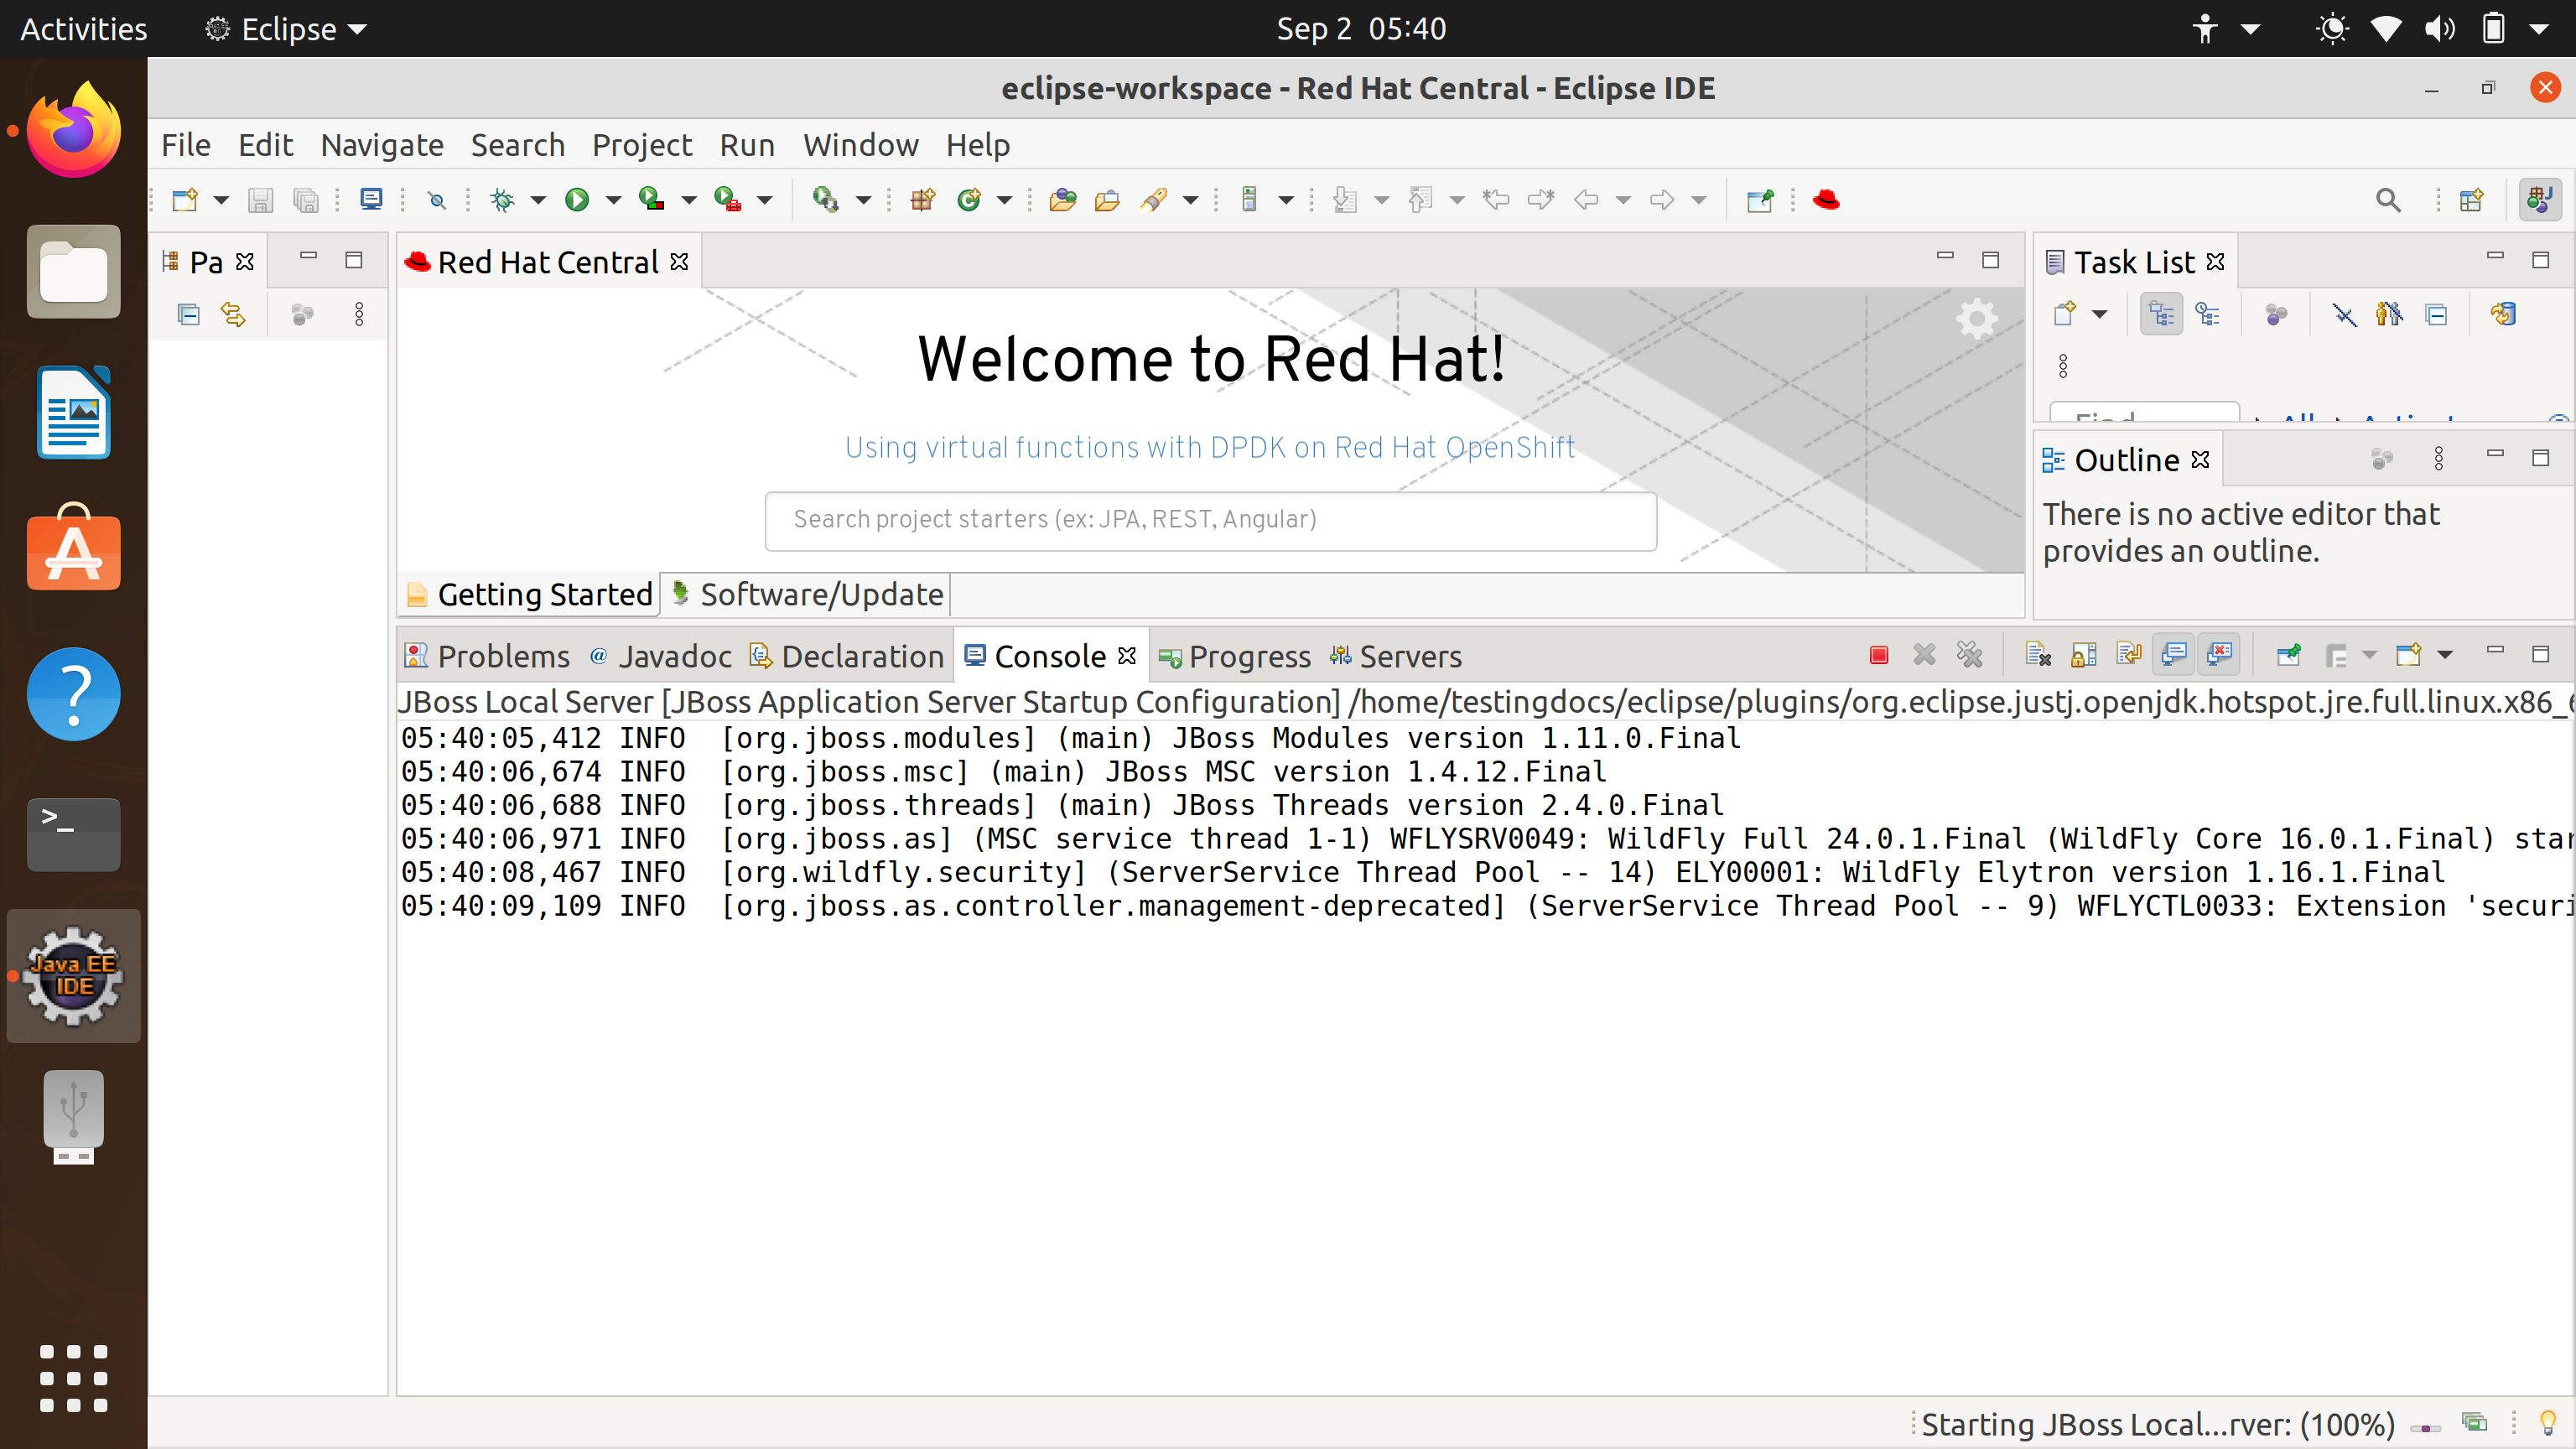
We will notice that the server boot output in the Console tab. Once the server gets started, the Server status changes to [Started, Synchronized ] against the server in the Servers tab.
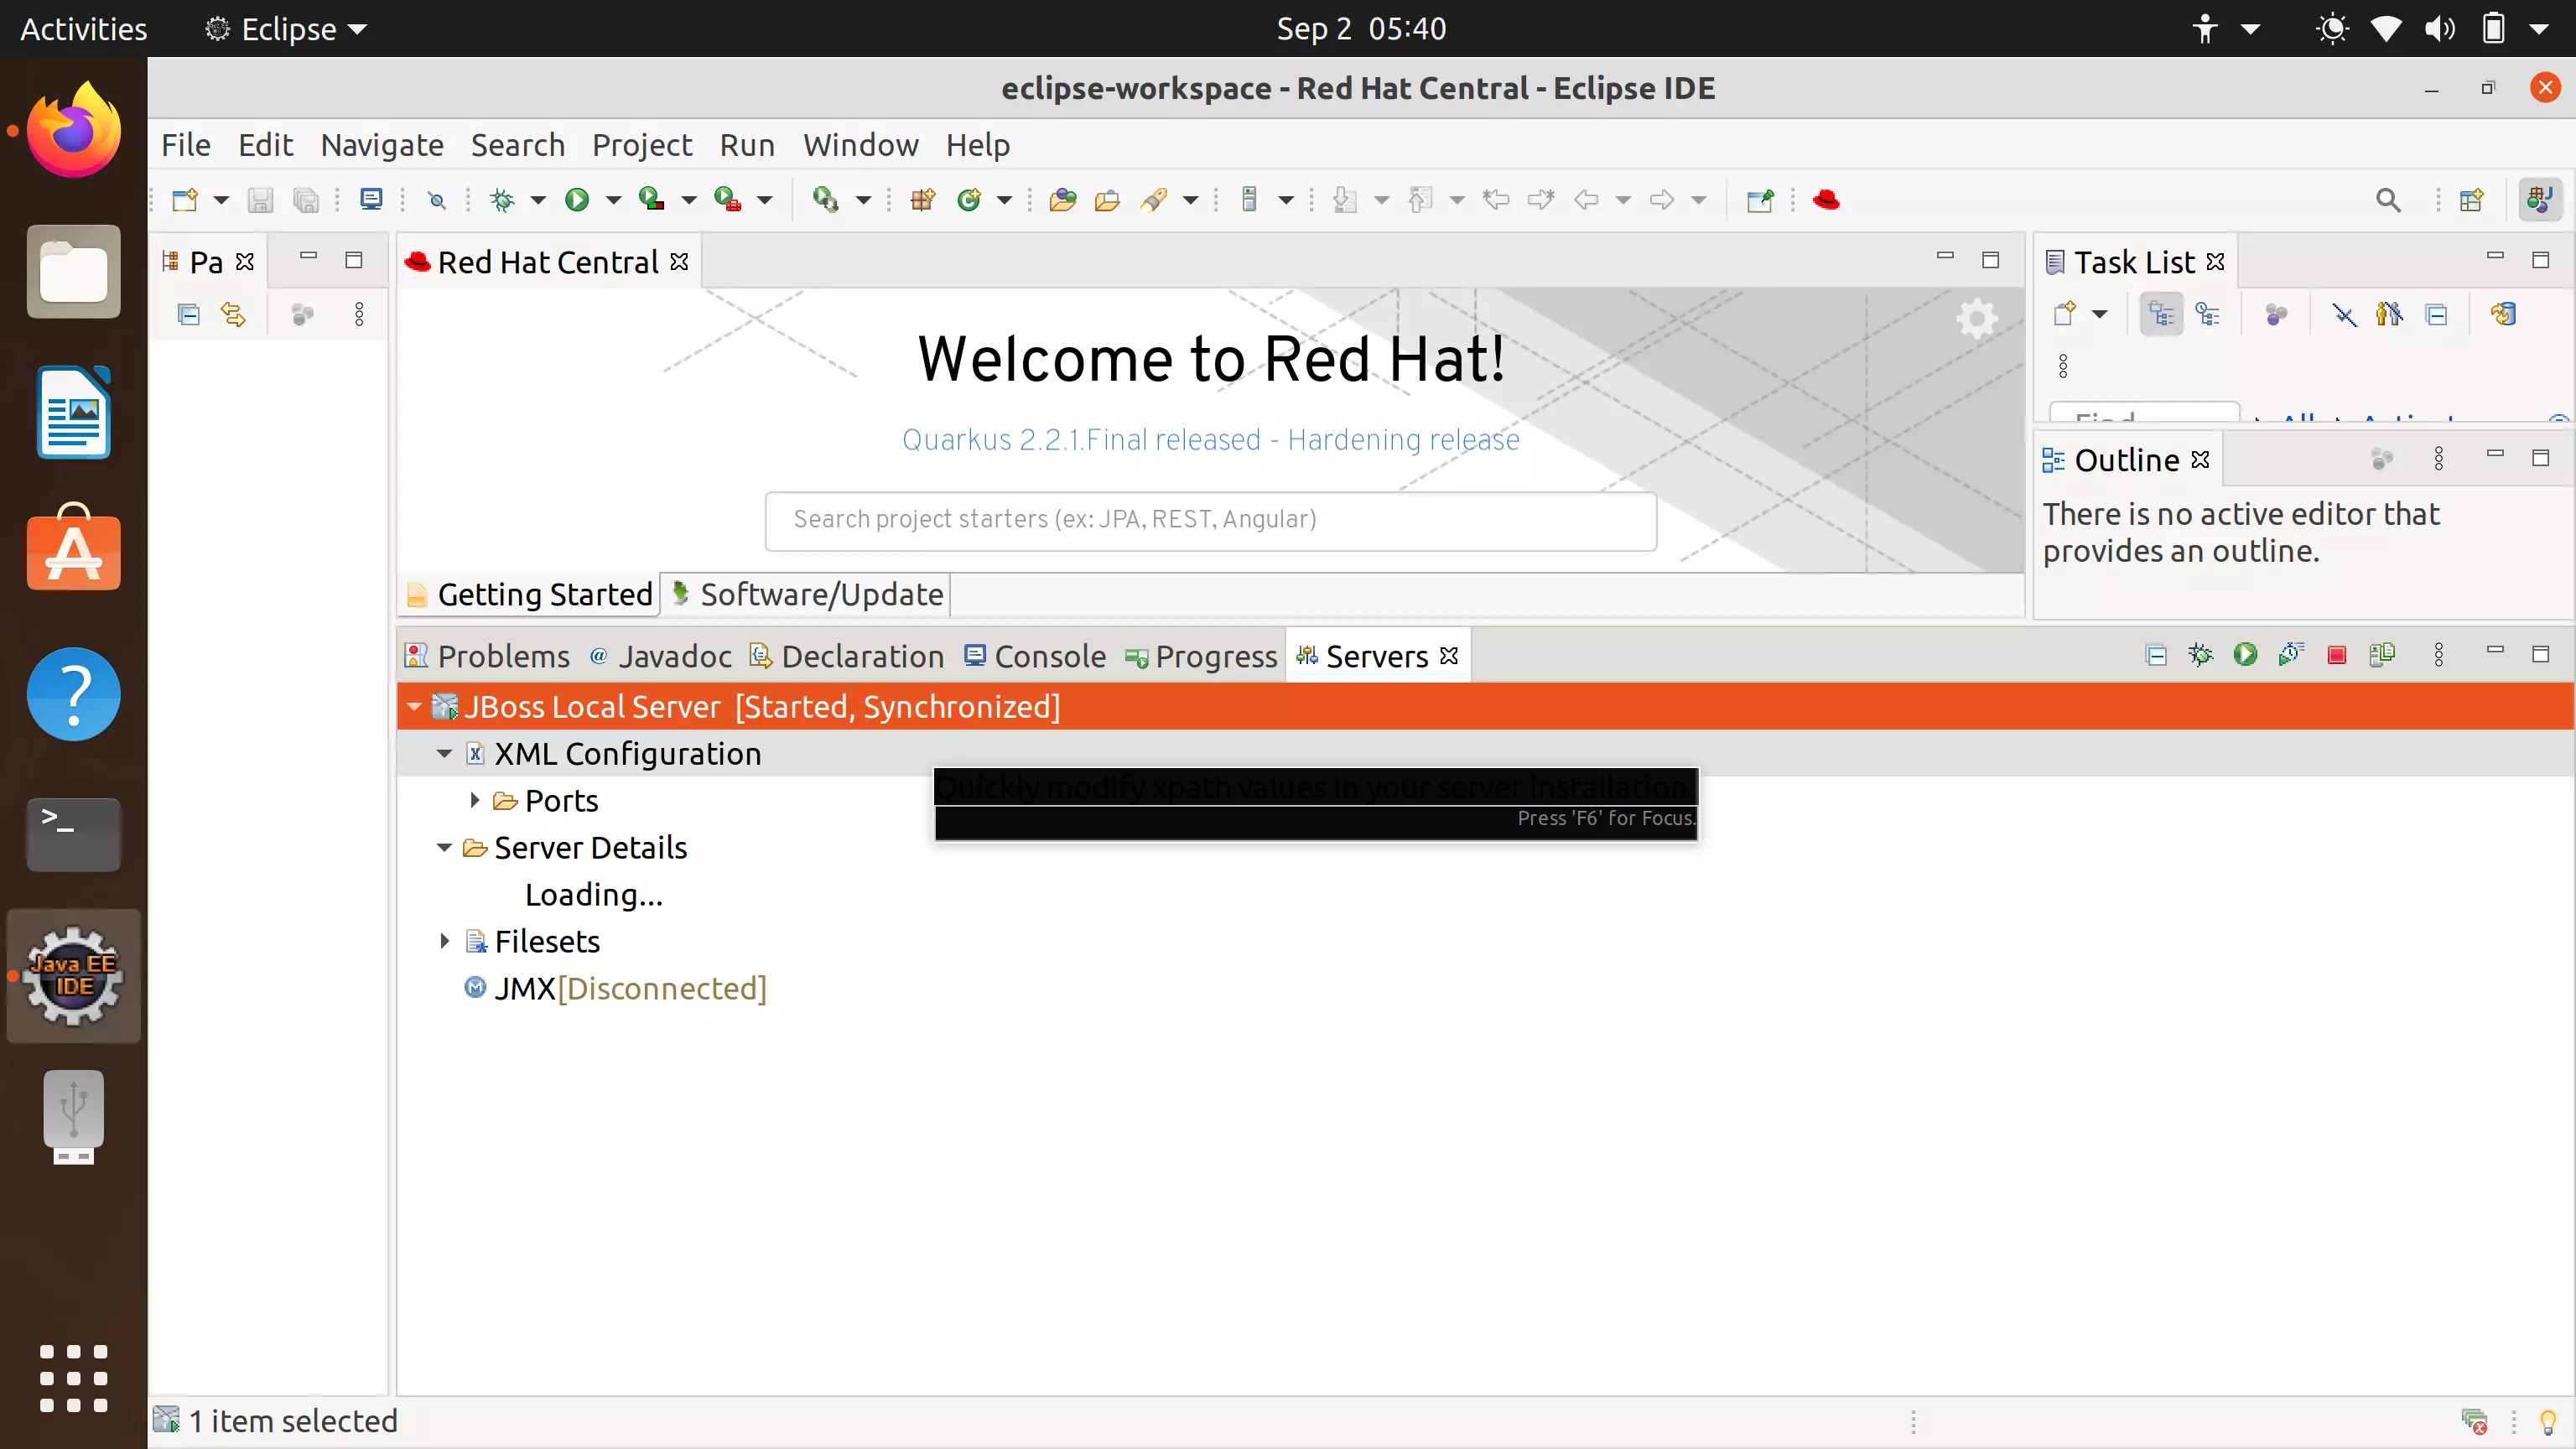
That’s it! We have successfully started the JBoss server from the Eclipse IDE.
More Information:


