Download and Install Java JDK [ 2024 ]
Download and Install Java JDK
In this post, we will review the steps involved in downloading and installing the JDK( Java Development Kit). The easiest way to install JDK is to extract the zip file and set the JAVA_HOME and Classpath environment variables. However, we will use the JDK installer to examine the installation steps.
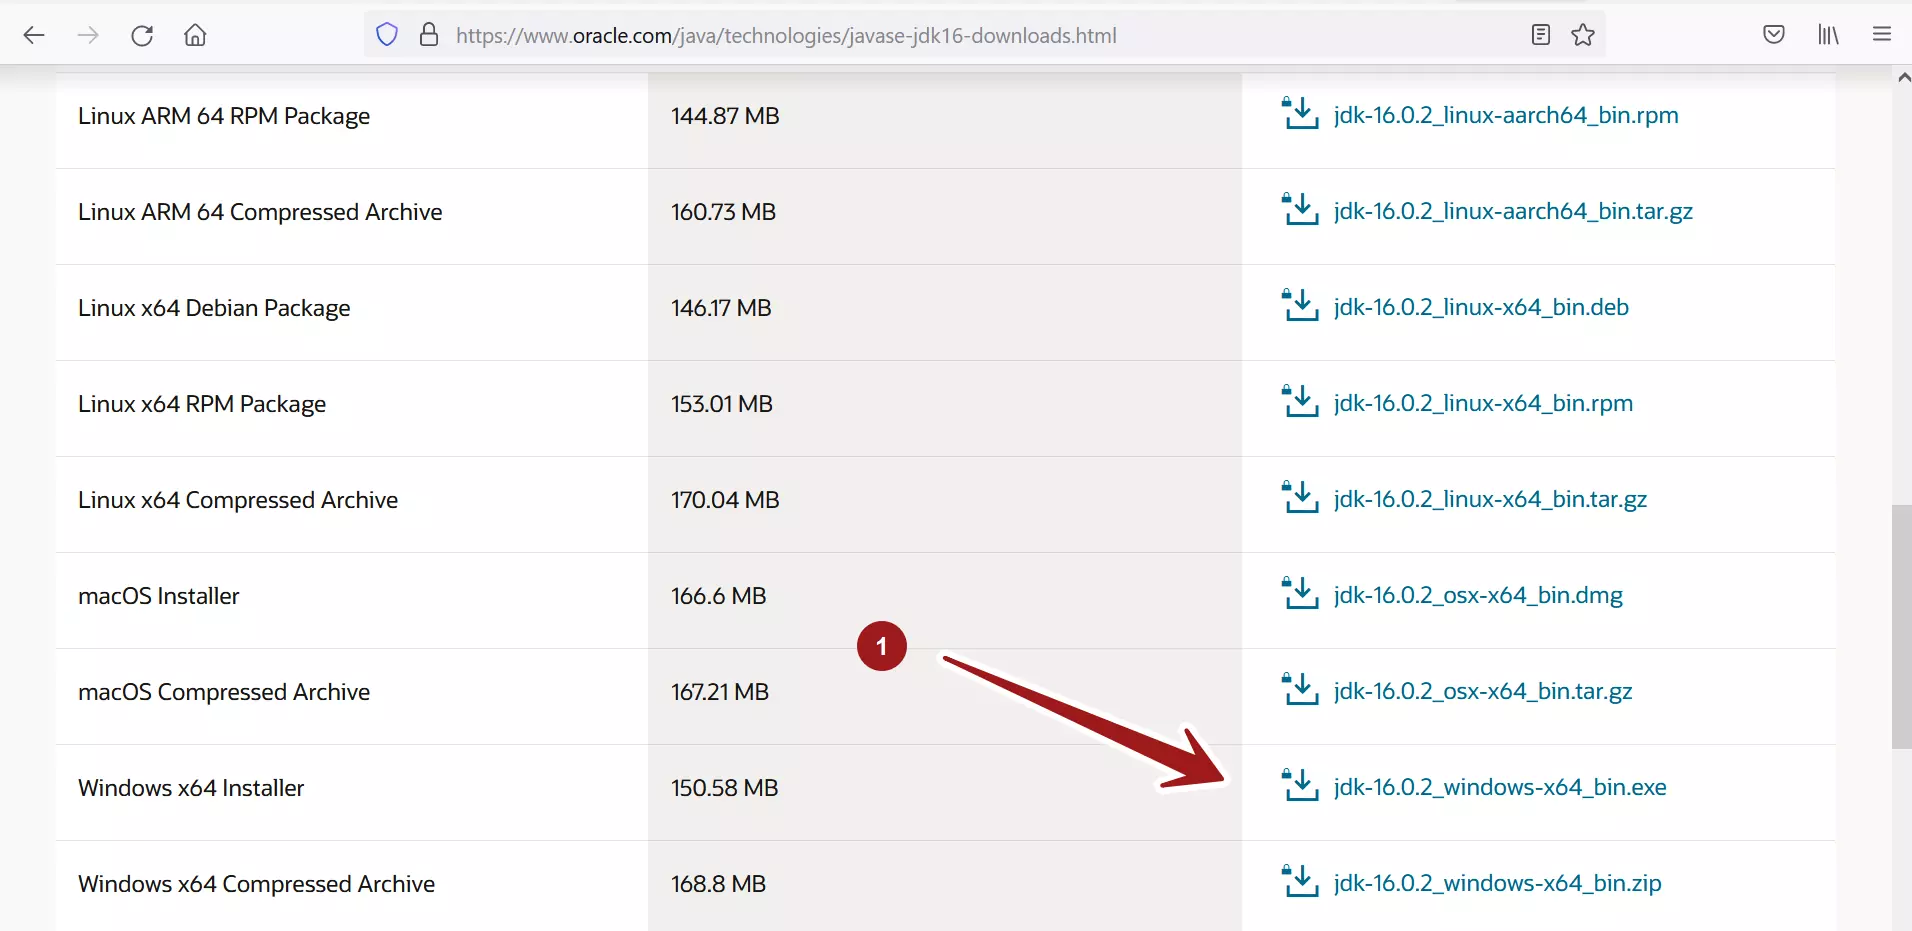
We need to download and obtain a copy of the JDK installer. The latest JDK only supports 64-bit installers, and almost any computer now has a 64-bit processor. It is recommended that you install the latest 64-bit version of JDK.
File Formats
JDK Installer file format example:
jdk-<version>_windows-x64_bin.exe
JDK zip file format example:
jdk-<version>_windows-x64_bin.zip
JDK 16 Install
Browse the official website to download JDK.
http://www.oracle.com/technetwork/java/javase/downloads/index.html
Download the JDK installer on to the computer.
Run the JDK Installer
Open Windows Explorer and navigate to where you saved the JDK installer.
Double-click on the file name to launch the install wizard.
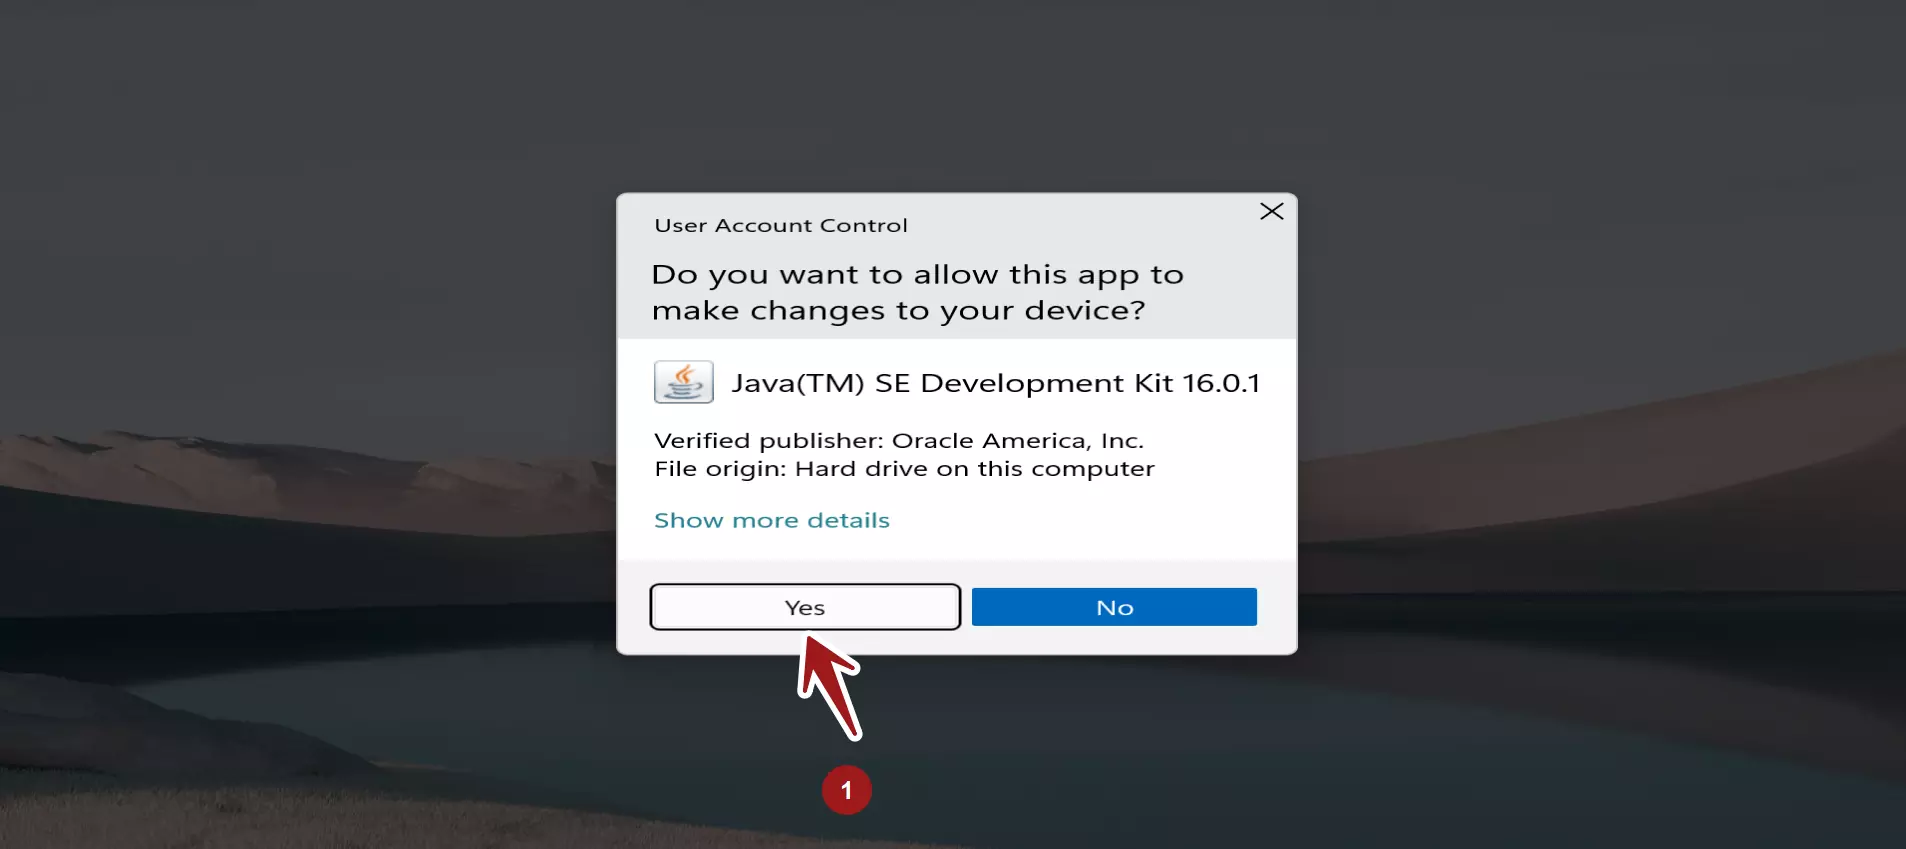
You must have administrative permissions to install the JDK on Microsoft Windows. To do so, click Yes on the UAC( User Access Control ) elevation dialog.
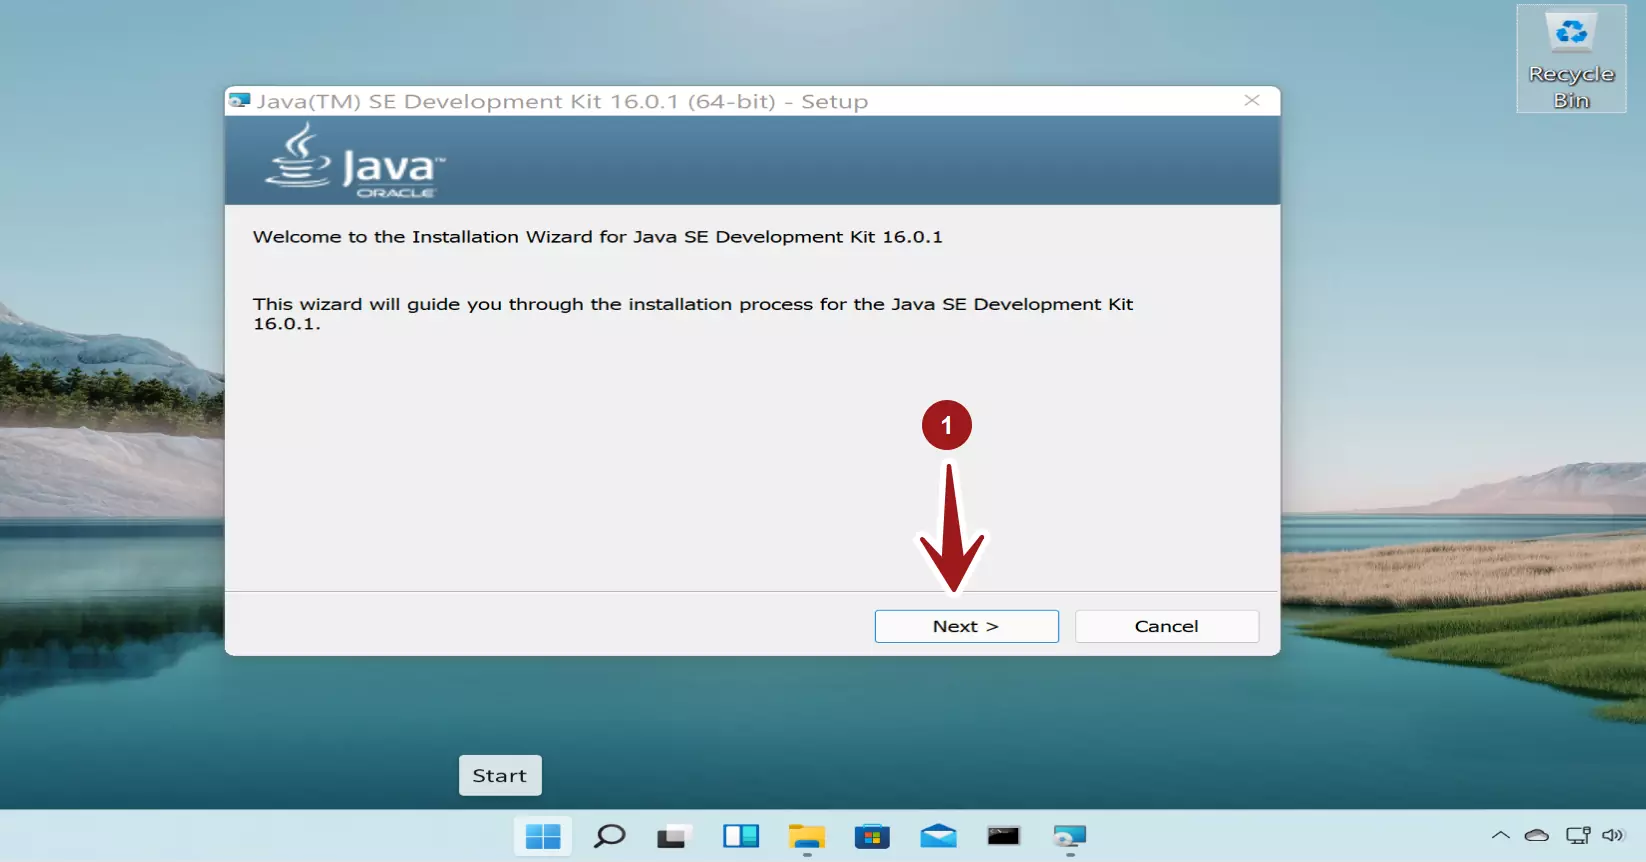
When the JDK installer starts, the welcome screen will appear. Click on the Next > button.
JDK 16 Install Screen
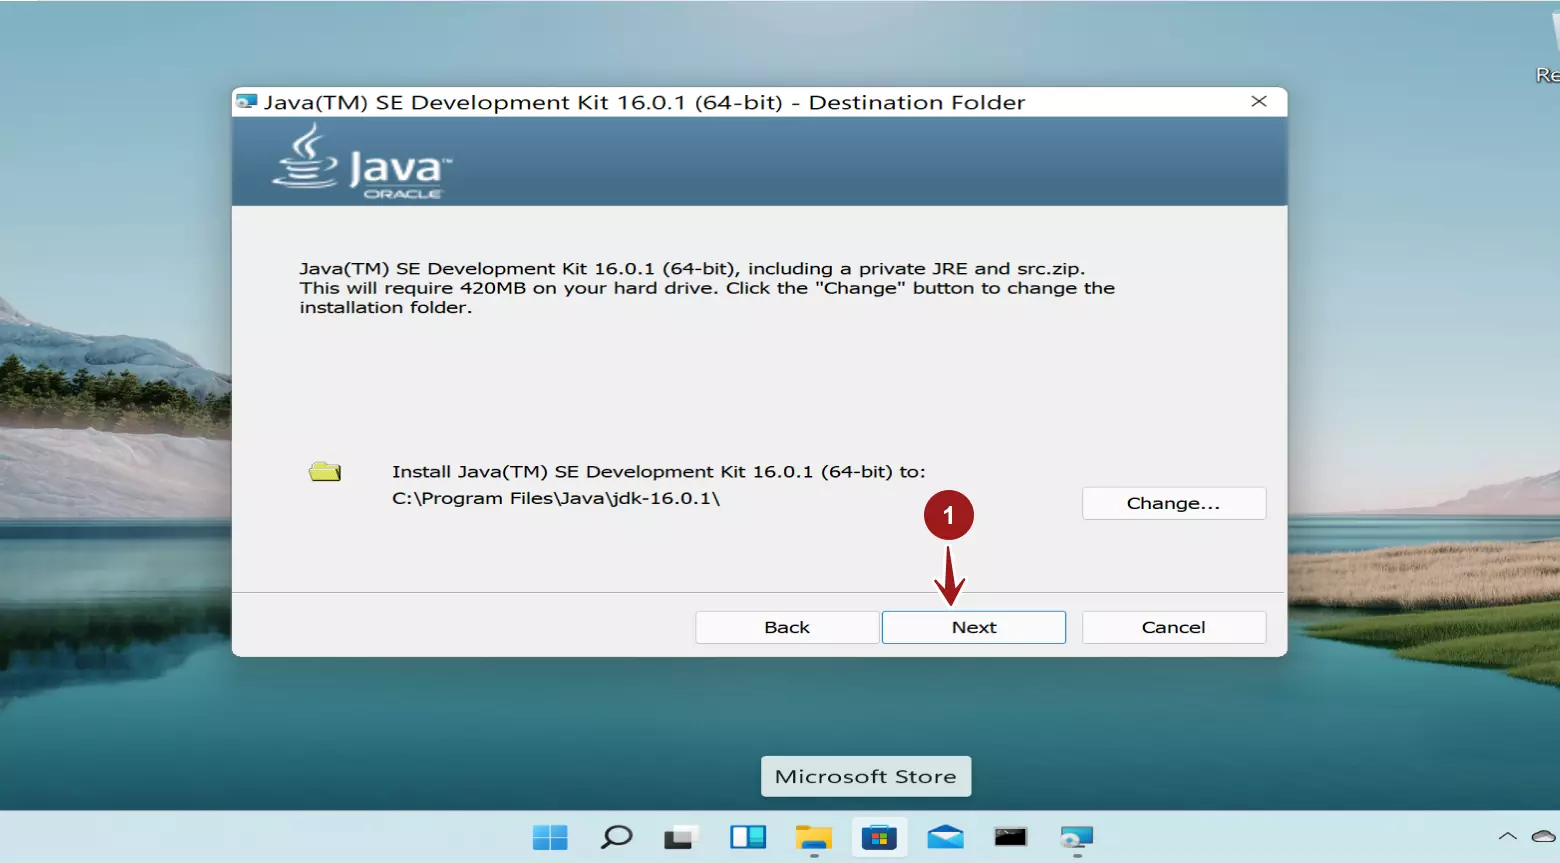
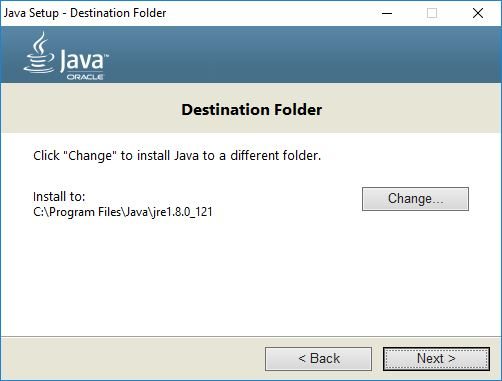
The JDK installer asks for the Destination folder. On this screen, we can change the JDK installation folder. In most cases, it is best to use the default destination folder. Once done, click on the Next button.
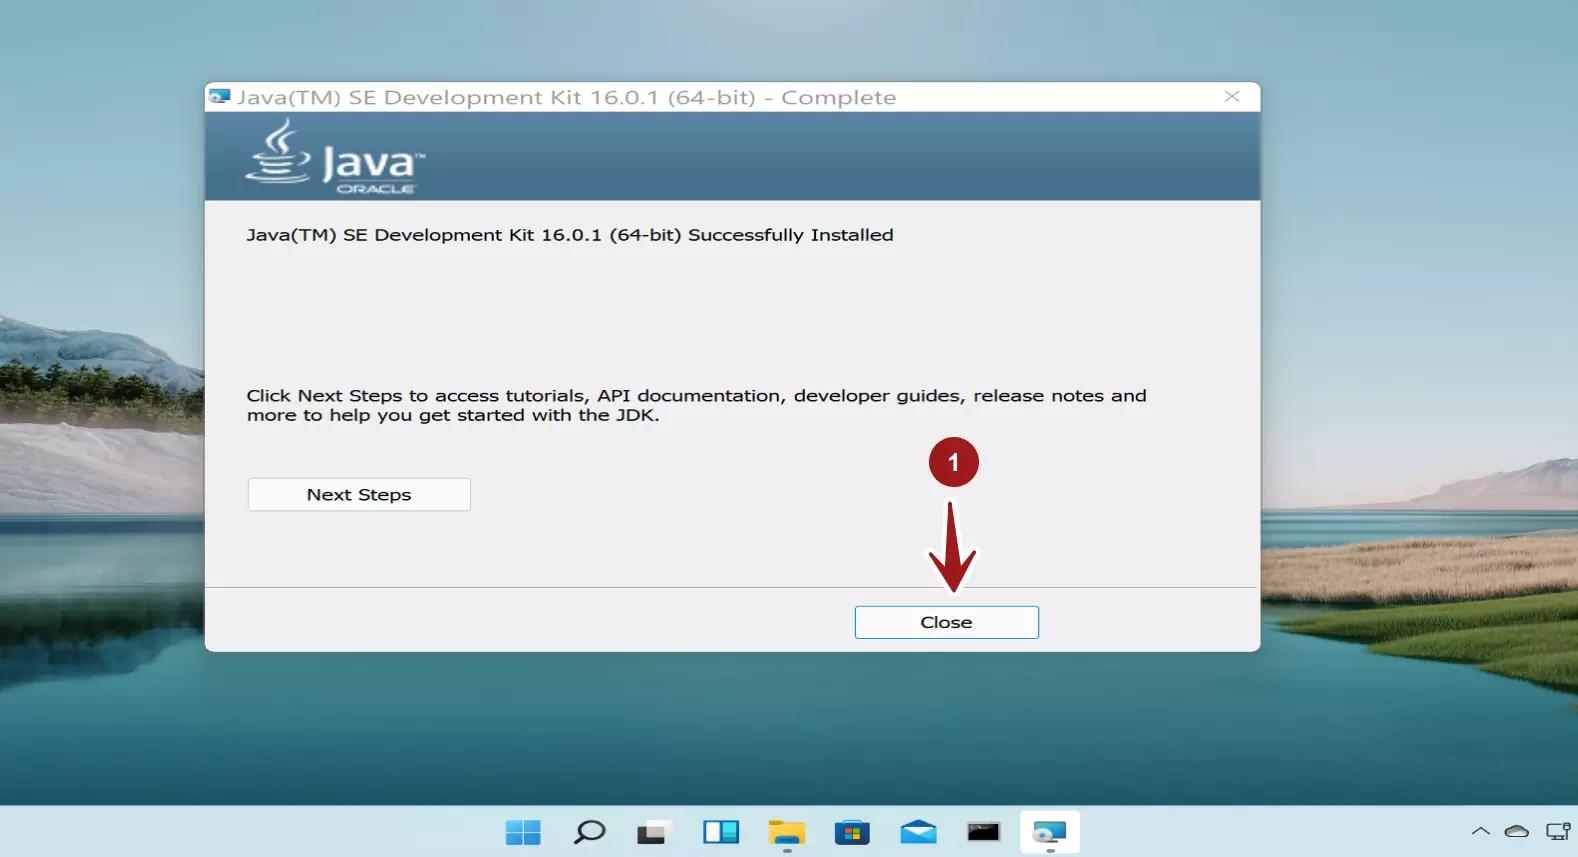
When the JDK installation has been completed successfully, it should display a Complete screen. Click Close to exit the installer.
Set JAVA_HOME variable
Update the PATH Environment Variable
If you do not set the PATH variable, you must specify the full path to the executable file every time you run it.
It is useful to set the PATH variable permanently so it will persist after rebooting.
Add the full path of the JDK directory to the PATH variable to set the PATH variable permanently. Set the PATH variable as follows on Microsoft Windows:
- Click Start, then Control Panel, then System.
- Click Advanced, then Environment Variables.
- Add the location of the bin folder of the JDK installation to the PATH variable in System Variables.
————
Older JDK 8
Instructions and Install Screens:
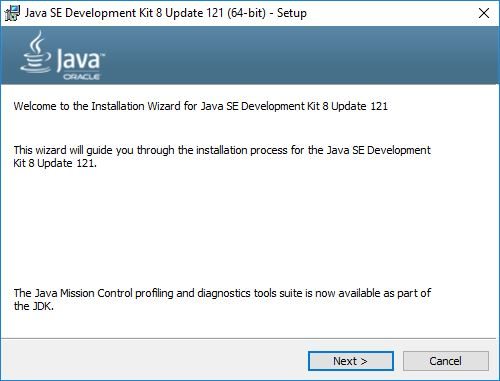
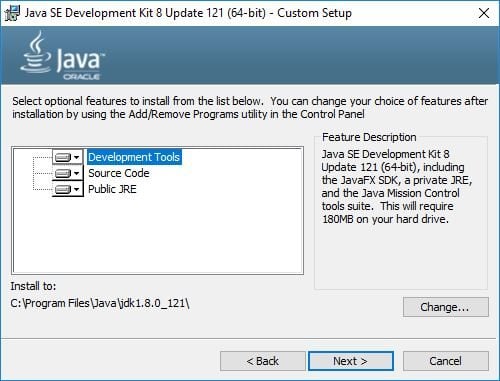
The file jdk-8version-windows-i586-i.exe is the JDK installer for 32-bit systems. The file jdk-8version-windows-x64.exe is the JDK installer for 64-bit systems. Double-click the installer’s icon if you downloaded either file instead of running it directly from the website.
Ubuntu Linux
Steps to install Oracle JDK on Ubuntu Linux:
Next Step: Run the Hello World Program
—
Java Tutorials
Java Tutorial on this website:
