Install Oracle JDK on Ubuntu Linux
Install Oracle JDK on Ubuntu Linux
In this tutorial, we will learn steps involved to download and install Oracle JDK on Ubuntu Linux machine. JDK install would be the first step to setup automation environment. Many servers and tools require JDK to be installed on the machine.
So, Let’s get started!
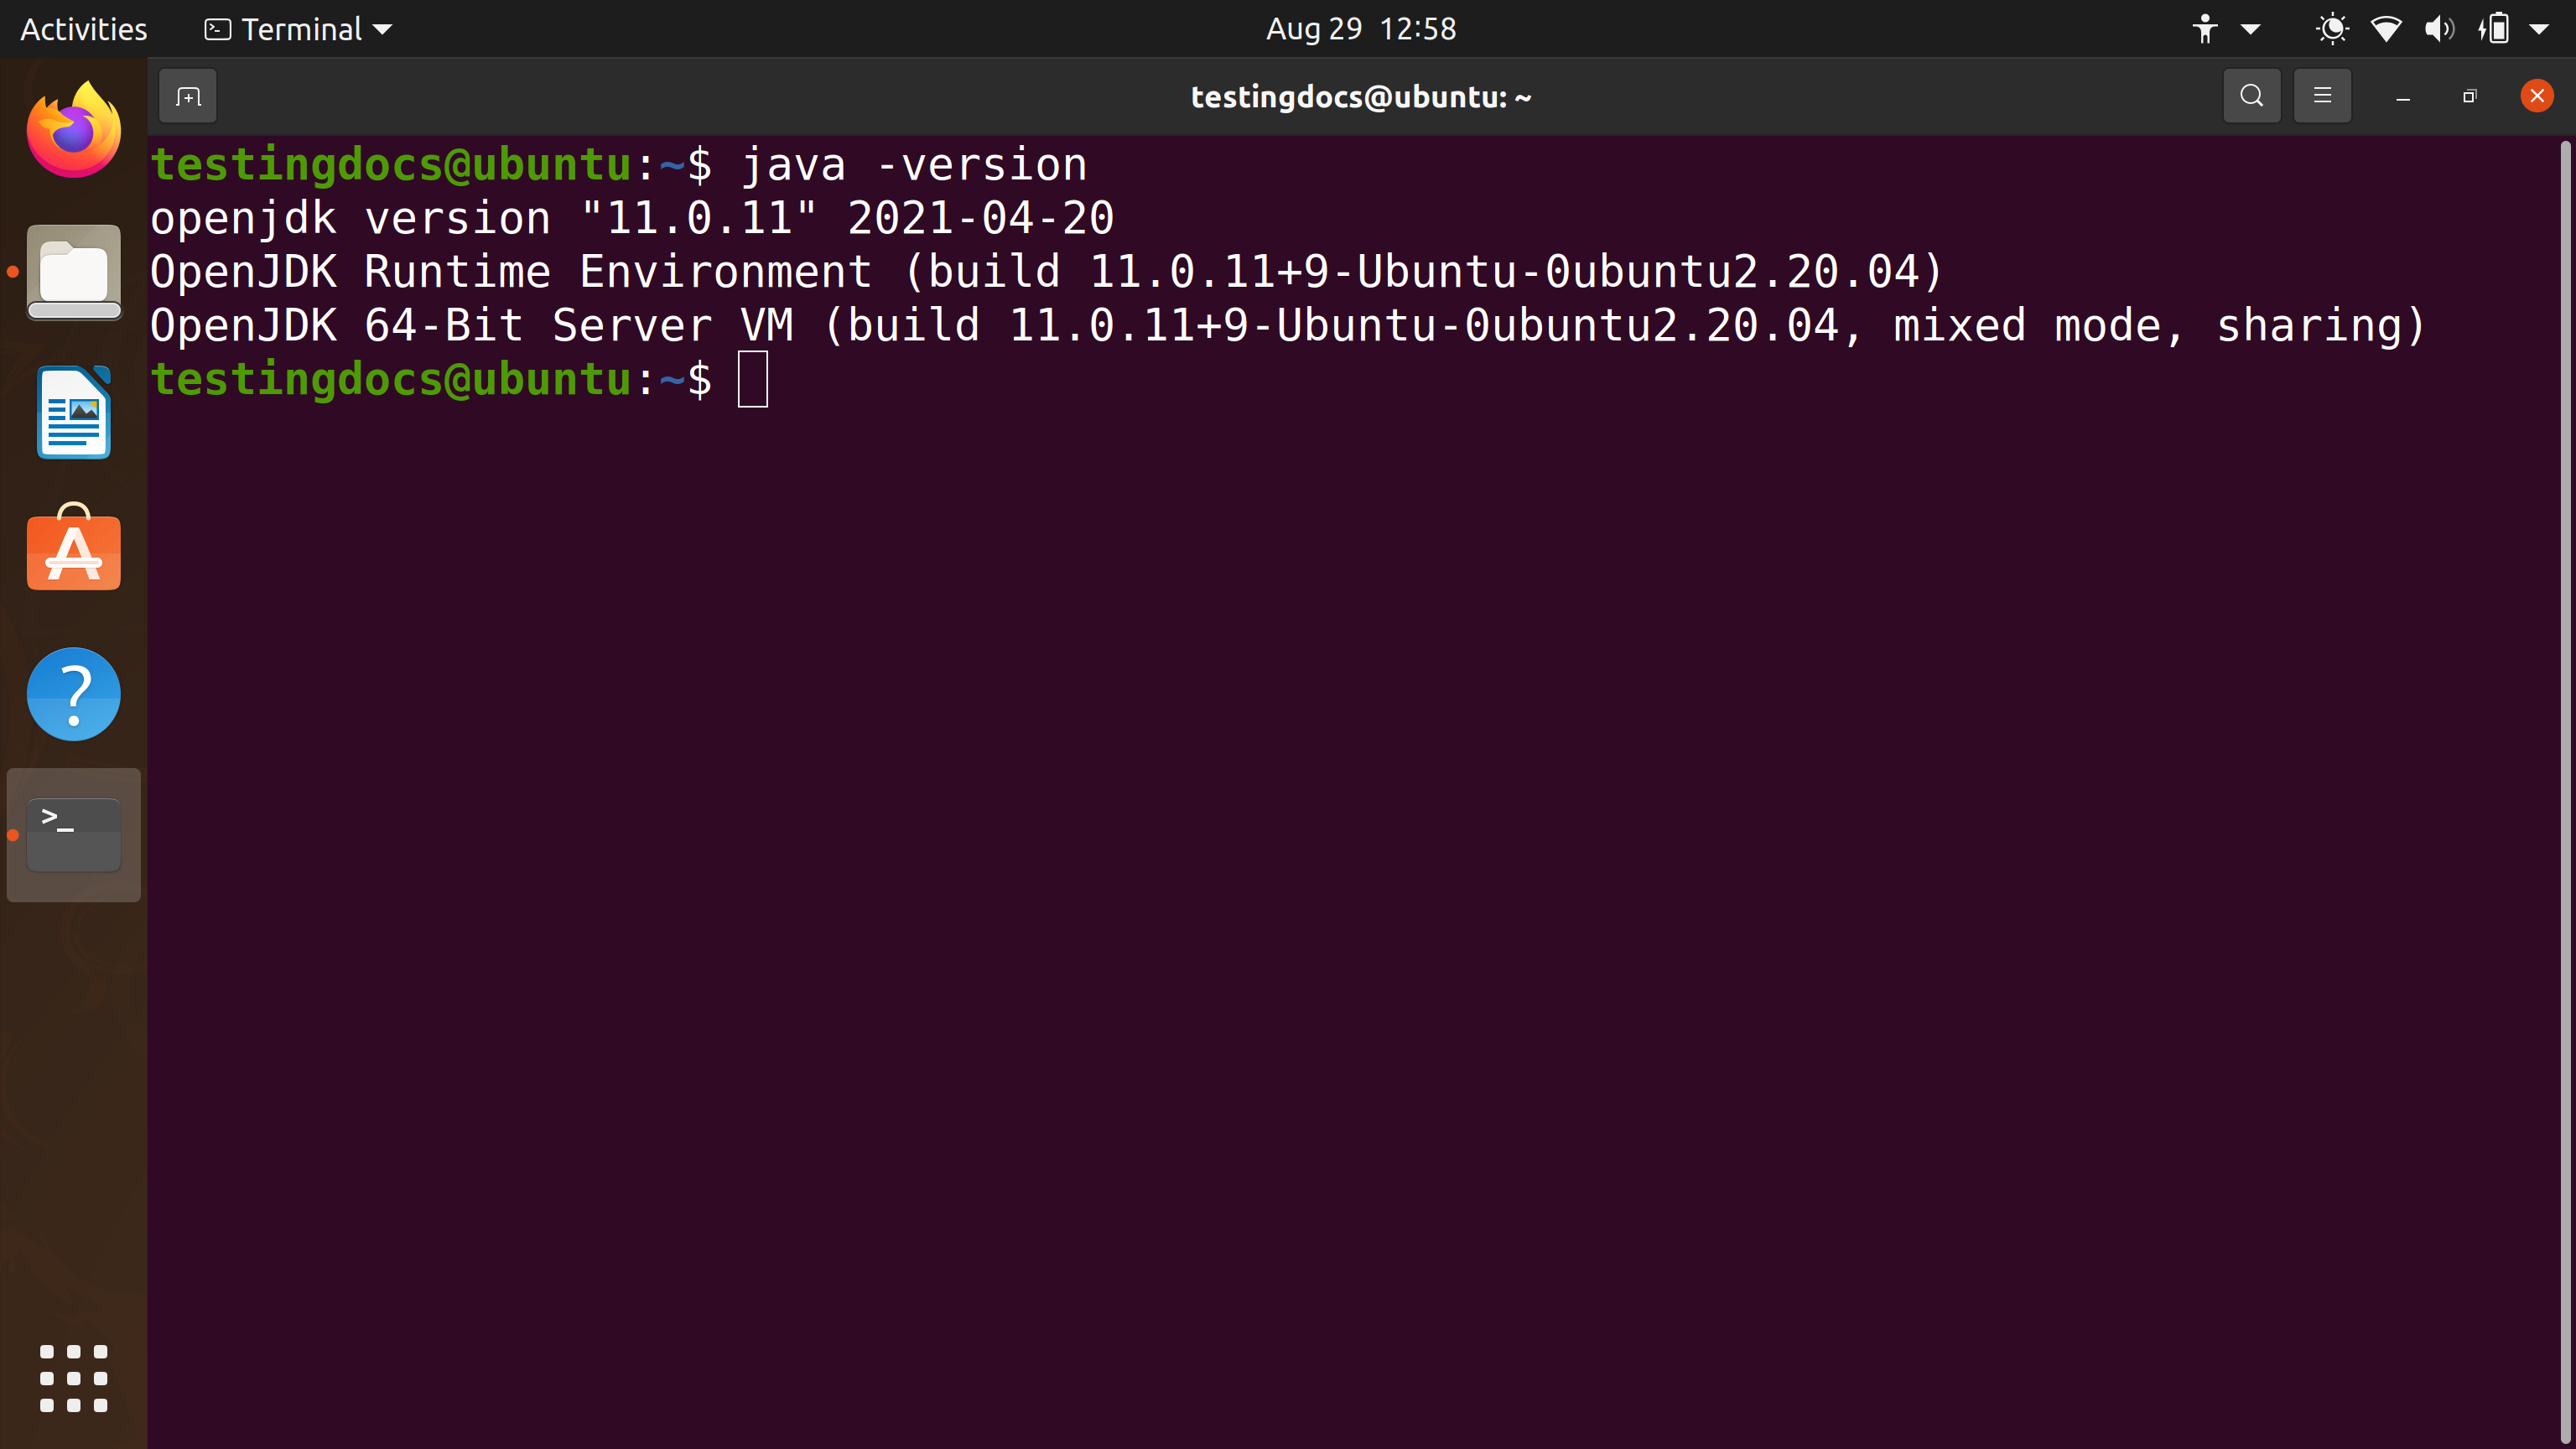
First things first, check if any JDK is installed on the machine before proceeding any further. Launch Terminal, and issue the java version command. We notice that OpenJDK is installed on the machine.
The main difference between OpenJDK and Oracle JDK is the license. Note that, in this post, we will install Oracle JDK.
Remove OpenJDK
Issue the following command to remove the prior JDK install.
$ suo apt-get purge openjdk*
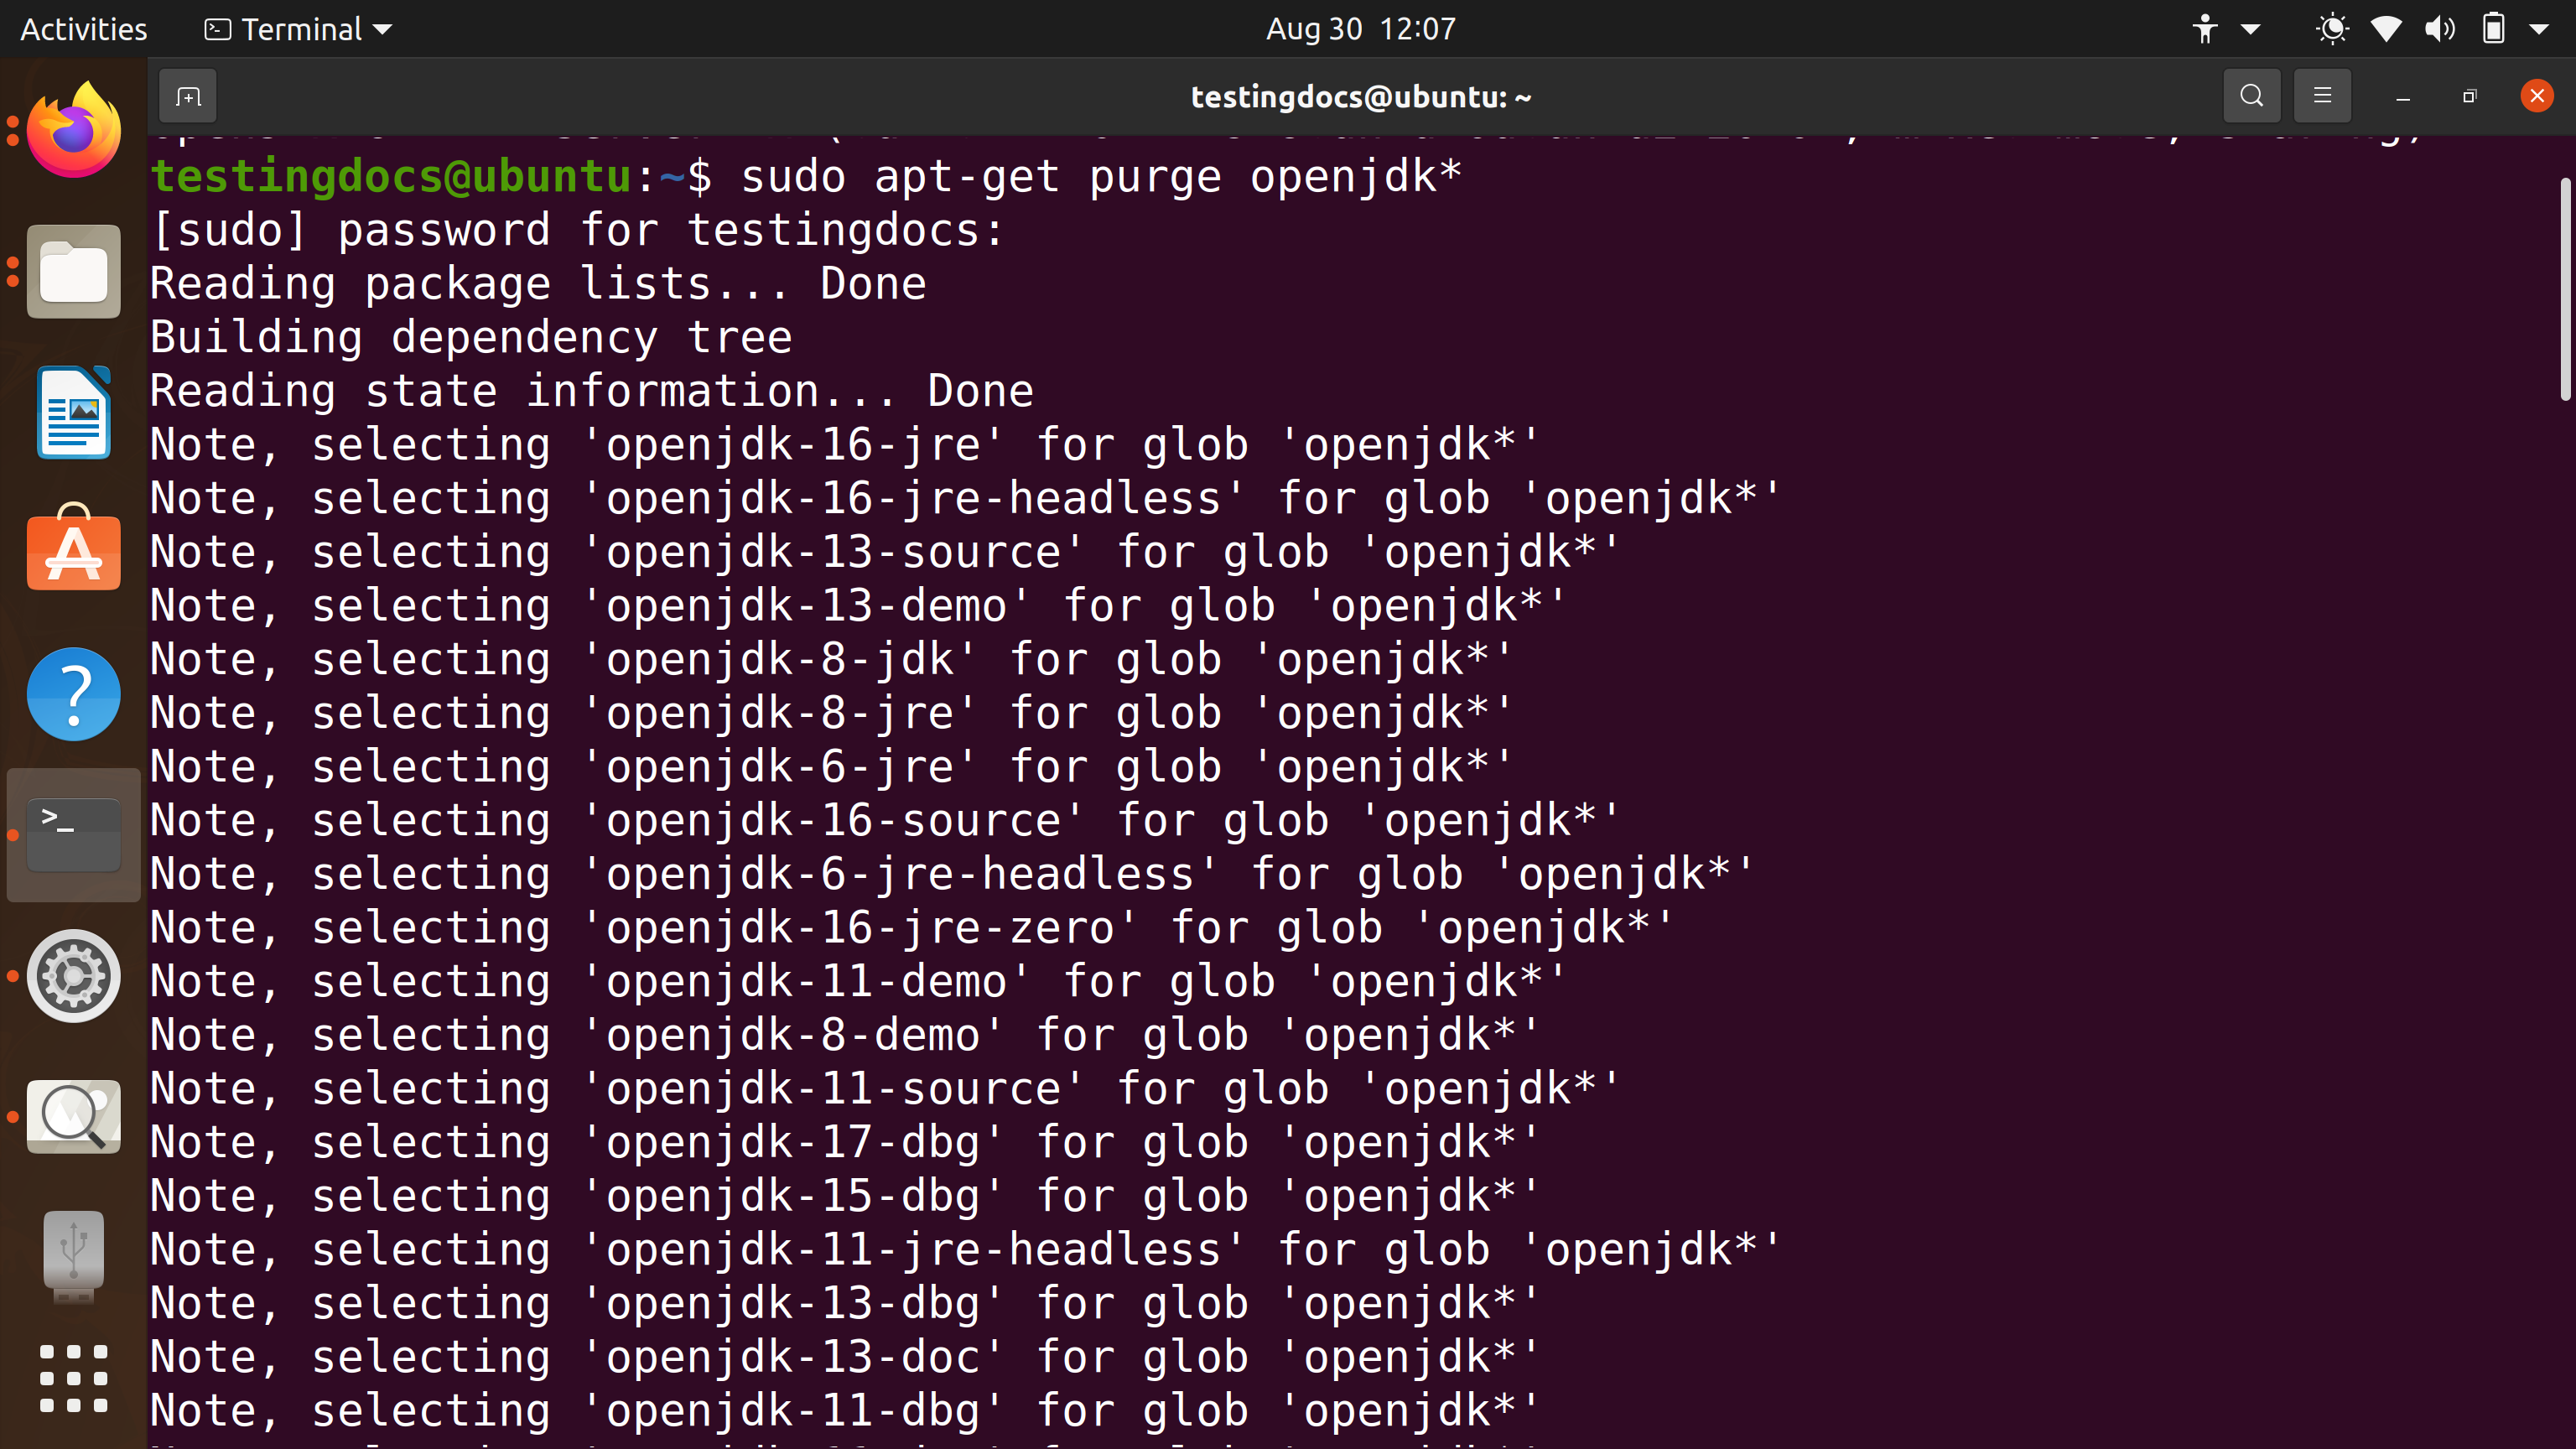
Click on Y to any user prompts during the uninstall process.
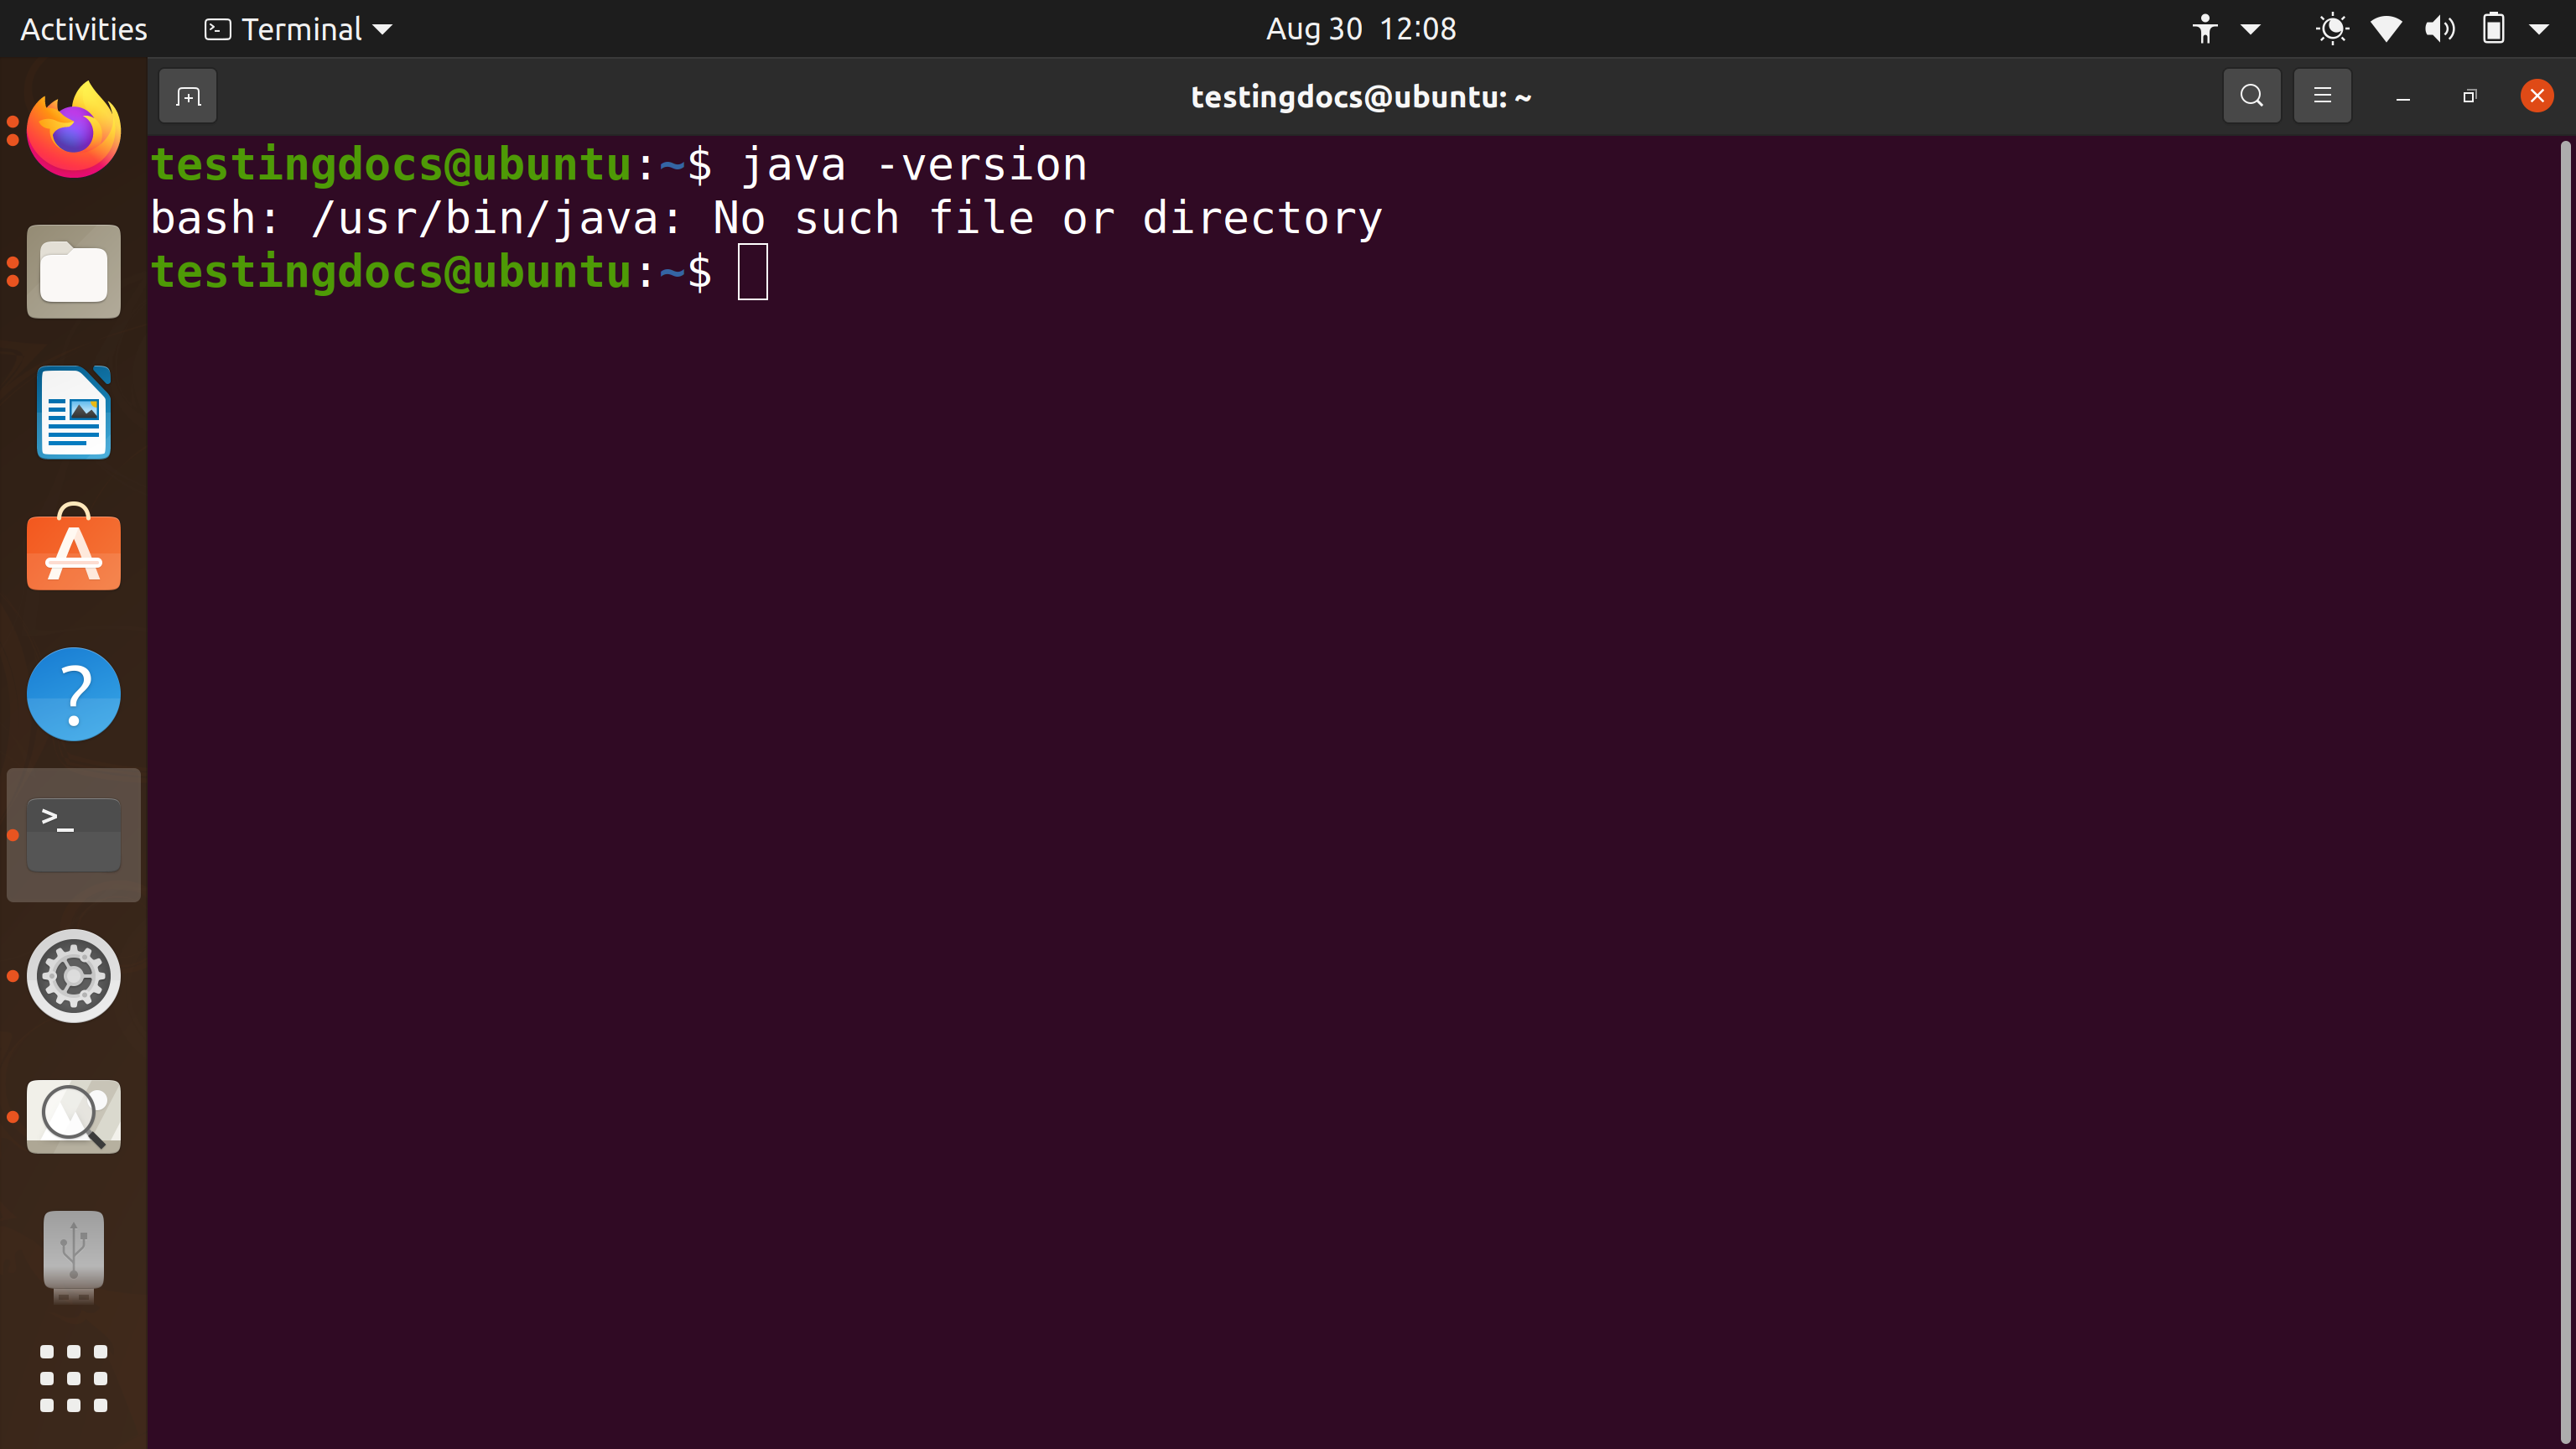
Verify that the OpenJDK is removed from the machine.
Download
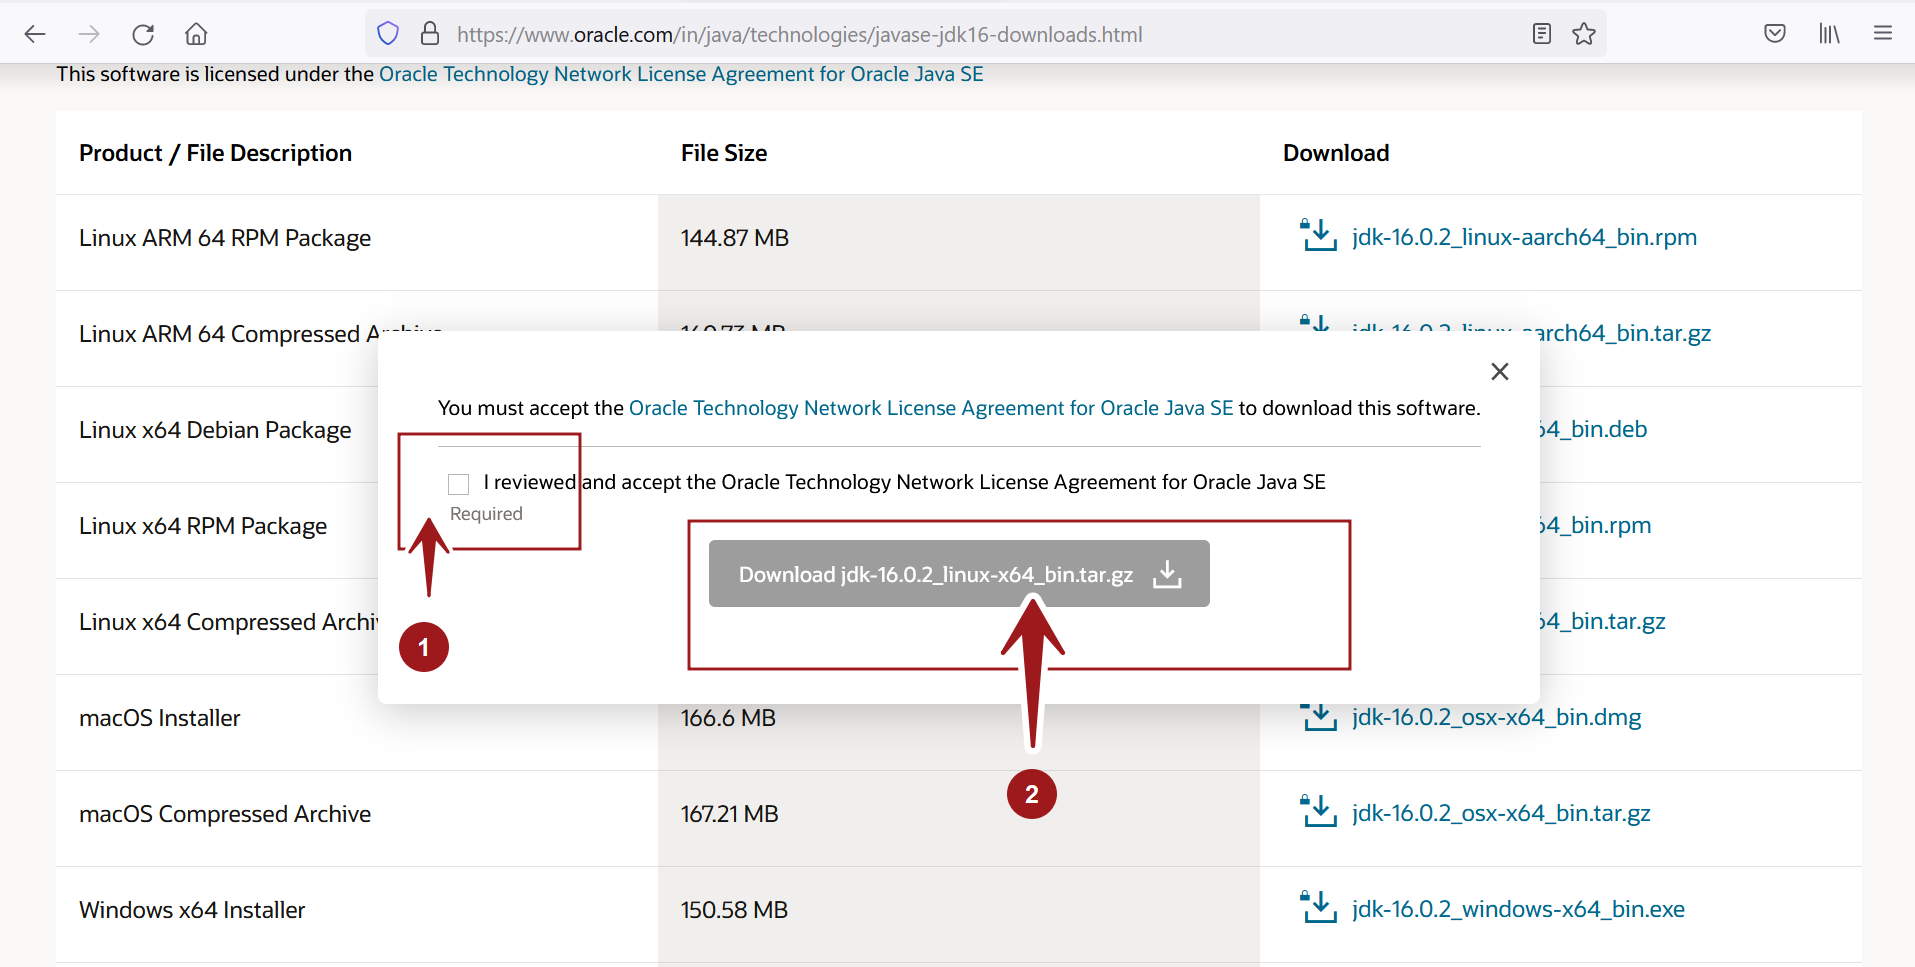
Navigate to Oracle official website to download Oracle JDK.
https://www.oracle.com/in/java/technologies/javase-downloads.html
Choose Linux64 Compressed Archive tar file. JDK ships only for 64-bit architecture.
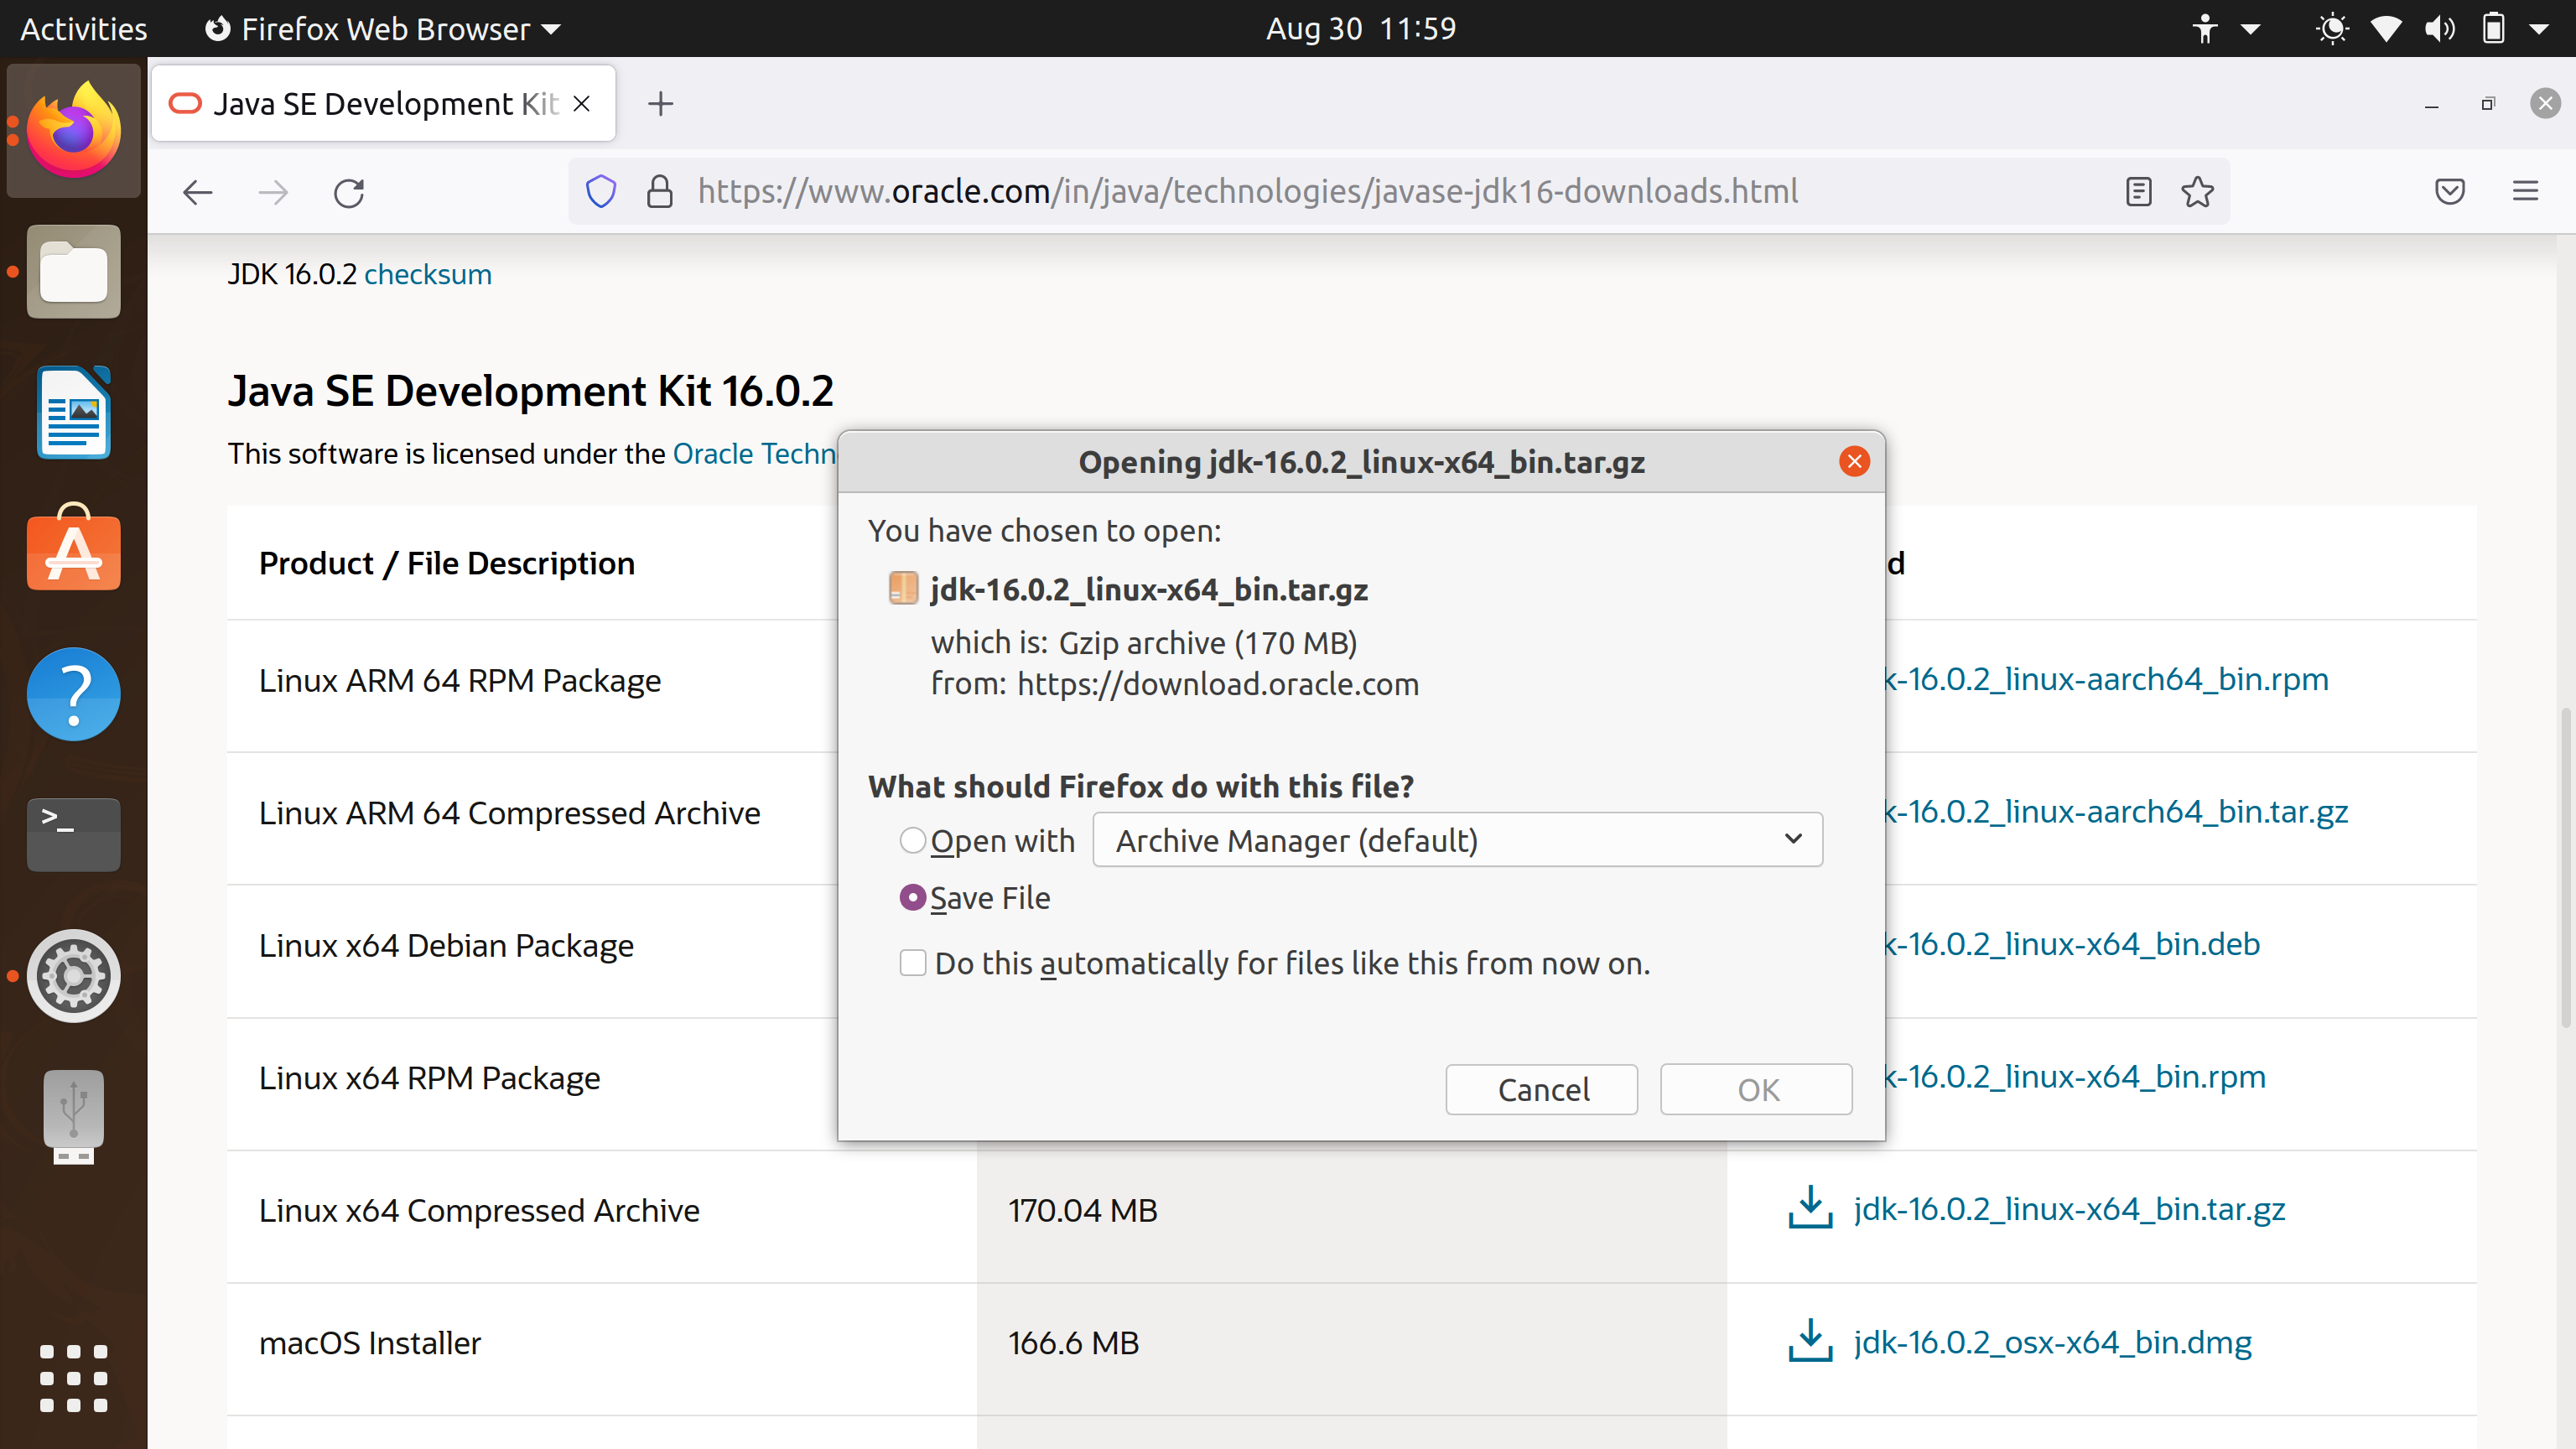
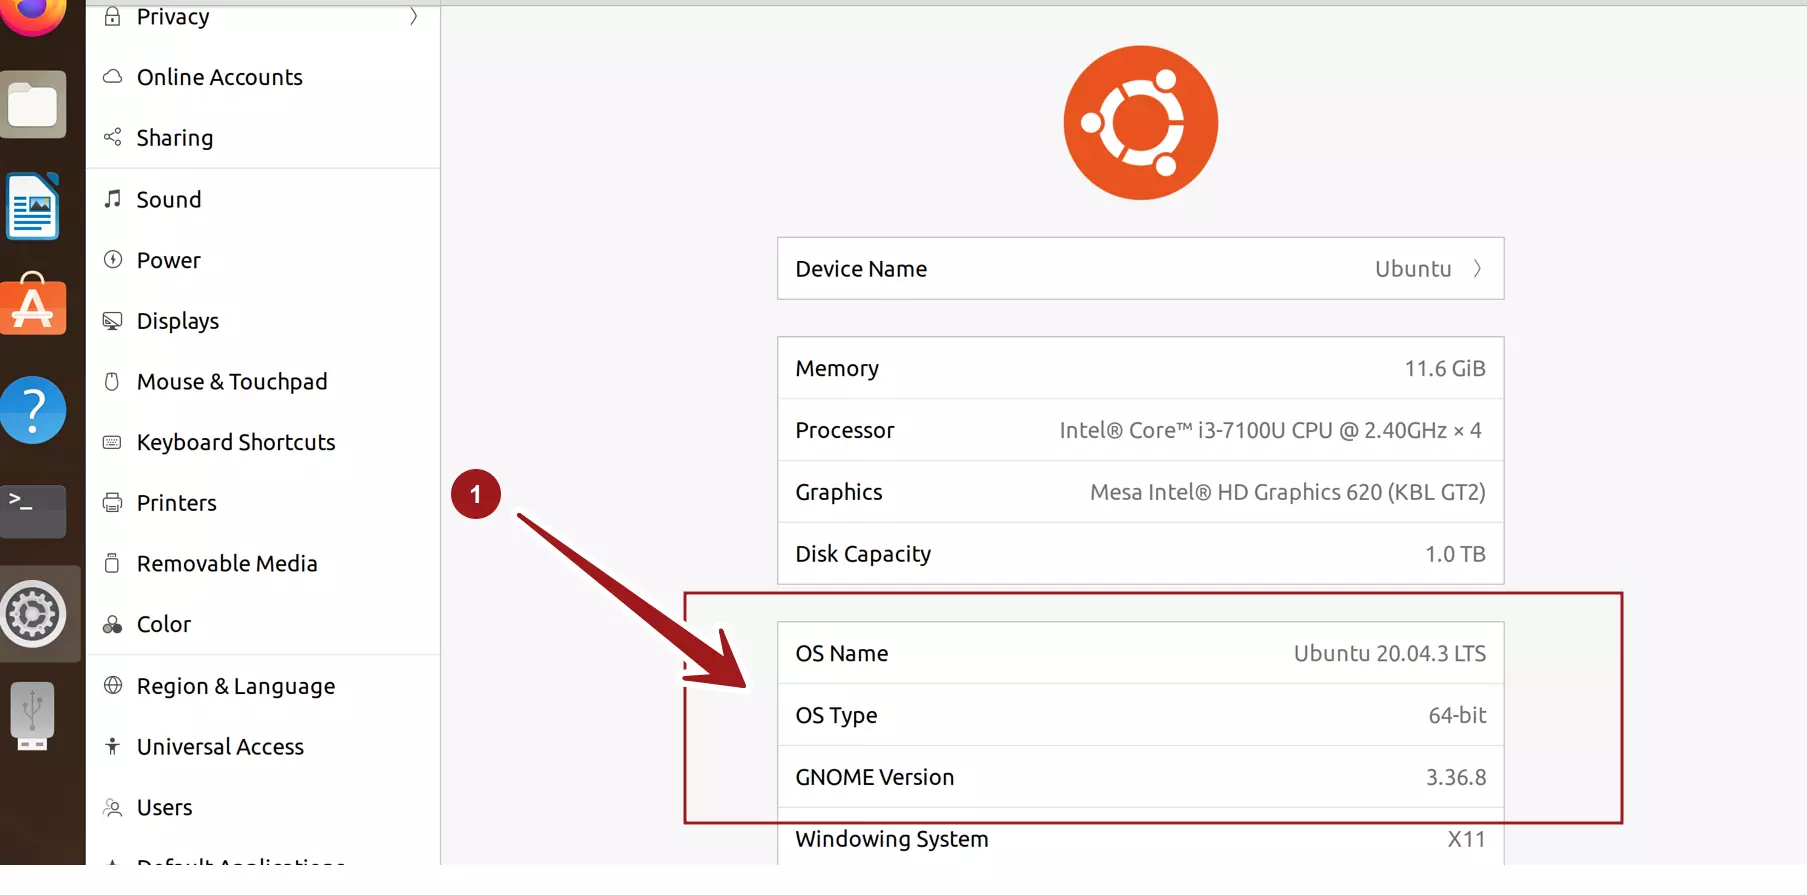
Make sure your machine OS type is 64-bit architecture.
Accept License
Its important to know that Oracle JDK license terms has changed since 2019. Please review the license terms carefully before downloading and using the product.
Install
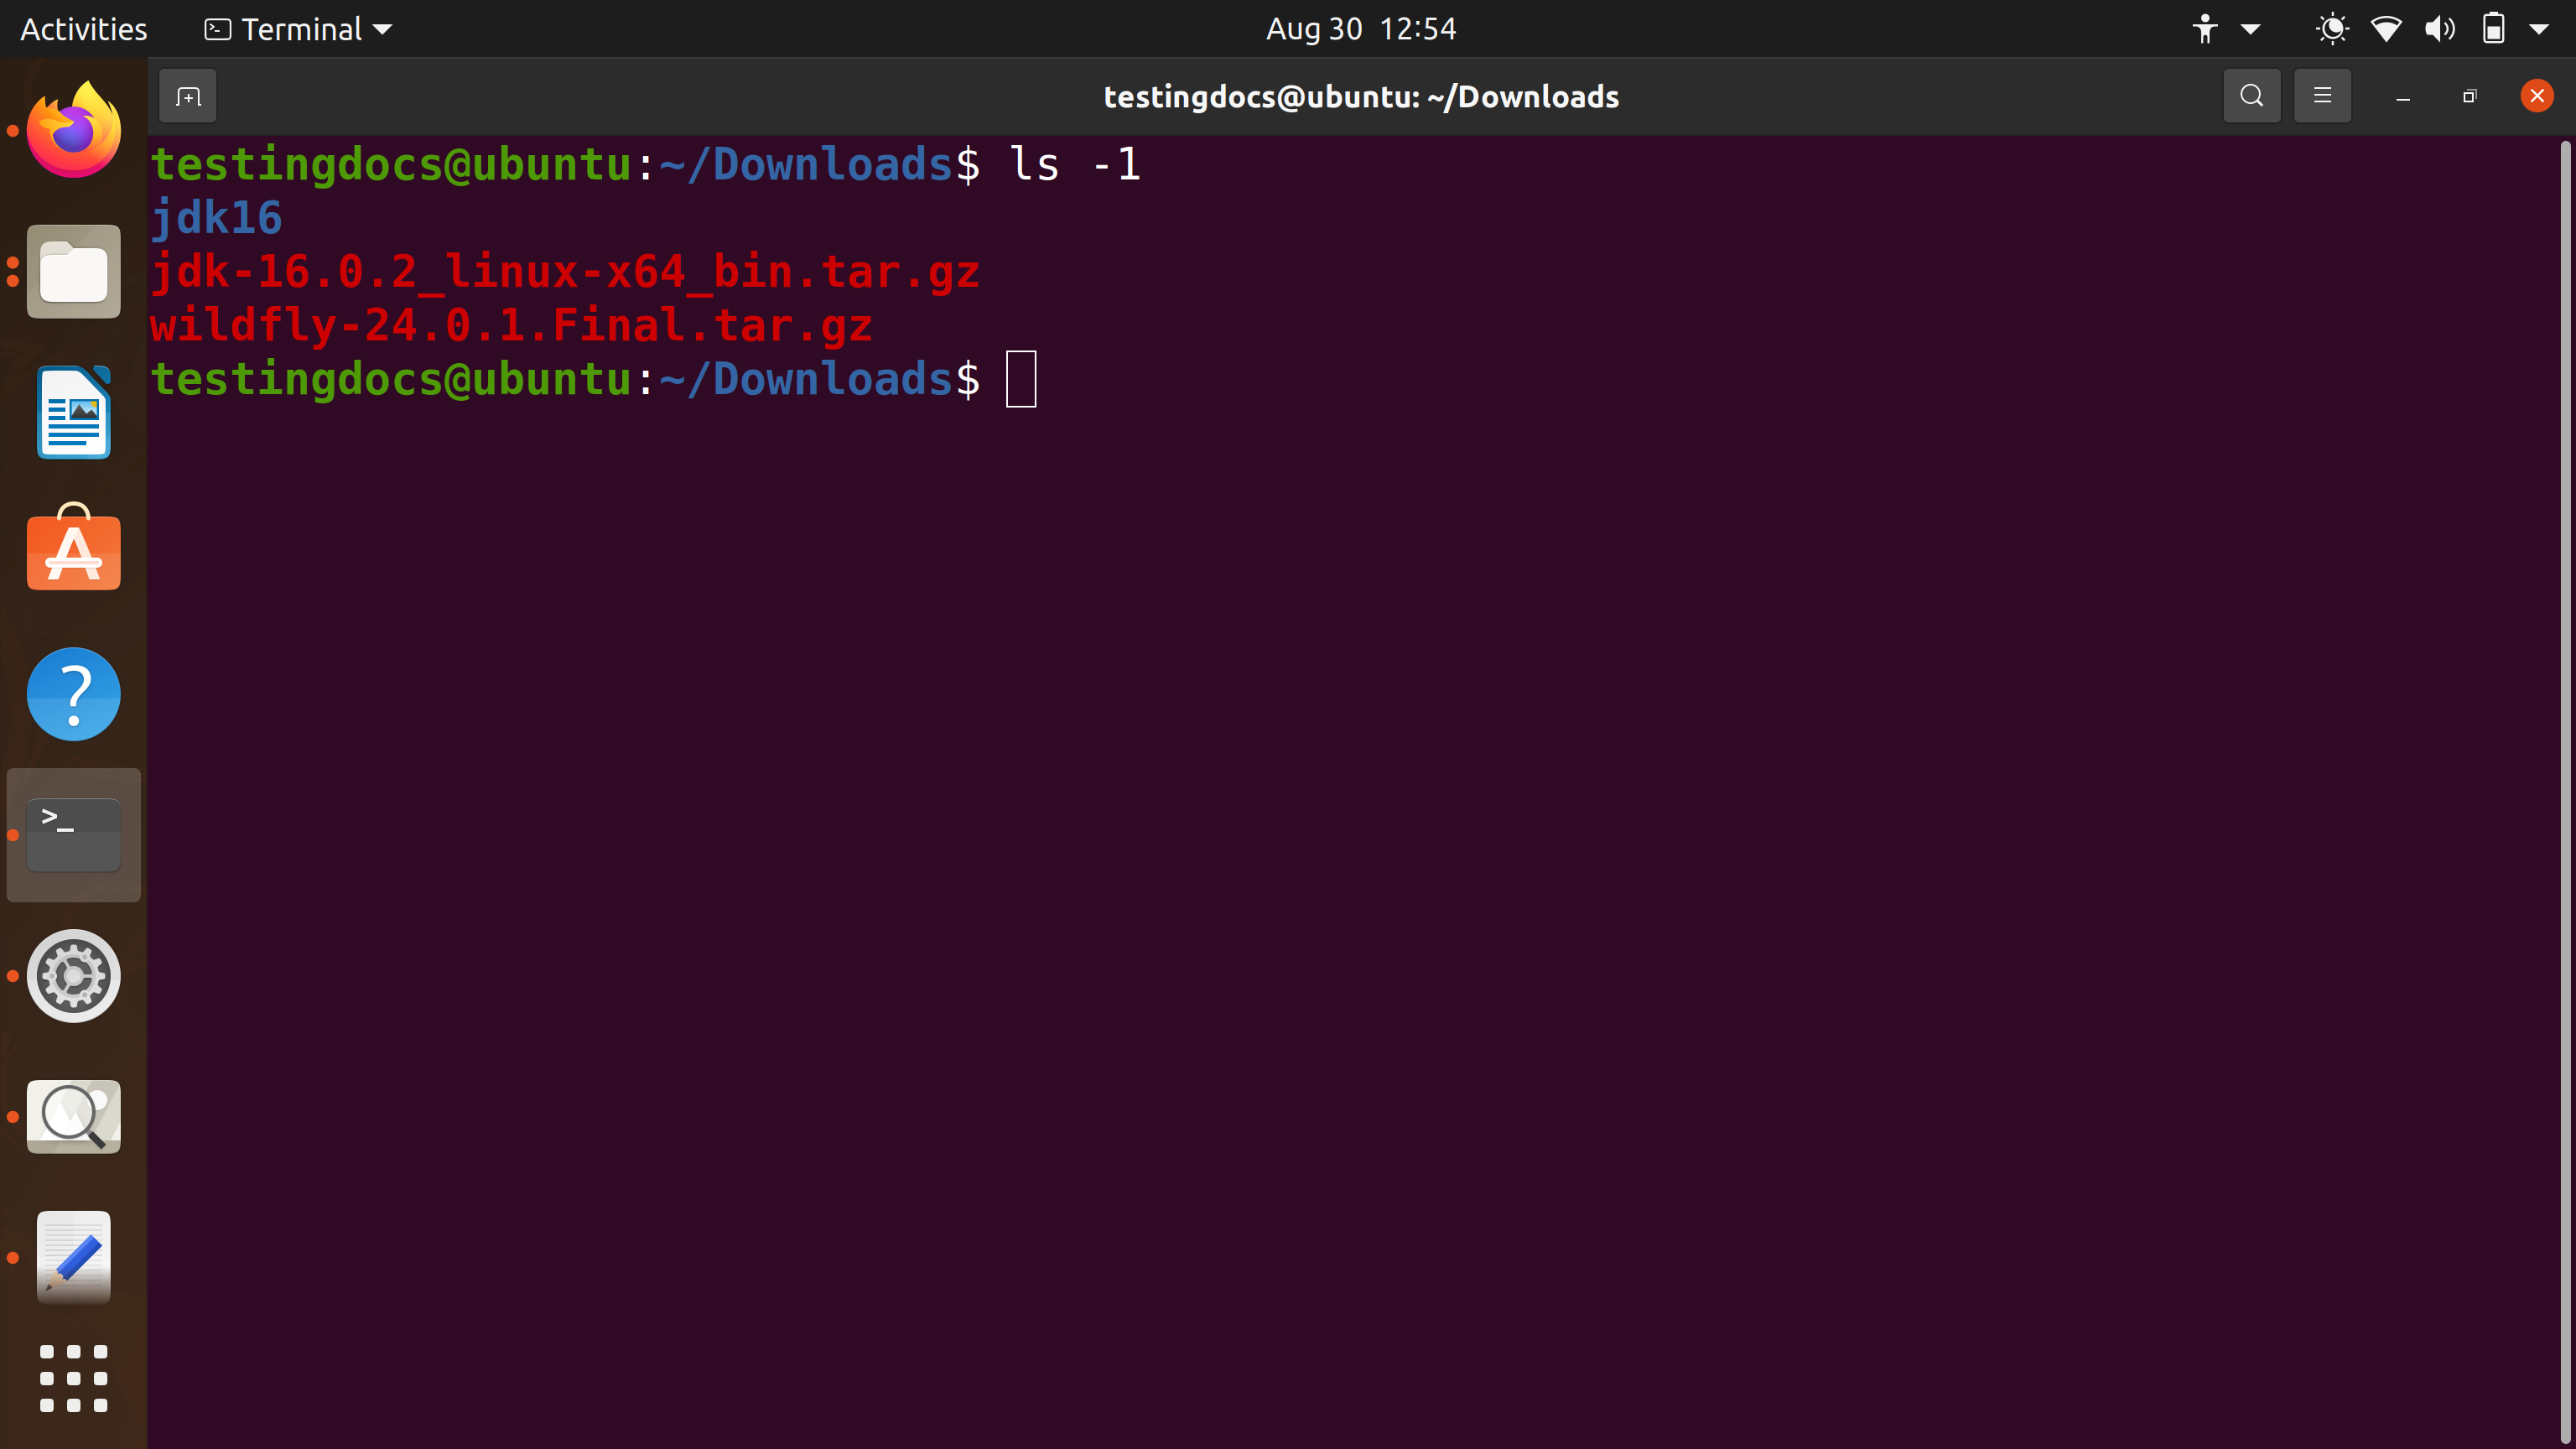
Locate the downloaded tar file on the computer.
Extract file contents
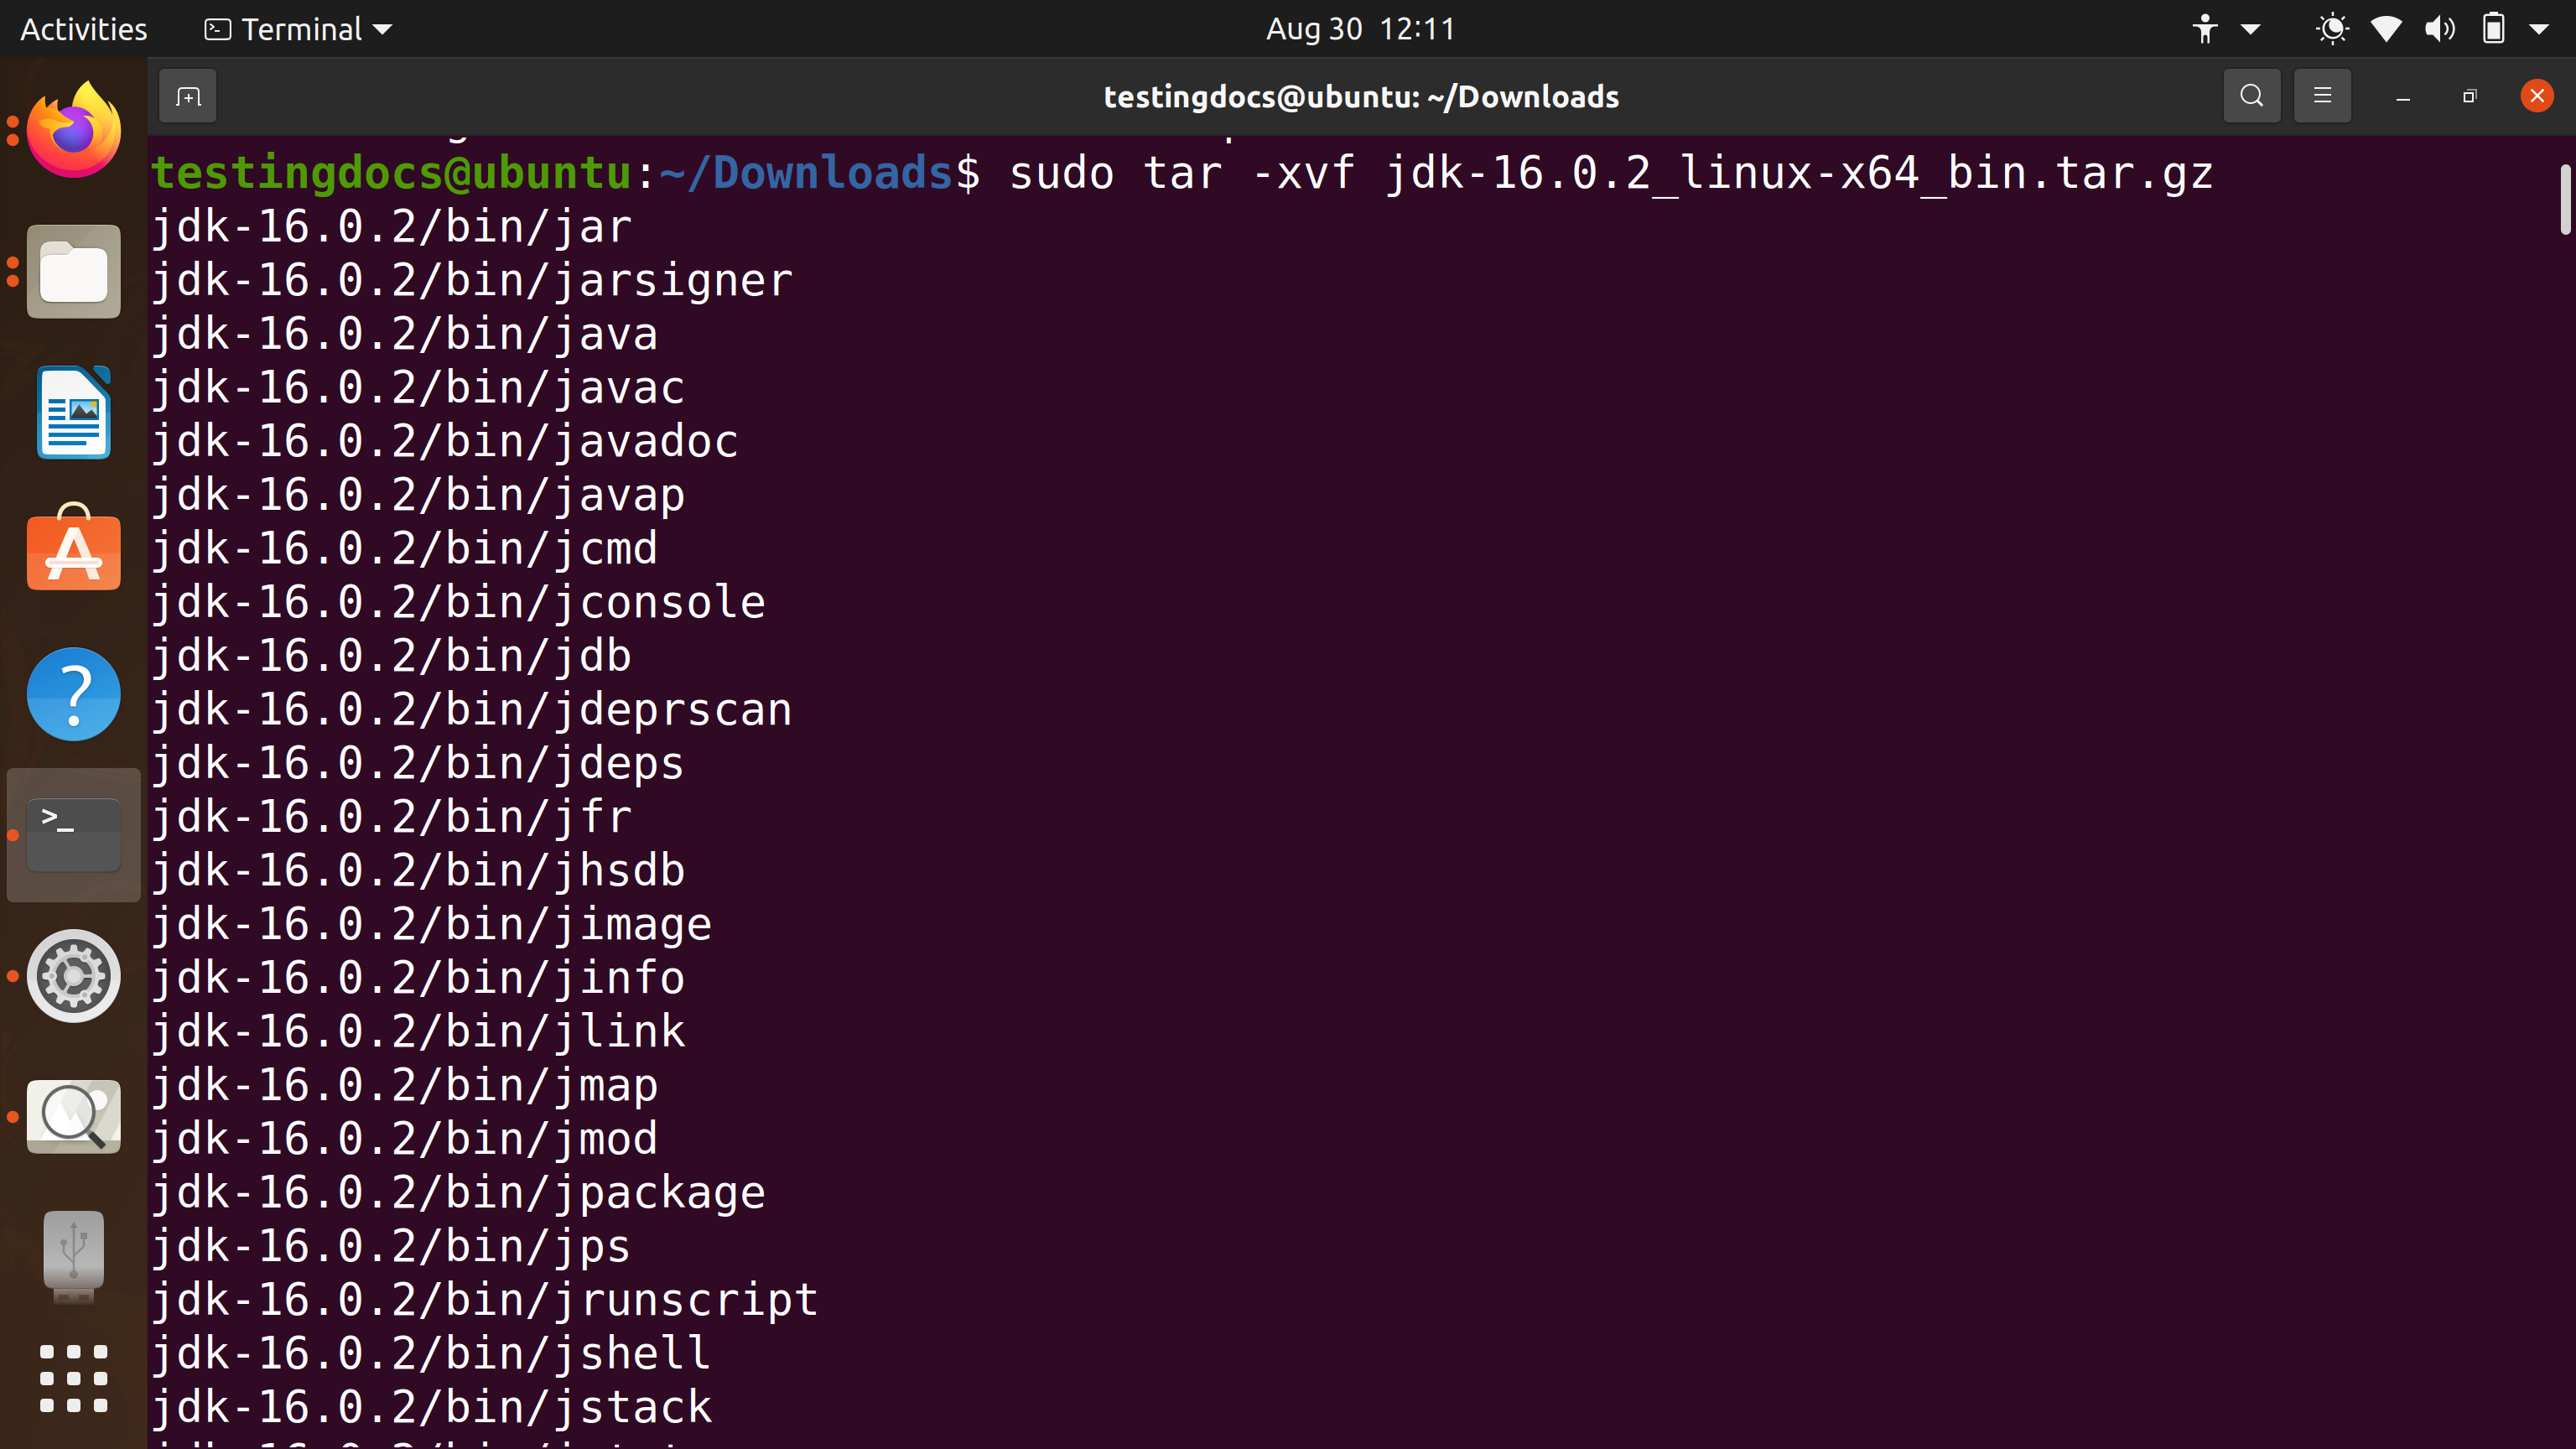
Extract the contents of the file. Issue the following tar command in the Terminal.
$ sudo tar -xvf <path to JDK tar file>
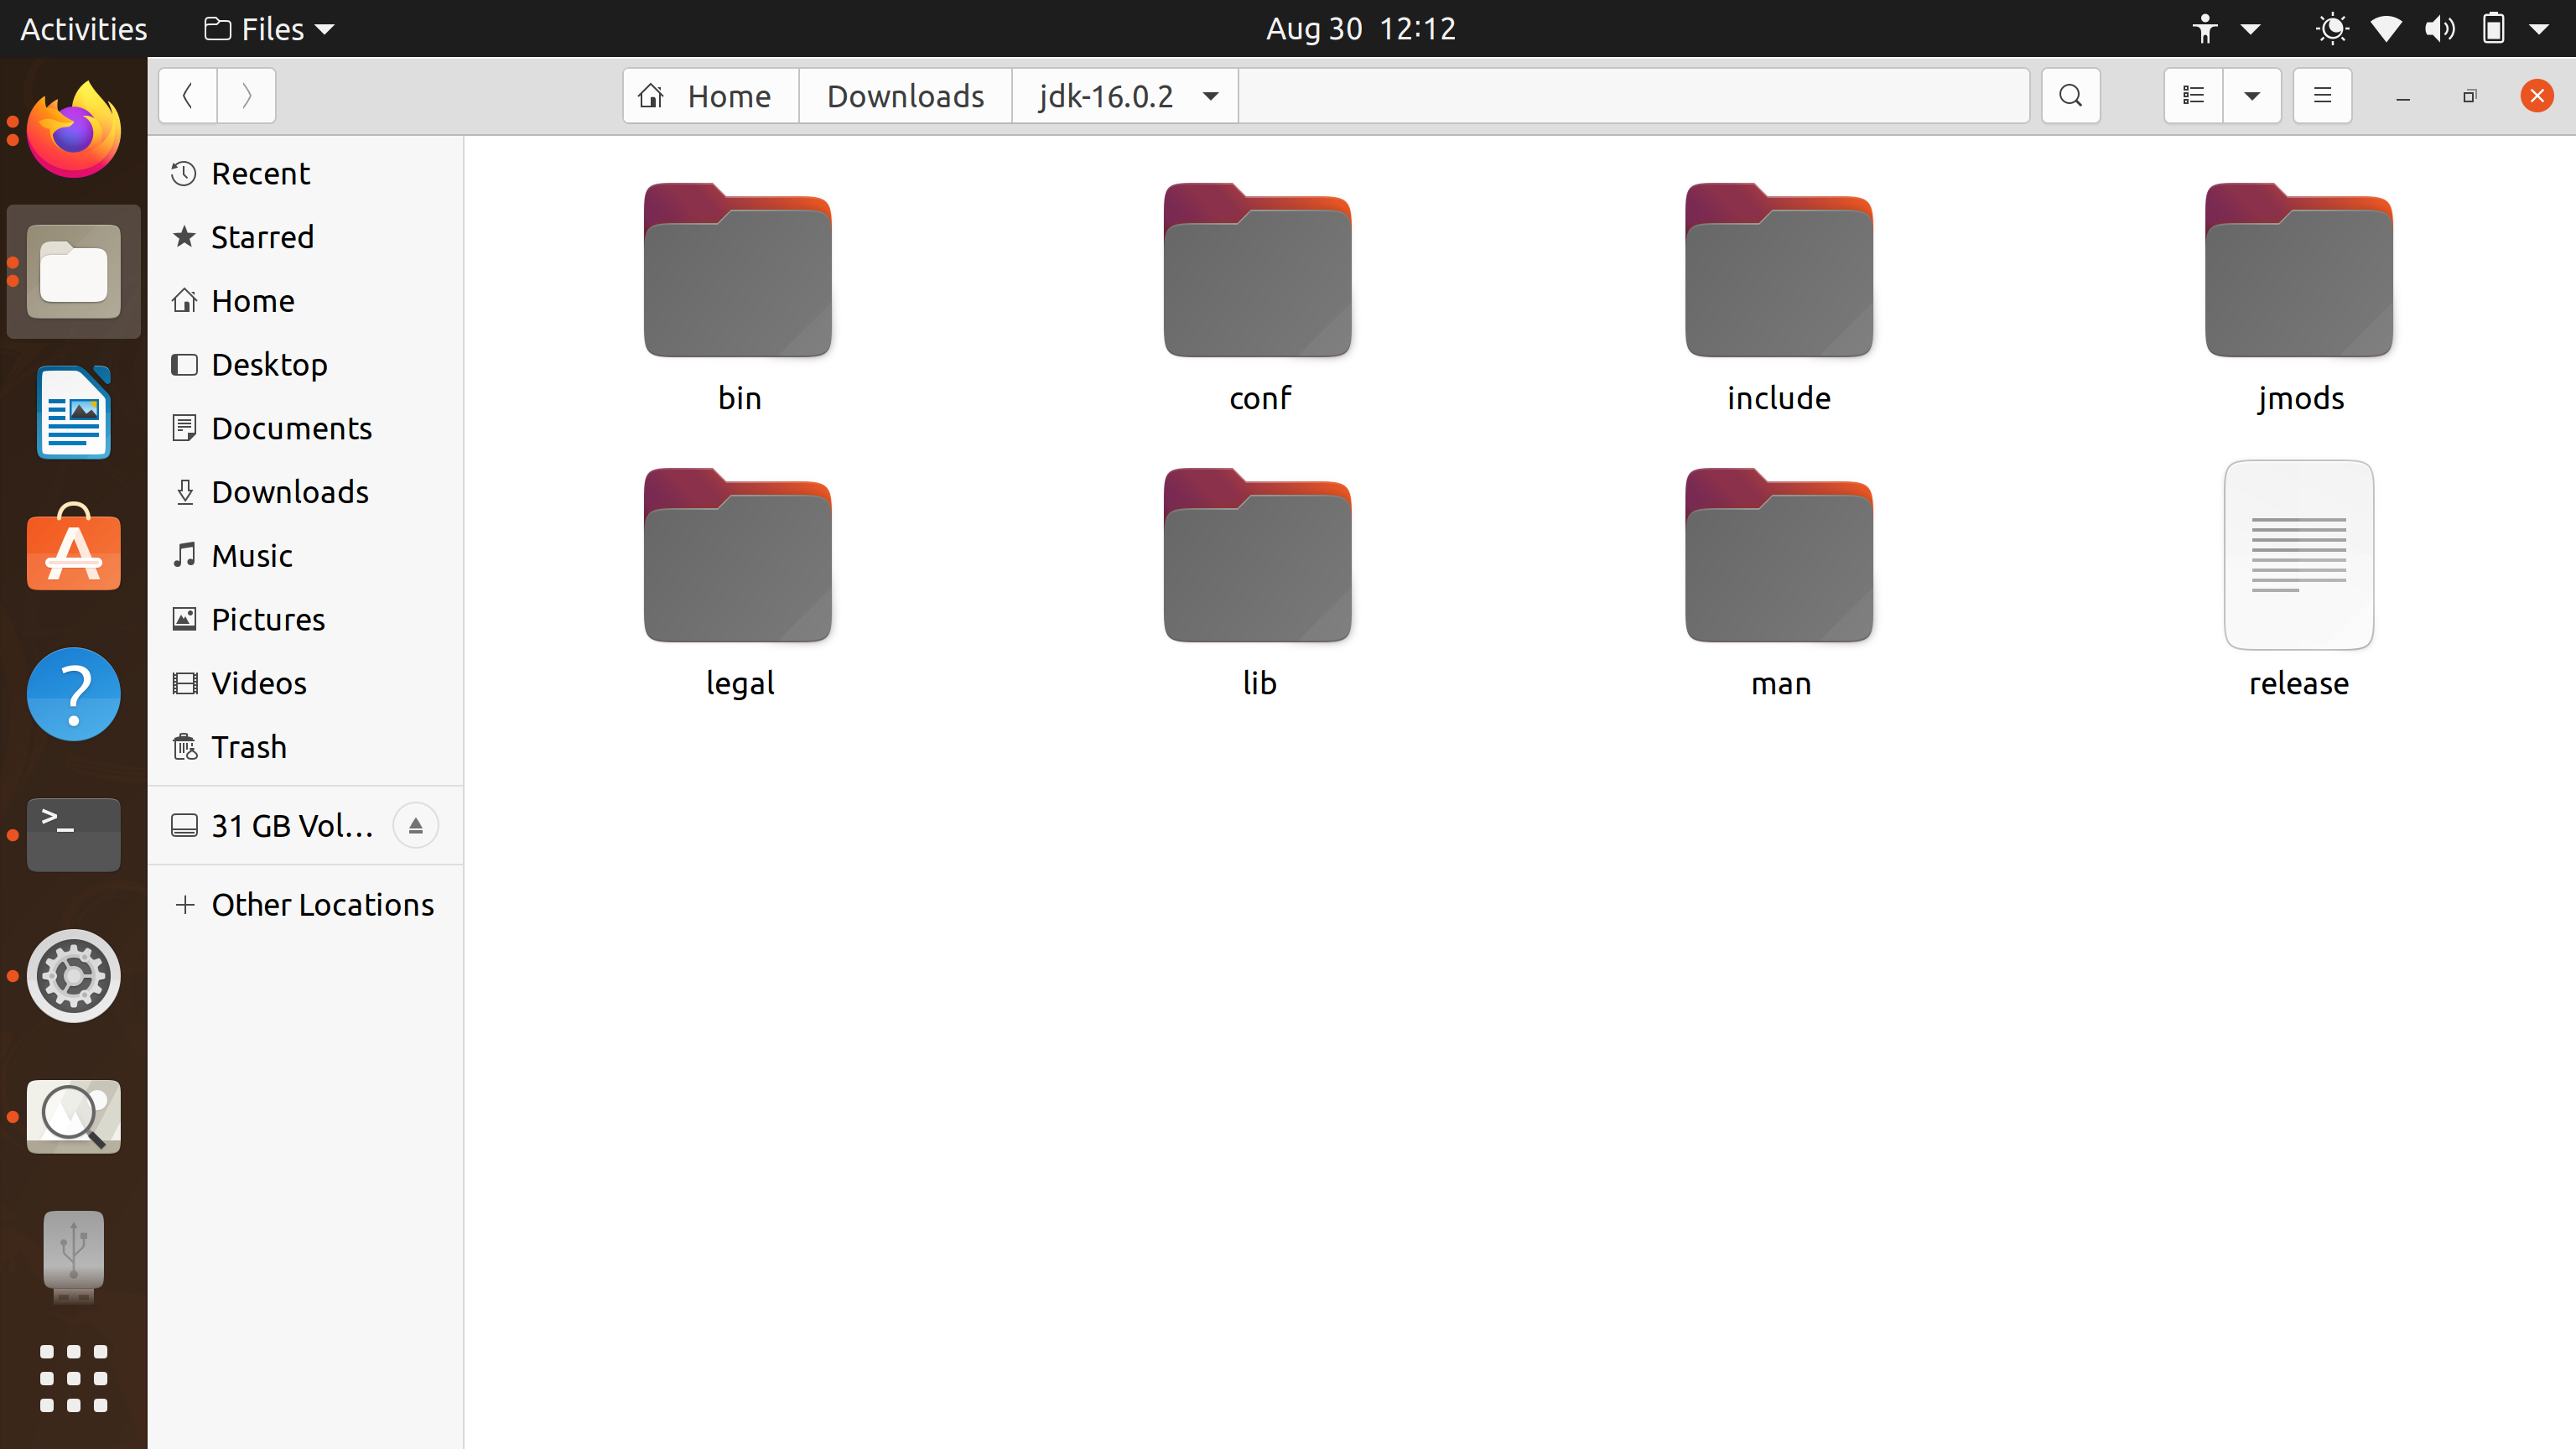
JDK Contents
Consider a favorable location for the JDK and move the contents to that location. For example to
/opt or /usr/lib
Set JAVA_HOME variable
Edi the /etc/profile using your favorite text editor. For example,
$ sudo gedit /etc/profile
Set JAVA_HOME environment variable. Add the bin directory to the PATH environment variable. Add the below lines to the file and save the file. Make sure you modify the directory path of the JDK as per your install.
JAVA_HOME=/opt/jdk
PATH=$PATH:$JAVA_HOME/bin
export JAVA_HOME
export PATH

Run the following command in the Terminal.
. /etc/profile
Verify Install
Verify the JDK install using the java version command. Since, we have appended the JDK bin directory to PATH, we can issue the command anywhere in the directory tree on the machine.
$ java -version

Echo the Java variables to verify them and to check if the bin directory is appended to the PATH.
$ echo $JAVA_HOME
$ echo $PATH
That’s it. We are done with the JDK install on Ubuntu Linux.
Related:
Install Eclipse IDE on Ubuntu:
https://www.testingdocs.com/install-eclipse-on-ubuntu-linux/

