TestLink Database Schema
Introduction
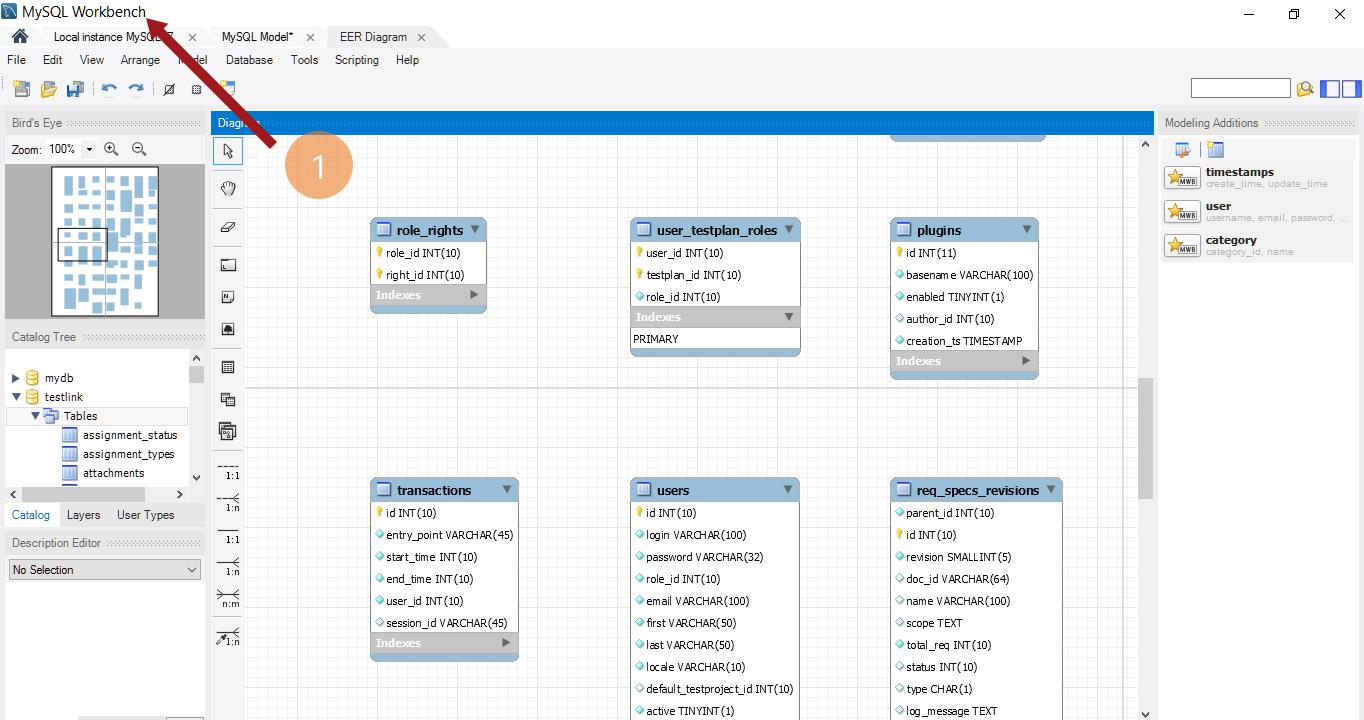
On this page, we will discuss the TestLink database schema. TestLink database schema is complex and contains a lot of tables in it. As of Testlink 1.9.x version, it contains 58 tables as shown in the picture.
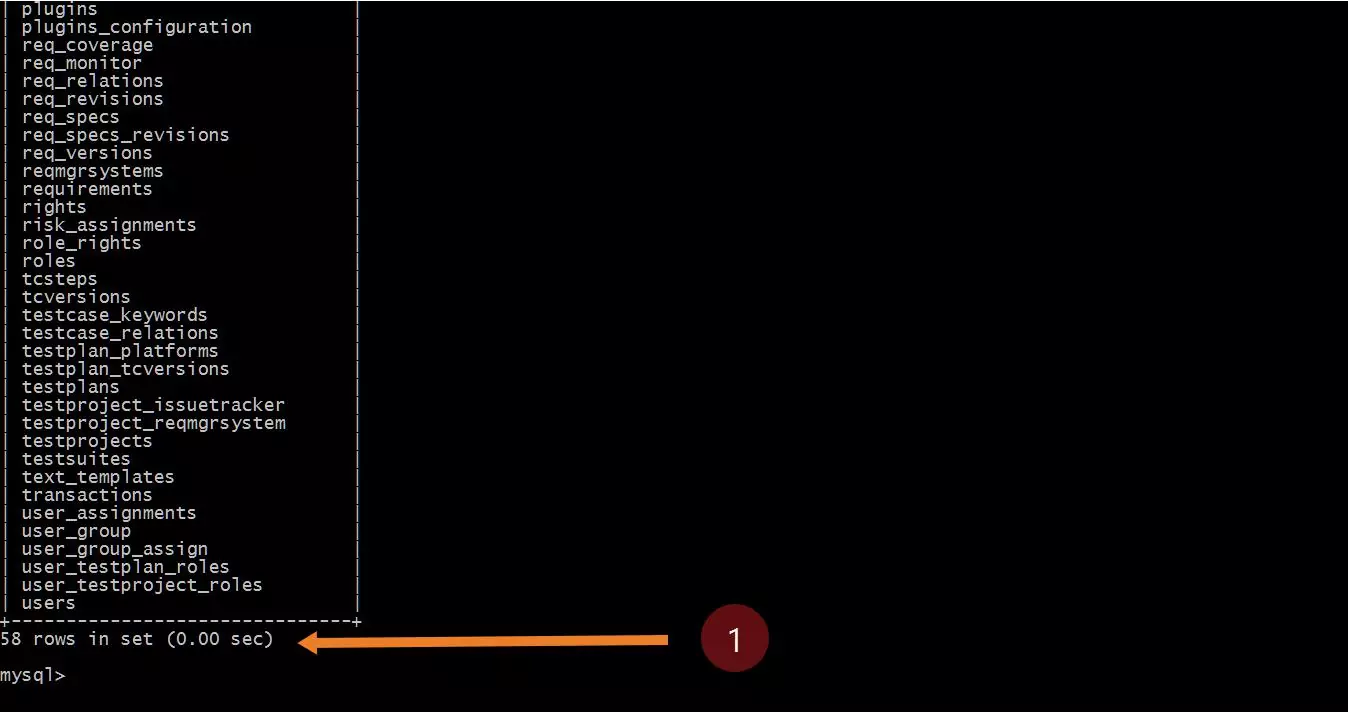
Steps to connect:
Connect to TestLink MySQL instance.
/> mysql -u <username> -p
Enter password for your MySQL instance.
Use the TestLink database.
/> use <database_name> ;
Show tables.
/> show tables ;
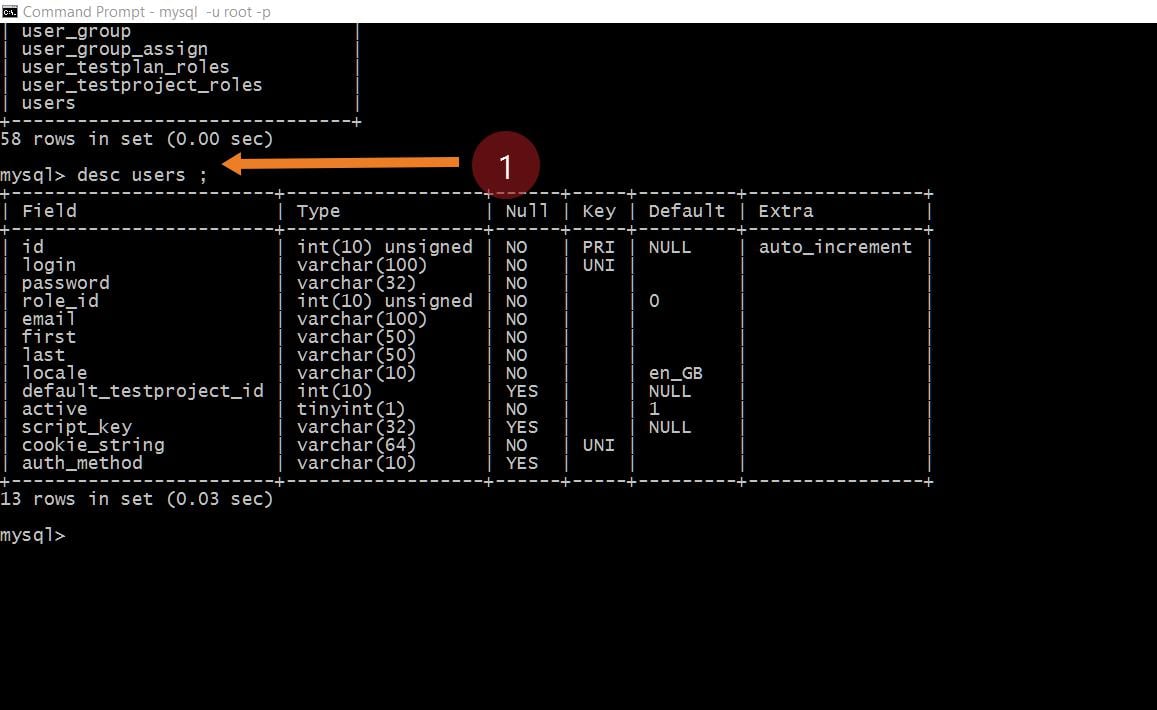
To know about a specific table structure to know about the columns and the type and constraints, you can describe the table with the below command.
/> desc <tablename> ;
For example:
/> desc users;
Rows in a Table
To know the number of rows in a table, you can use the below SQL query
/> select count(*) from users;
mysql> select count(*) from users;
+———-+
| count(*) |
+———-+
| 1 |
+———-+
1 row in set (0.06 sec)
Back-end testing and integrity checks of the TestLink database instance will be useful in case you have migrated or upgraded the TestLink.
MySQL Workbench
MySQL Workbench is GUI ( Graphical User Interface ) tool for MySQL database. It allows you to browse, create and design databases. Using this tool you can run SQL queries and work with database objects.
For example, to view the plugins
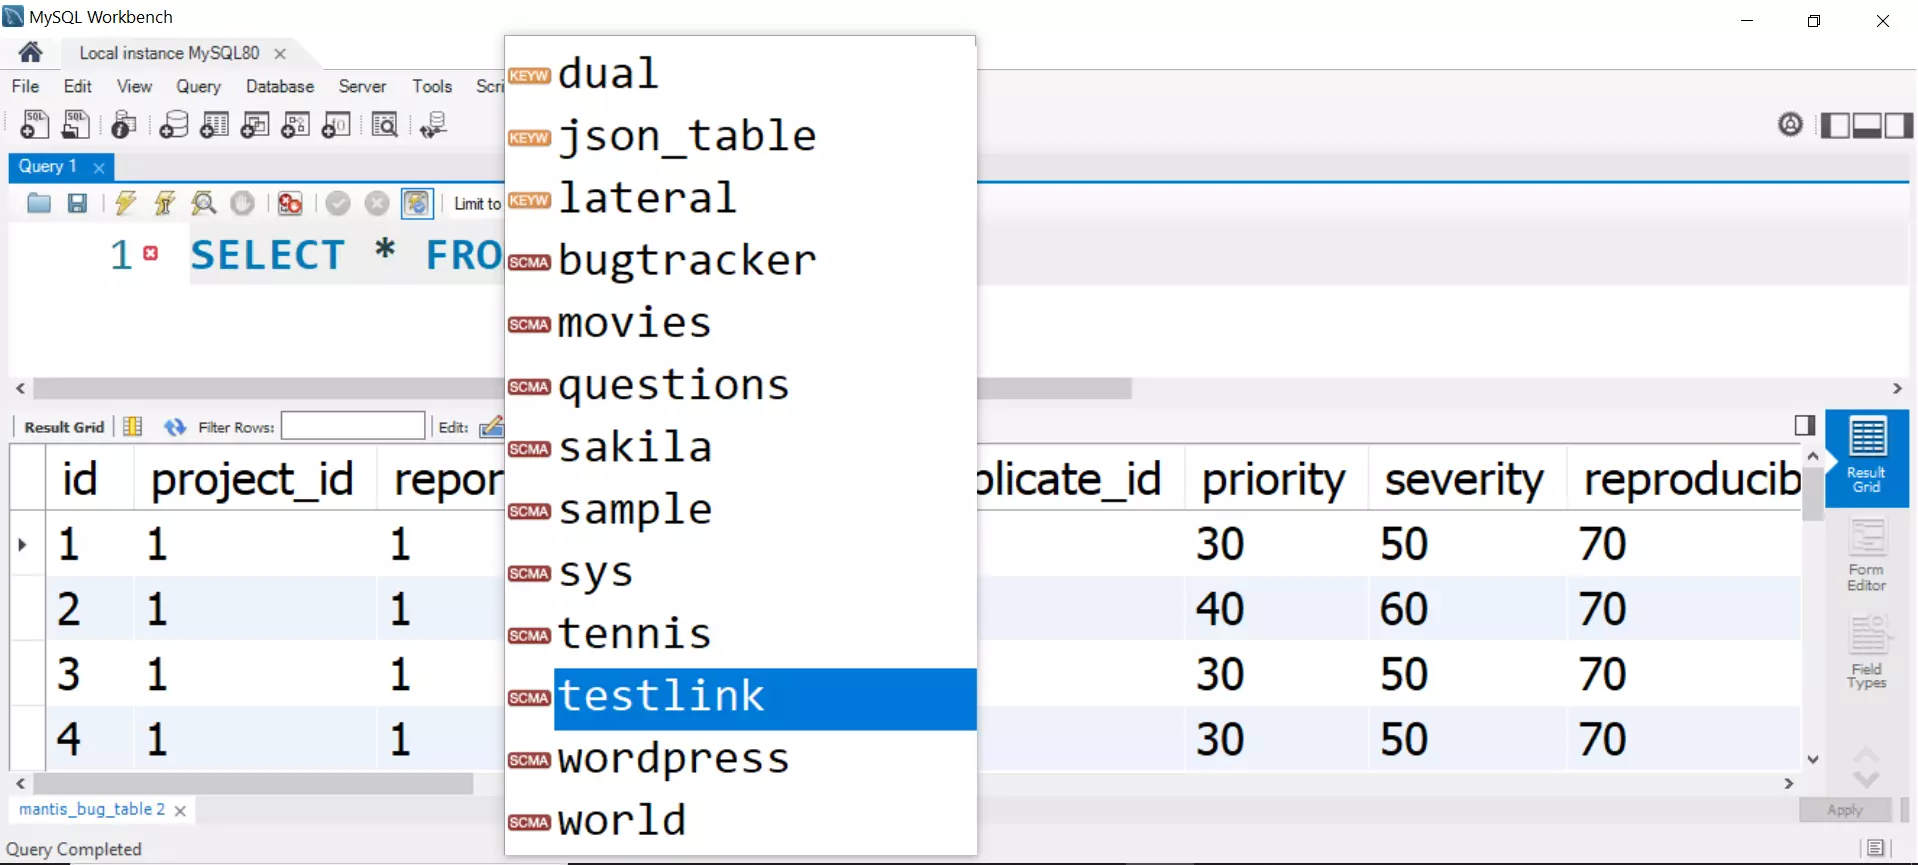
SELECT * FROM <testlink_schema>.plugins
Workbench tool automatically prompts for the query code. The tool prompts to select the list of databases. After selecting the database, the tool prompts the list of tables.
Workbench migration wizard will also allow you in migrating database. You can use this tool to copy a database from one instance to another. To get a better picture of the entire database schema, we can use MySQL Workbench tool to generate the ER diagram.
DB Configuration during install
https://www.testingdocs.com/mysql-testlink-database-configuration/
DB Schema Backup
https://www.testingdocs.com/questions/how-to-setup-cron-for-testlink-db-backup/
Links
TestLink Tutorial on this website can be found at:
https://www.testingdocs.com/testlink-tutorials/


