Build management in TestLink
Build management in TestLink
In this post, we will learn Build management in TestLink. Builds are a specific release of software project. A software project may have many test builds. For example, QA builds, Release Candidate(rc) builds, production stable builds etc.
A Test plan is a systematic approach to testing a system. The QA team can organize testing activity with particular builds of product and trace the test results. A TestLink build is an execution of a Test Plan. Test Execution is made up of both builds and test cases.
Build Management page is where we can manage the builds associated with the Test Plan. Some of the administrative tasks are as follows:
- View Builds
- Create a new Build
- Edit a Build
- Delete a Build
Create a Build
Steps to create a new build :
https://www.testingdocs.com/create-a-new-build-in-testlink/
Adding Testcases to a build
Once you successfully created a build, you can add test cases to it for execution.
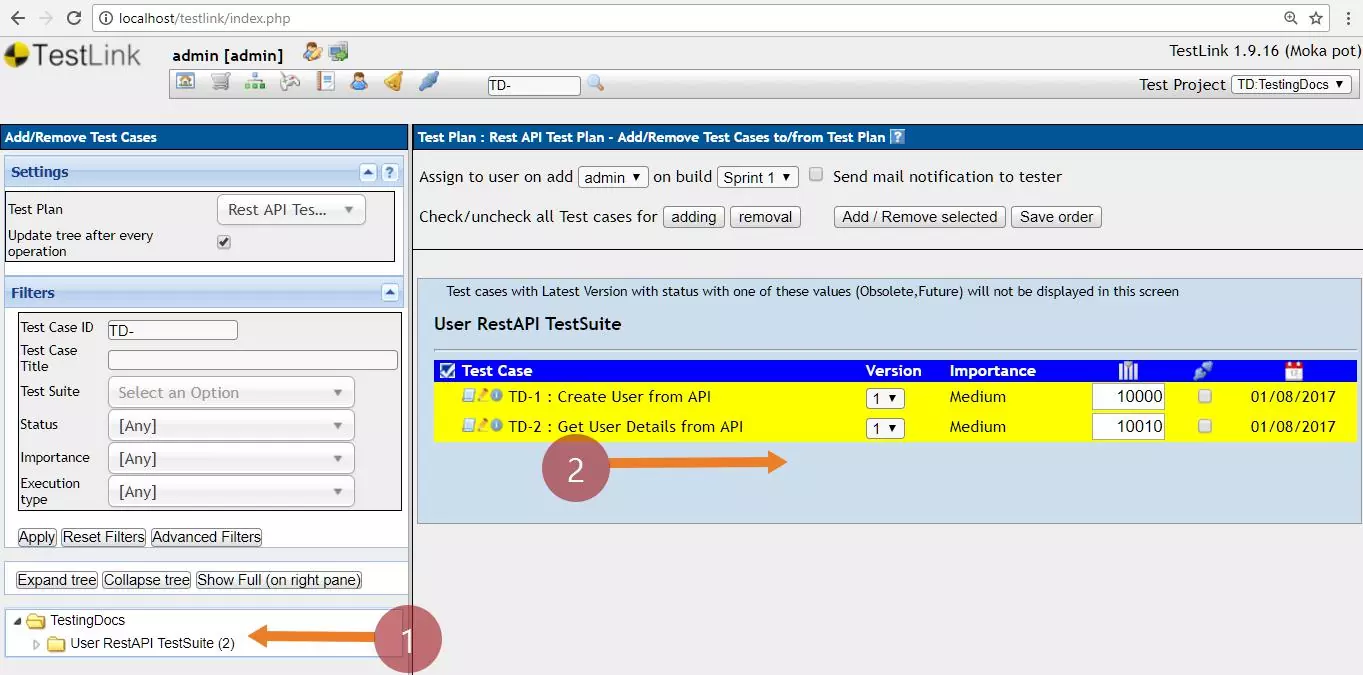
To add test cases click on Add / Remove Test Cases link under the Test Plan contents box.
Use Left-hand side Navigator widget settings to identify/filter test cases to add.
Select the test cases and choose the tester and build and assign the test cases as shown below.
Click on Add selected button.
TestLink Tutorials
TestLink Tutorial on this website can be found at:


