Create Test Case in Jira Software
Overview
In this tutorial, we will learn to create test case in Jira Software. To get the Test option in the create issue window, we need to add install the Zephyr Test management plugin for Jira.
Plugin Install Steps
https://www.testingdocs.com/zephyr-squad-test-management-tool-for-jira/
Create Test Case
There are multiple ways to create test case.
#1
- Select the Project and Click on Create button. This will open a Create Issue window
- Select the Issue type as Test.
- Enter the Summary of the issue.
- Add other details for the test case and click on the Create button.
#2
- From the side-navigation, click on the Zephyr Squad link.
- Click on Create a Test link. This will open the Create Issue window with Issue type Test selected.
- Enter the Summary of the issue.
- Add other details for the test case and click on the Create button.
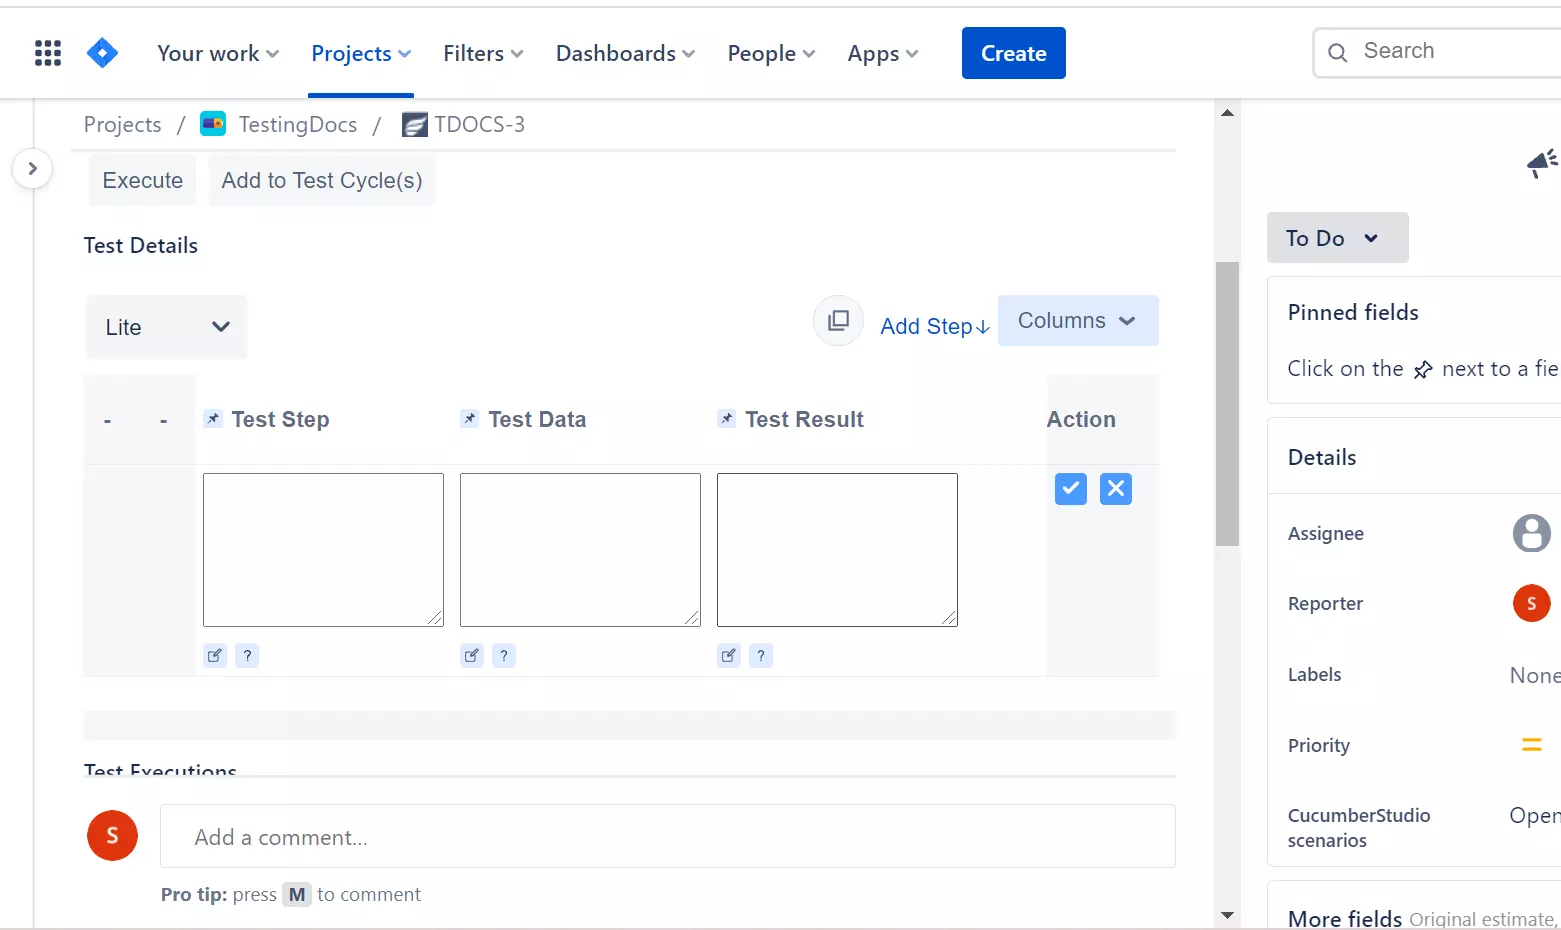
Once the test case is created, we can add additional Test Details to the test case.
- Test Step
- Test Data
- Test Result

To add multiple Test Steps, click on the Add Step link.
To get more Actions click on the three dots button on the top-right corner. Use this menu to perform some additional actions like:
- Clone
- Delete
- Move
—
Jira Tutorials
Jira Software Tutorials link on this website:
https://www.testingdocs.com/jira-software-tutorial/
Jira Official Website
For more information on Jira Software:


