Install Git on Ubuntu Linux
Install Git on Ubuntu Linux
In this tutorial, we’ll install the Git tool on Ubuntu Server. Git is a distributed version control system that tracks changes in source code during software development. It allows multiple developers to collaborate on a project efficiently, managing code history and facilitating branching and merging.
Ubuntu Linux is a popular open-source operating system based on Debian, known for its user-friendly interface and strong community support. It’s widely used for servers, desktops, and cloud computing, offering robust performance and security features.
Git Install
Open the Terminal and issue the following commands to install Git:
$ sudo apt update
followed by
$ sudo apt install git
or
$ sudo apt install git-all

This will install Git and its dependencies on the machine.
Verification
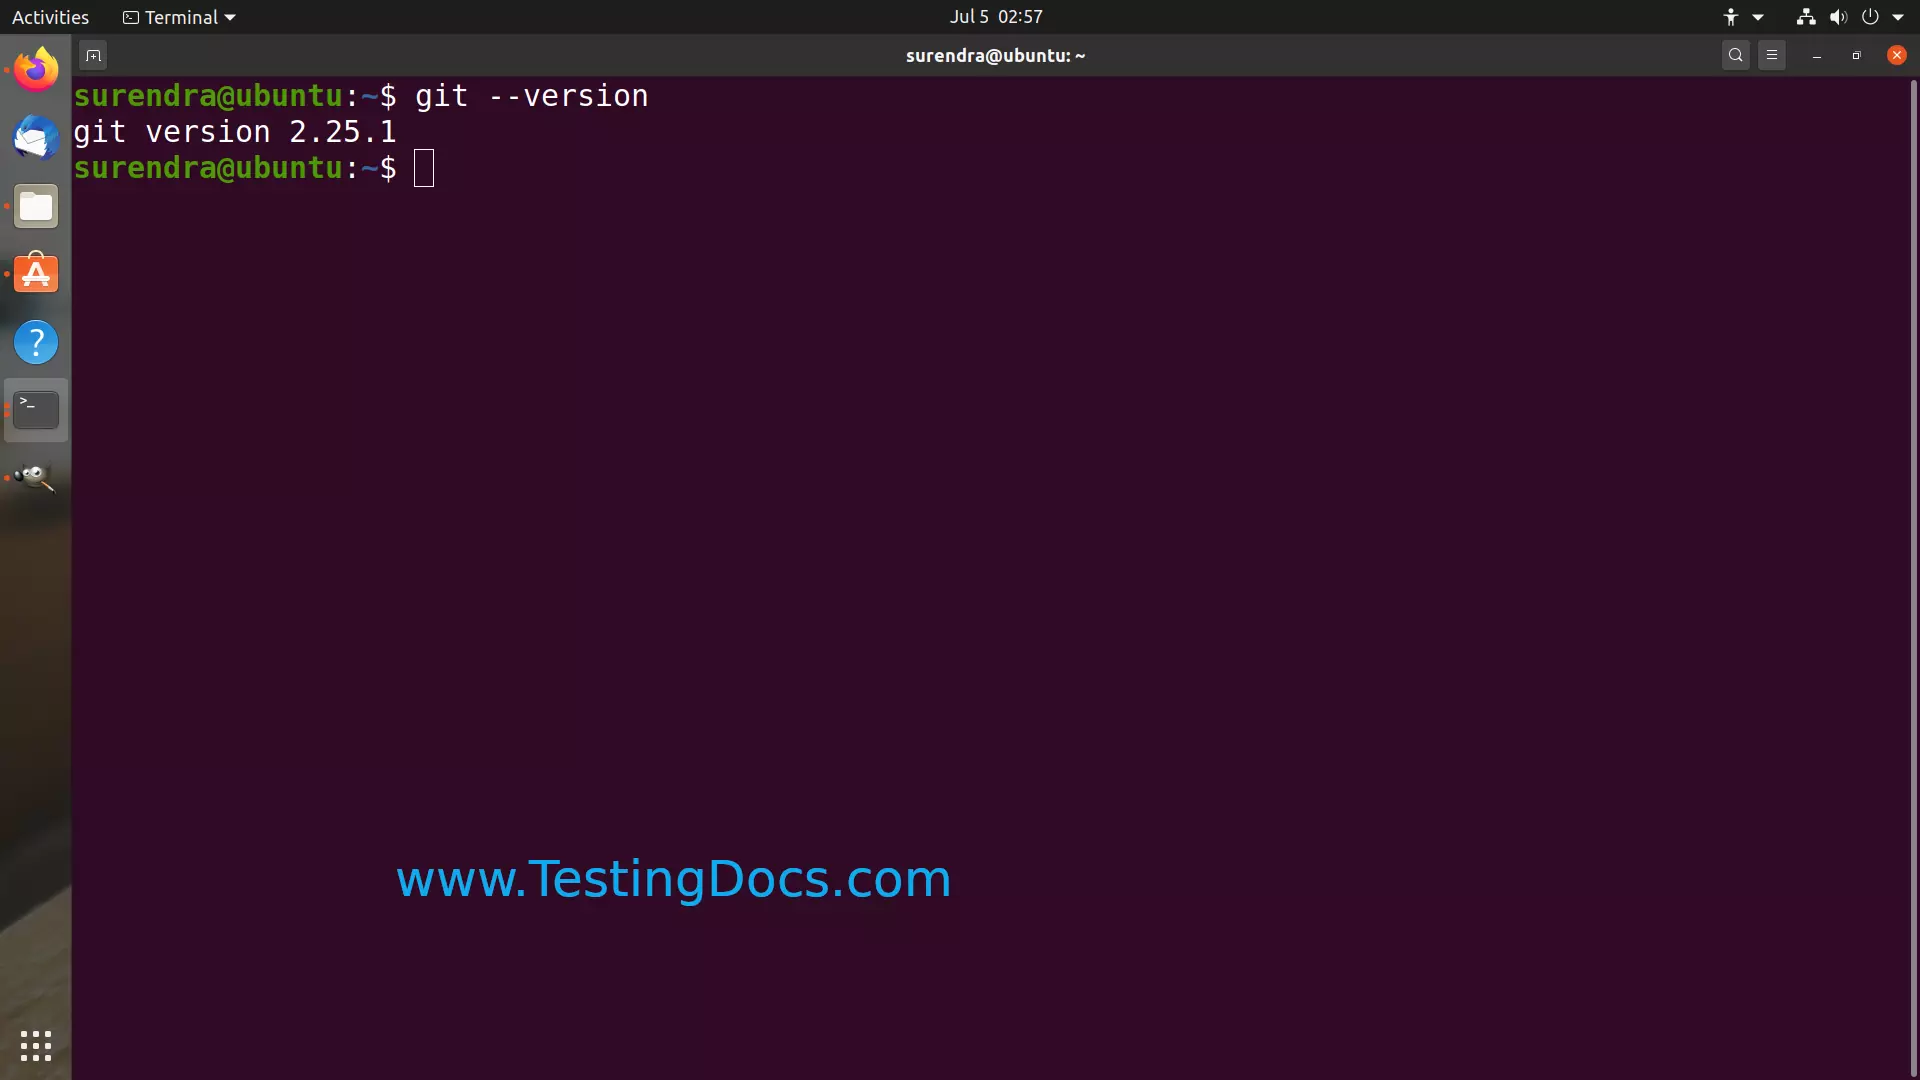
To ensure that Git has been installed correctly, check the version by running
$ git– version
We can see the version from the terminal prompt if git is working after the installation.
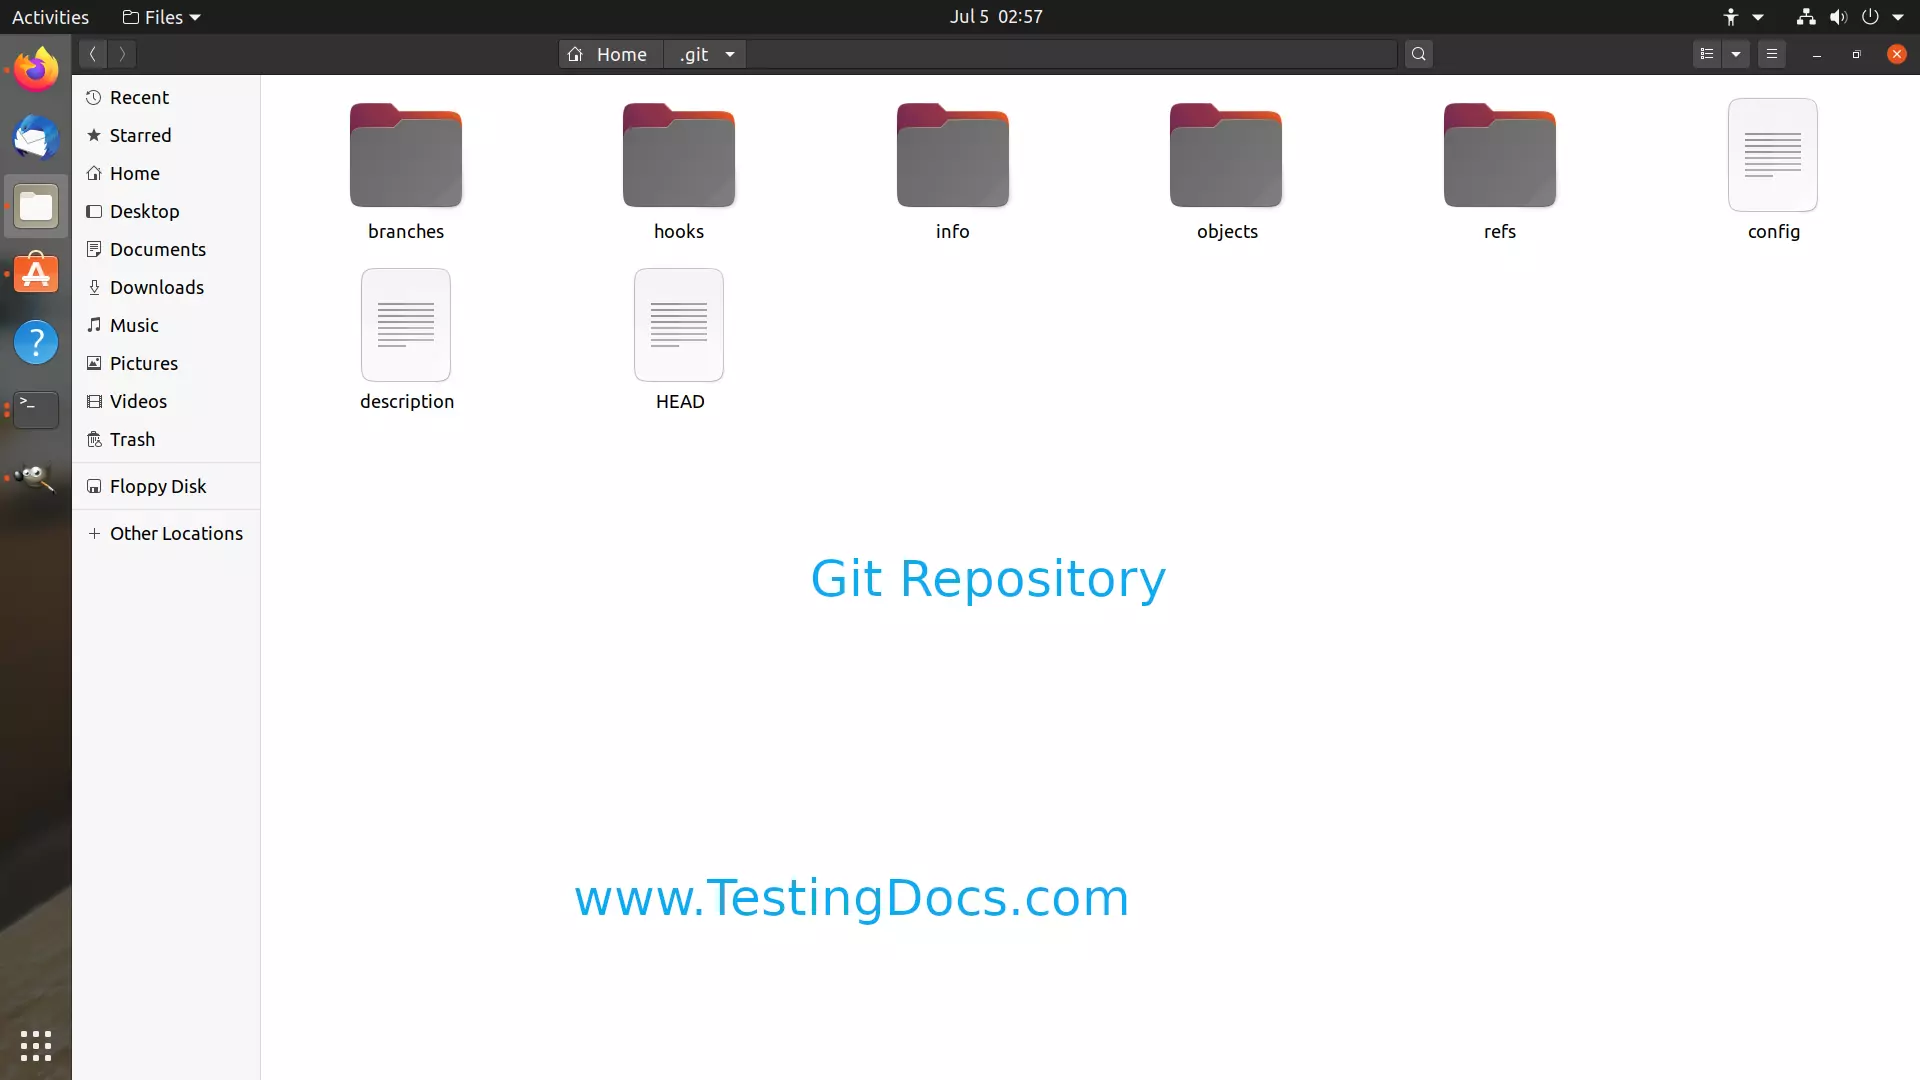
Check the path of the git repository. We should have a .git repository created in the path. Enable the hidden files feature.
Once Git is installed, you need to configure it with your user information. Open your Terminal and set your username by running the following command:
$ git config–global user.name “Your Name”
Set your email with the following command:
$ git config– global user.email “your_email@sampledomain.com”
That’s it. Git is successfully installed on the machine.
Git Tutorials
Git Tutorial on this website can be found at: