Eclipse Workspace
Introduction
In this tutorial, we will learn to create an Eclipse workspace and switch to another workspace.
Eclipse Workspace
Eclipse Workspace is a directory (physical location on the computer hard disk) where the IDE stores all the projects, project artifacts like files, classes, and other project artifacts. Let’s learn more about workspace and how to create them in this tutorial.
Launch Eclipse
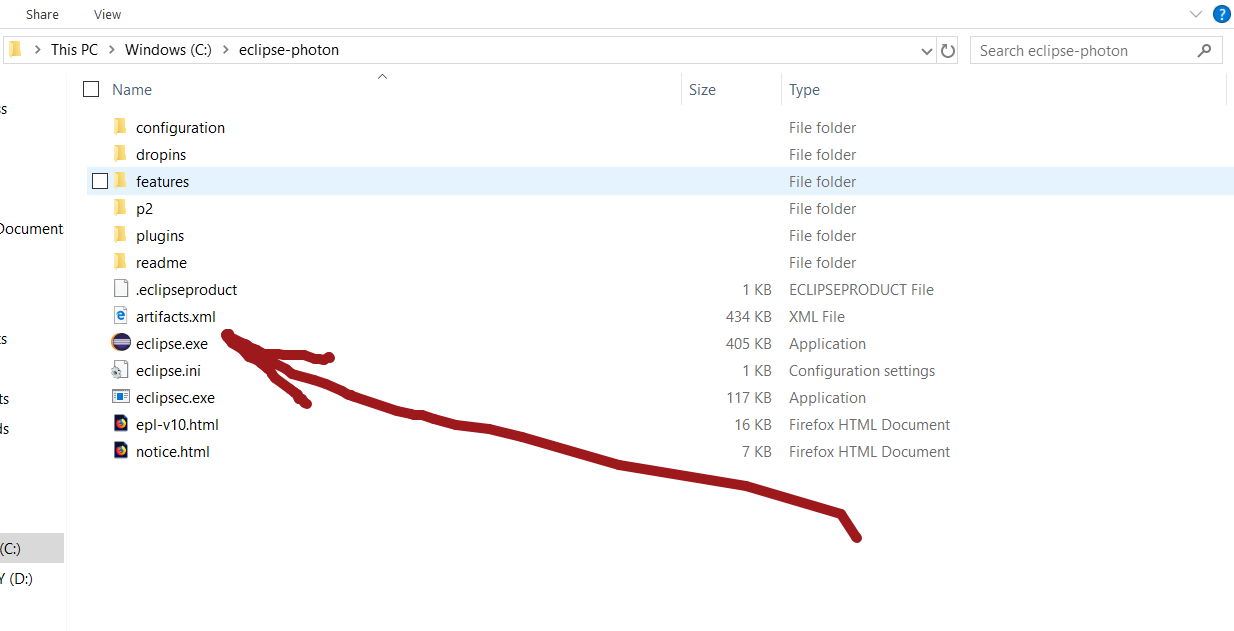
To start Eclipse, browse to the extracted directory and double click on the file “eclipse.exe” as shown below. Alternatively, you can create a shortcut and pin it to the taskbar. You can simply double-click on the eclipse icon in the taskbar to launch it.
Create Workspace
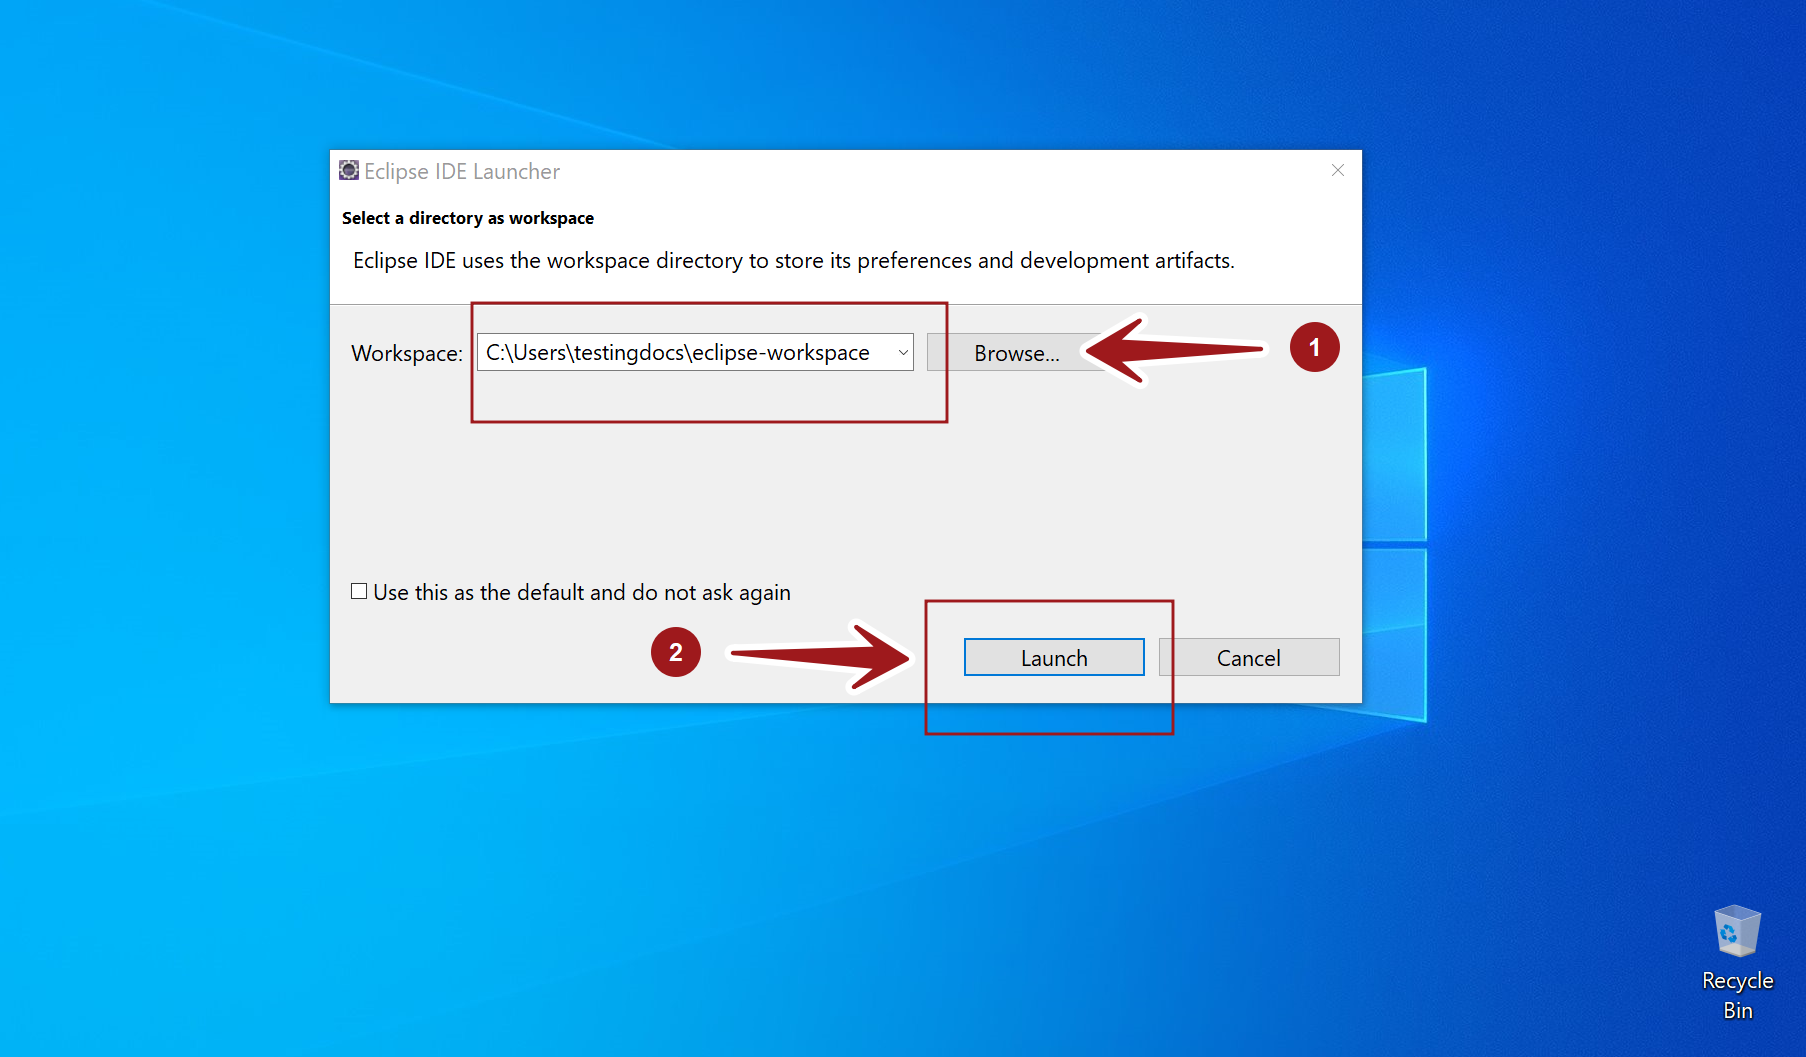
You can choose the workspace during the initial first run of Eclipse IDE.
Select a directory as workspace. We can click on the Browse… button to select the directory.
Select the Use this as the default and do not ask again option to set the current workspace as the default.
Click on the Launch button to launch the Eclipse IDE.
Switch Workspace
We can switch the workspace to another one. Choose the menu option
File -> Switch Workspace to switch the workspace.
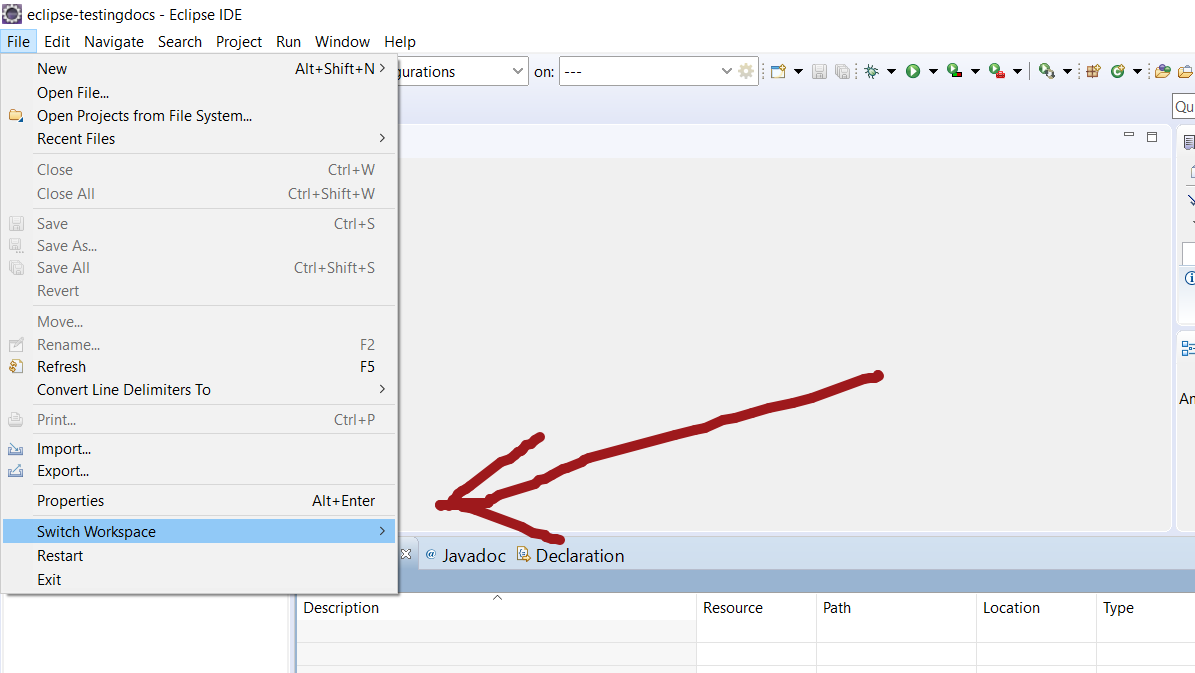
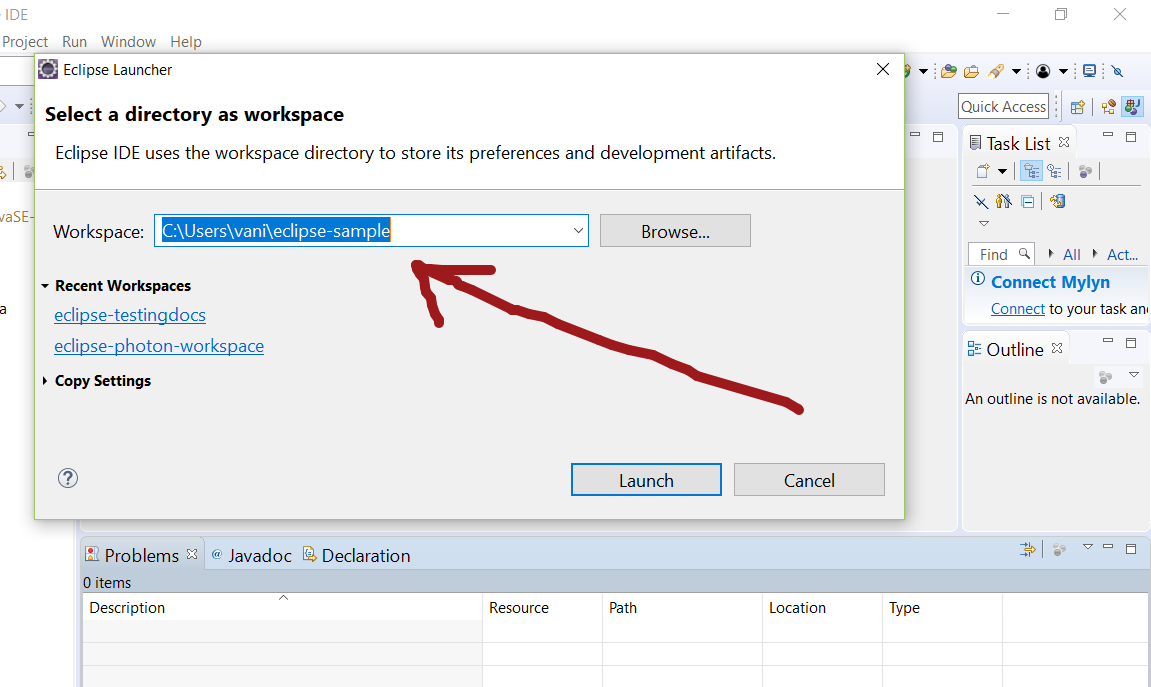
To create another workspace, Click on File -> Switch Workspace -> Other. Select the directory by clicking on the browse button.
Choose a brand new folder by typing a name in the wizard window. Click on the launch button to start working in that workspace.
Eclipse stores all your projects, source code, files, images, and other artifacts in the folder or subfolders of this workspace directory.
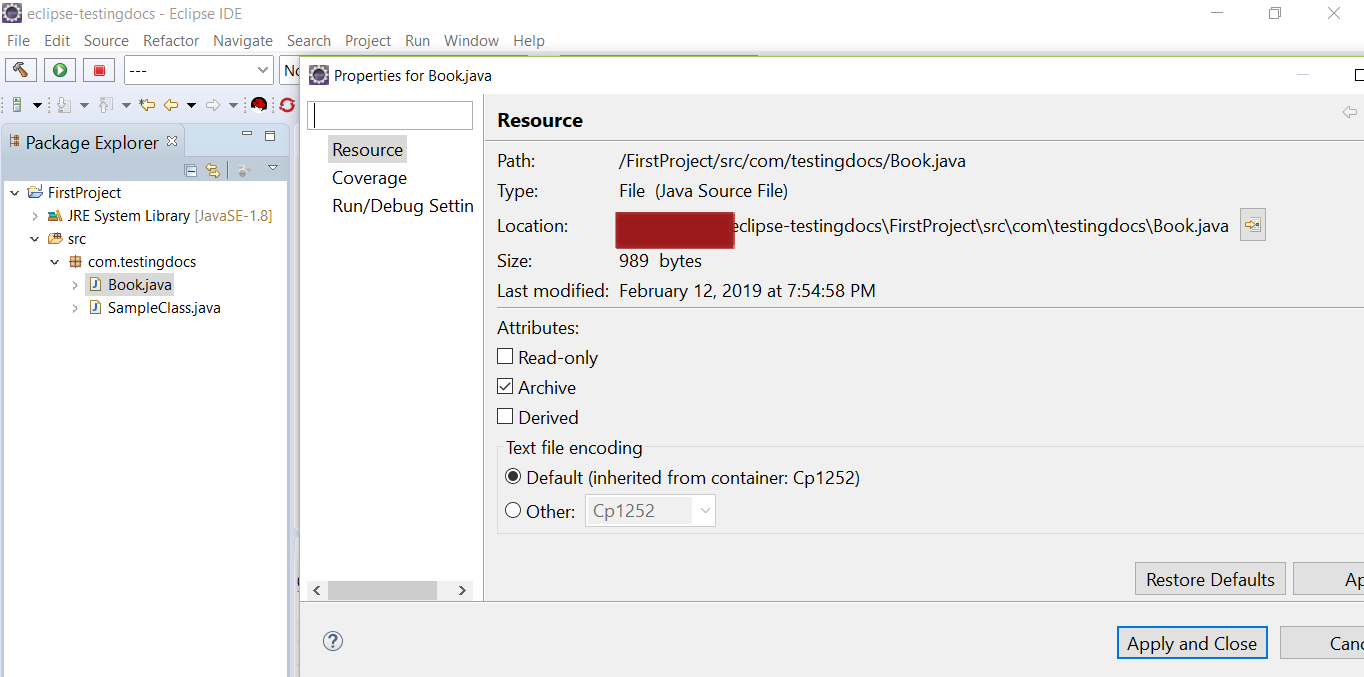
To know the exact path on your computer, right-click on the artifact in the package explorer and click on properties in the context menu. To open the artifact’s folder in Windows Explorer, click on the exit arrow icon button.
That’s it.
—
Eclipse Tutorials
Eclipse Tutorials on this website can be found at:
https://www.testingdocs.com/eclipse-tutorials
For more details on the Eclipse IDE, visit the official website at:
https://www.eclipse.org

