Install Java on Windows 11
Install Java on Windows 11
This tutorial teaches you how to download and install Java on Windows 11. Java is a high-level, class-based programming language designed for portability across platforms. Its “write once, run anywhere” philosophy means that code compiled on one platform can run on any other platform with a Java Virtual Machine (JVM)
Check Install
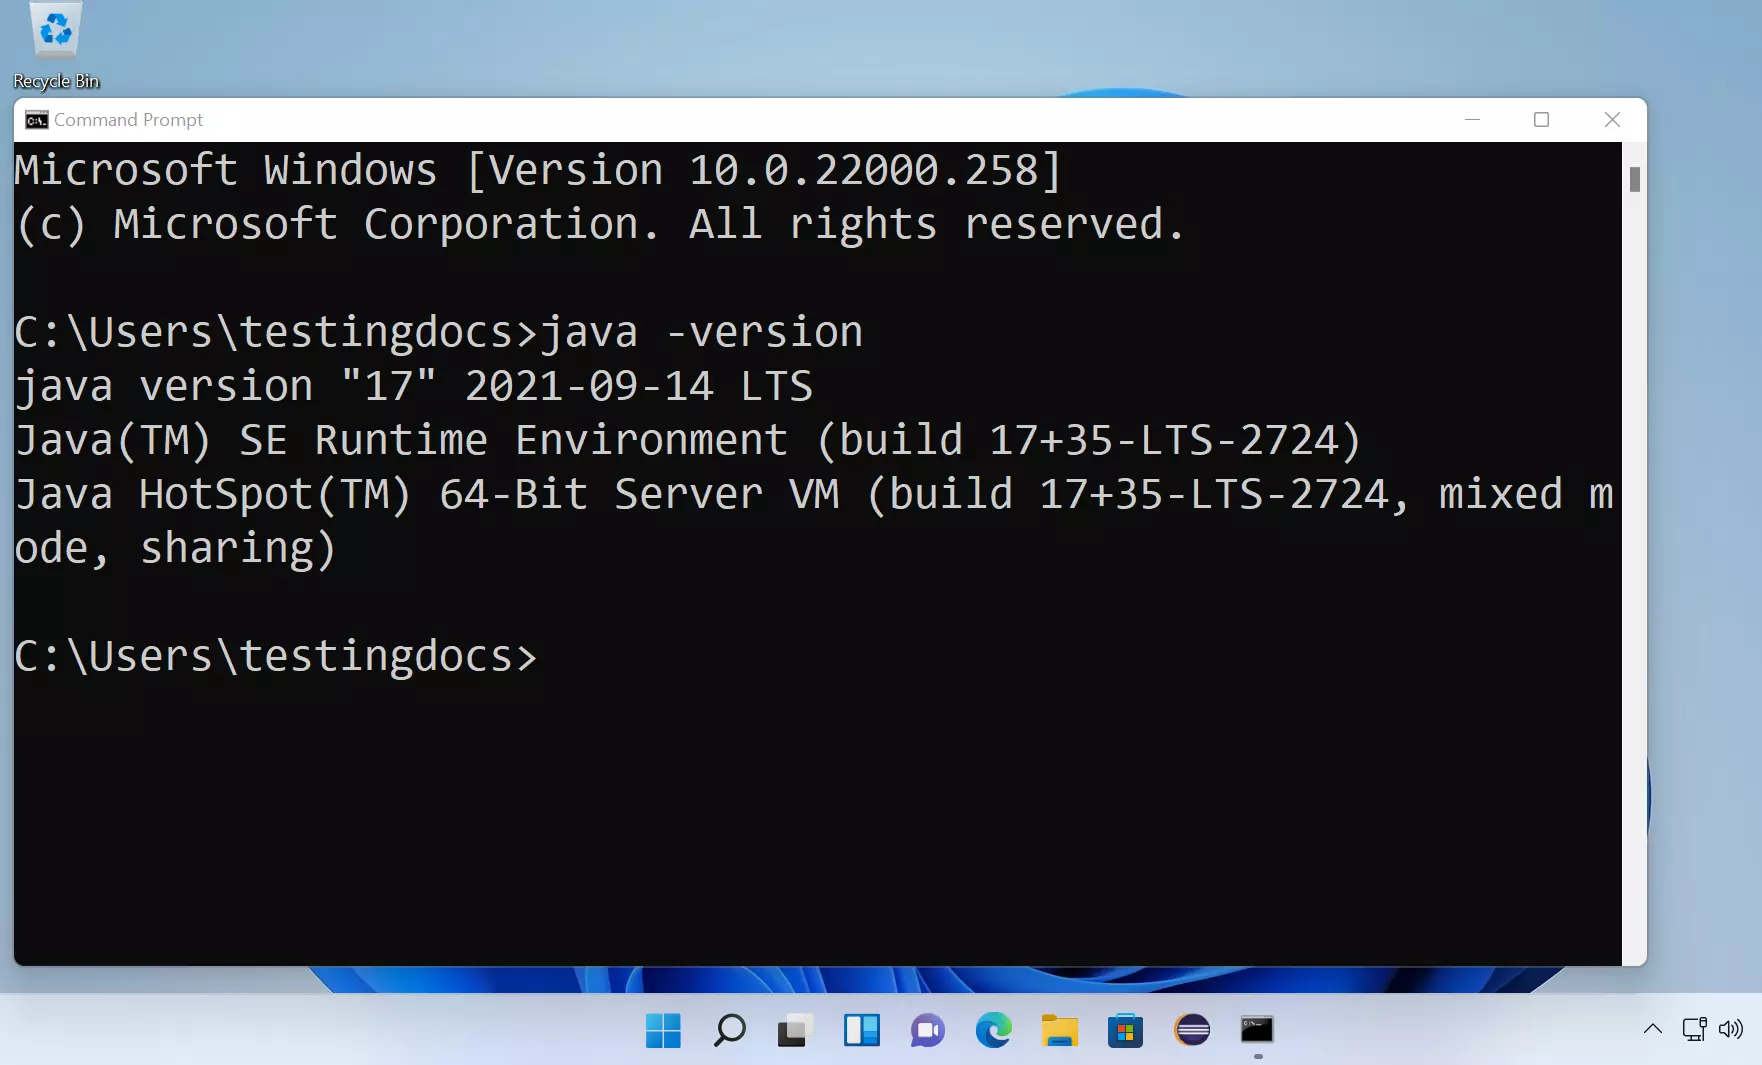
First, check if Java is installed on the Windows 11 machine. Open the command prompt and issue the following command:
\> java -version
If you see a Java version in the command output, Java is installed on the machine.
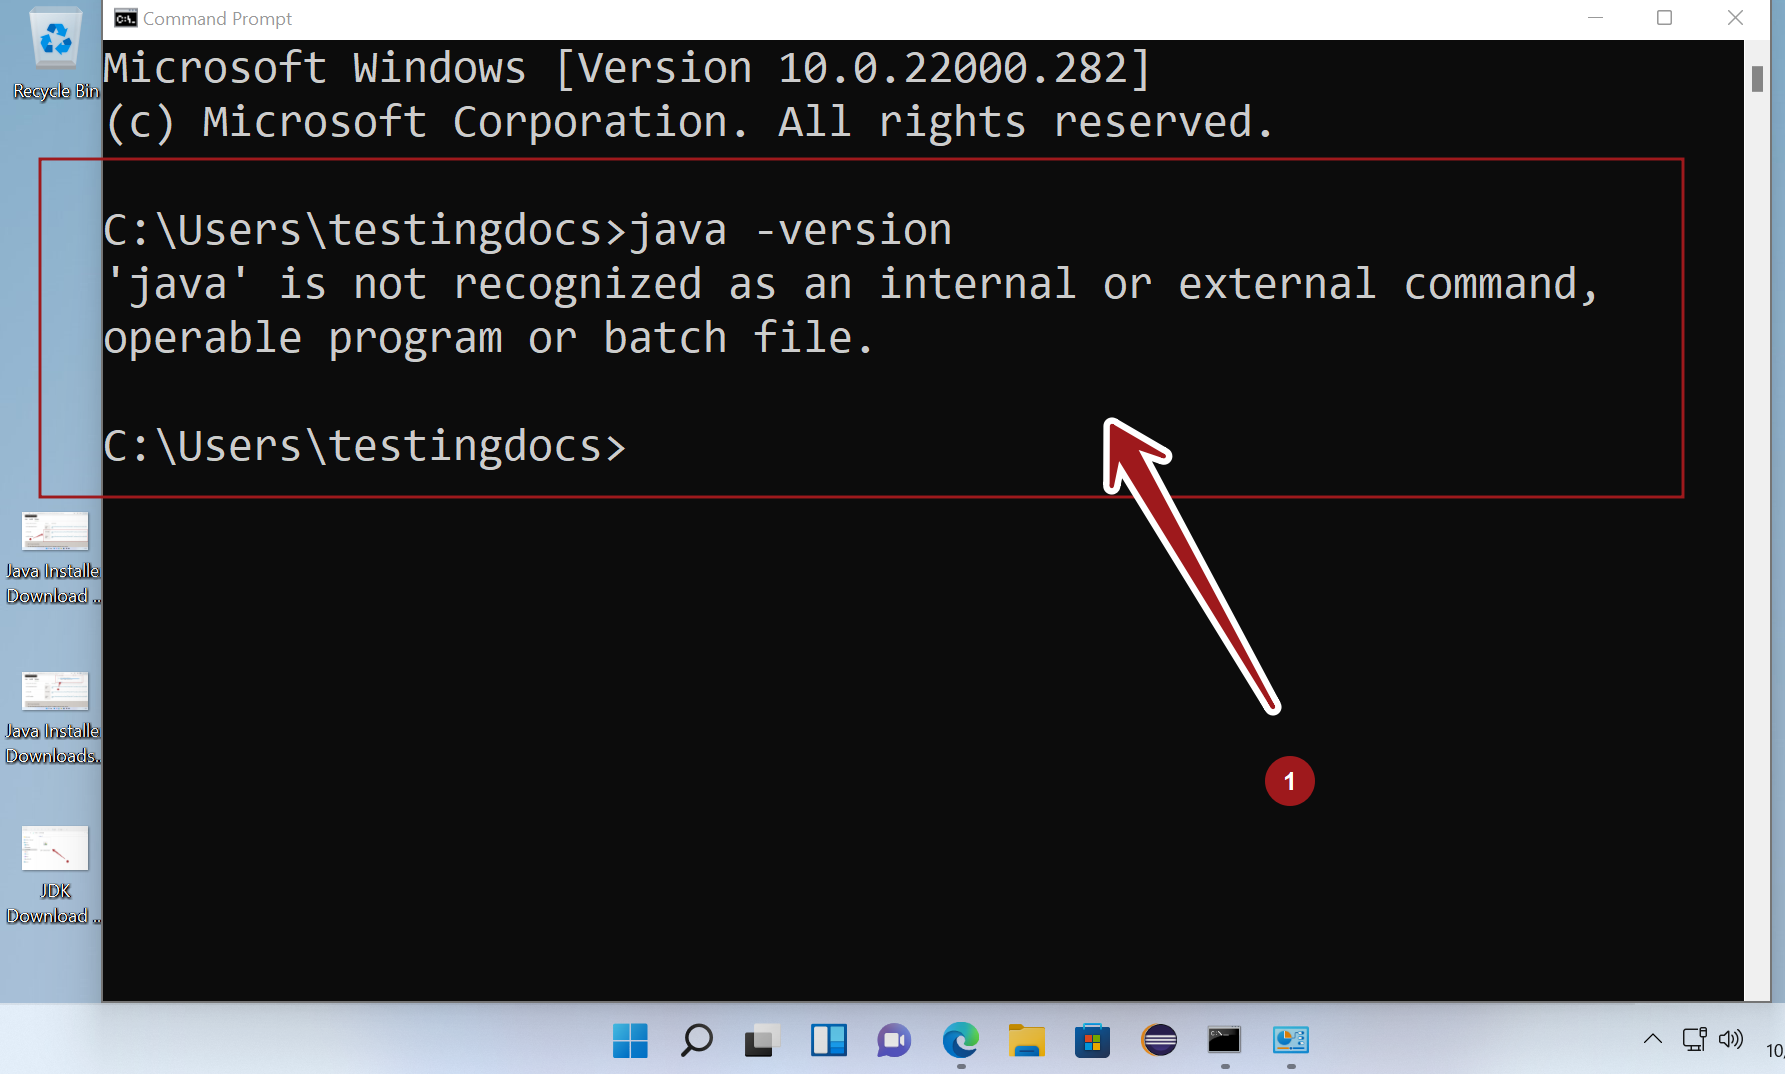
If the command output is:
‘java’ is not recognized as an internal or external command, operable program or batch file.
Proceed further to download and install Java \ JDK.
Download Java Installer
- Navigate to Oracle’s official website and Download Java.
- https://www.oracle.com/java/
- Access the Java SE Downloads page. Read and Accept the License Agreement. Note that Java licensing terms have changed since 2019.
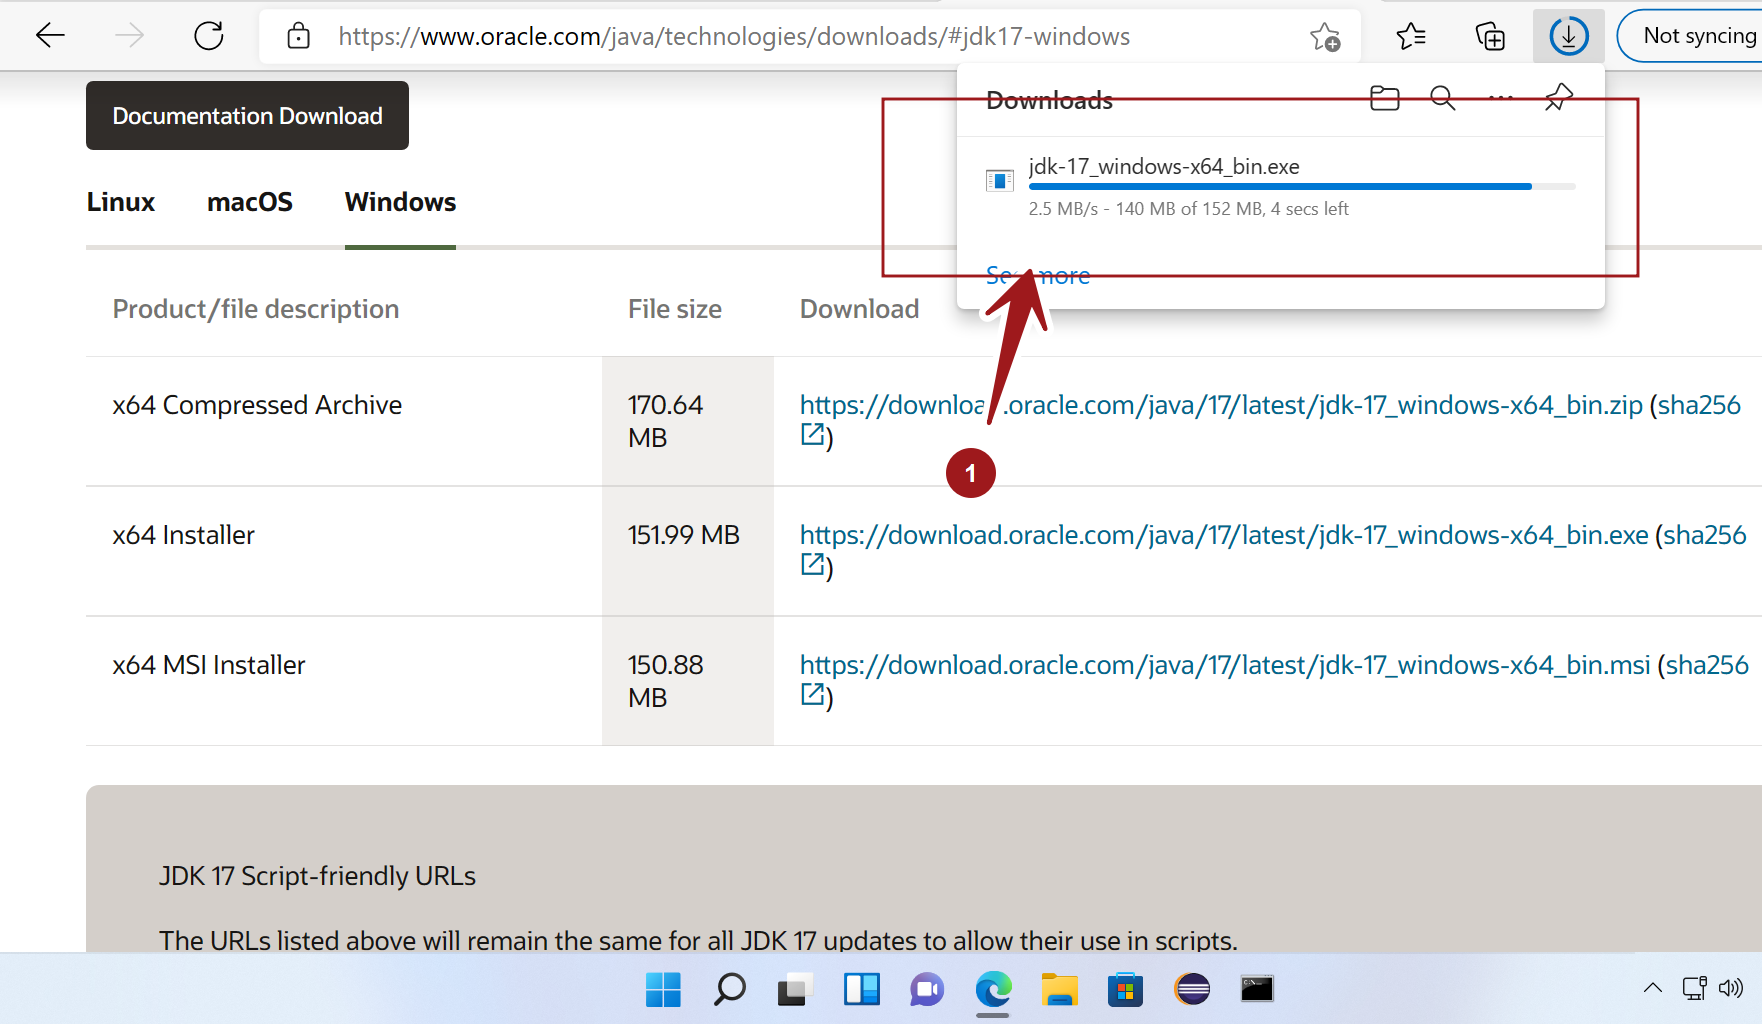
- On the Download page, click the Windows tab.
We have two options here:
- Download the compressed archive JDK package bundle.
- Download the Java/JDK installer. (.exe or .msi installer file)
The first option is a no-install ZIP archive bundle package. We can download the package and just extract the archive file contents to a directory. Copy this directory to a suitable location on the computer.
Set environment variables. That’s it.

The second option is to download the JDK installer (either a .exe file or .msi installer file). The installer handles some installation options for you.
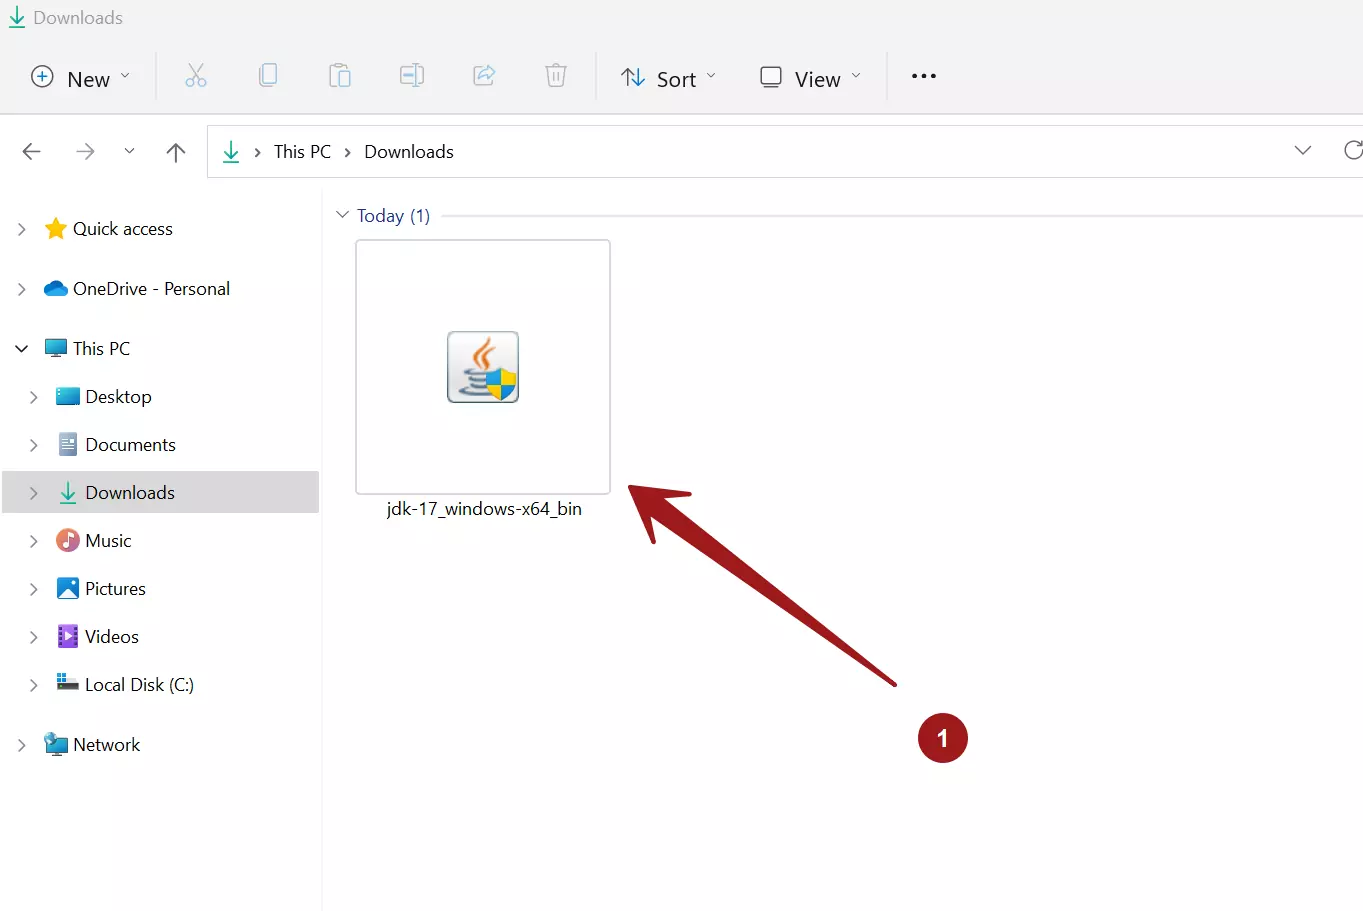
jdk-<version>_windows-x64_bin.exe
The file would be downloaded onto the Windows 11 computer, usually to the Downloads folder.
Run Java Installer
Locate the JDK installer and double-click on the .exe file to run it.
Windows 11 UAC Prompt
To install the application, we need to have Administrator privileges. Click on the Yes button in the UAC prompt. Verify the Publisher Information on the UAC prompt dialog. On production systems, we may need to check the integrity of the JDK download additionally.

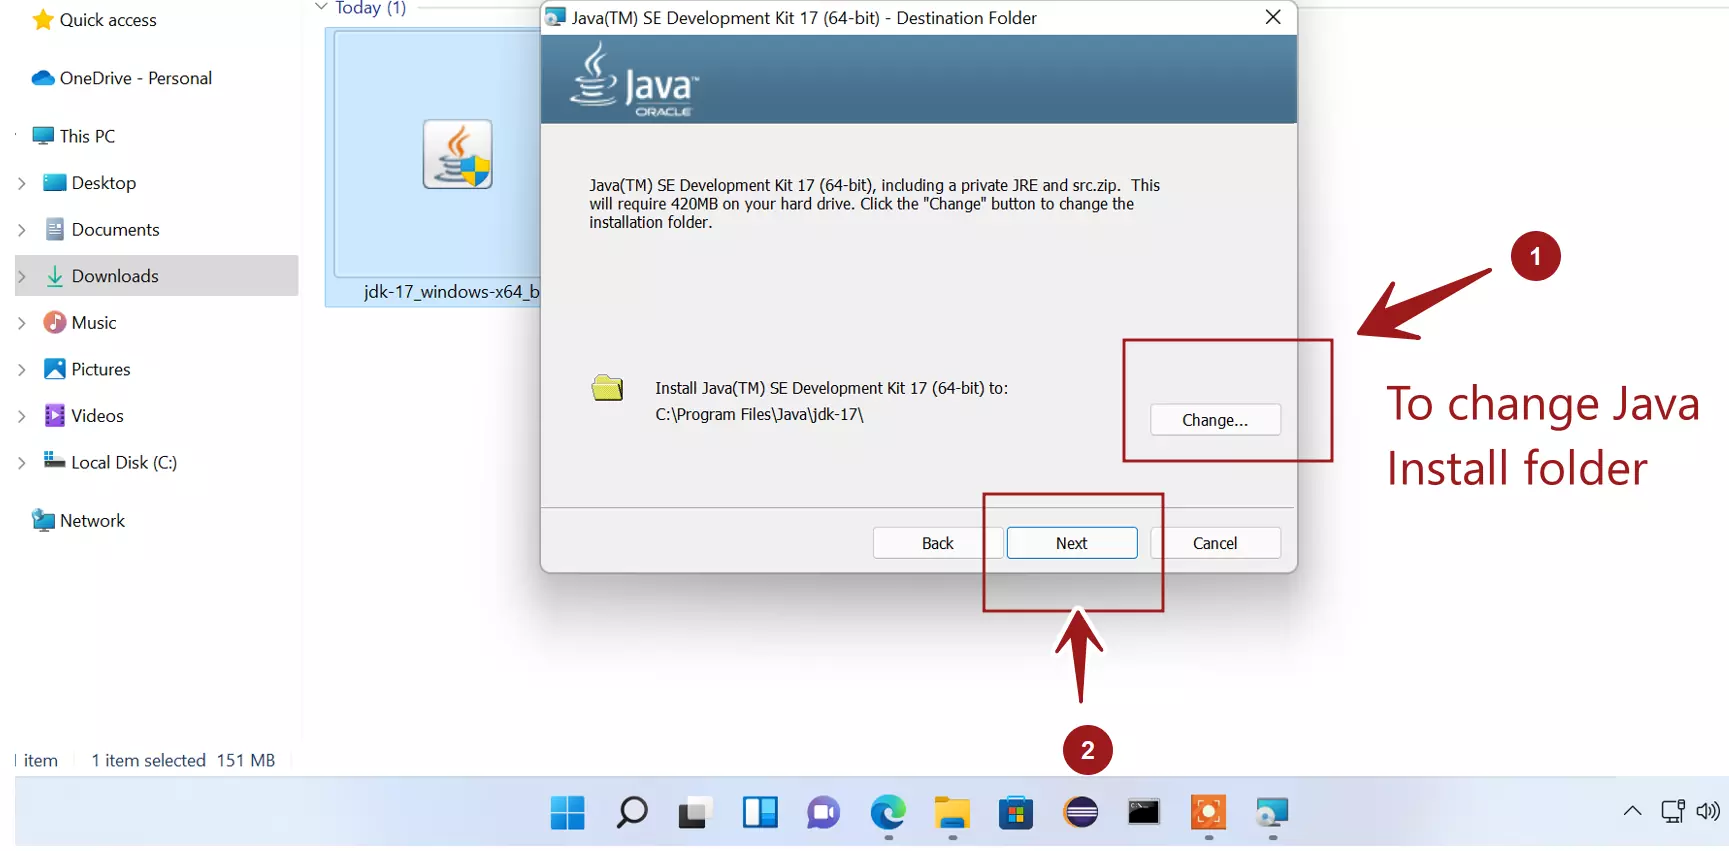
Installation is simple. Run through the install wizard screens by clicking on the Next > buttons. In most cases, we can accept the defaults.
However, if we want to customize the install destination folder, we can do so in the Destination Folder screen. To change the folder, click on the Change… button. Choose a folder to install JDK.
Note this directory. We need to set the environment variable JAVA_HOME to point to this install folder.
Set System Variables
Click on the Search icon in the Taskbar.
Search for environment variables in the Search bar. Click the Edit the system environment variables link.

Set JAVA_HOME variable
Click on the Environment Variables… button in the System Properties window.
Click on the New… button.

Type JAVA_HOME in the Variable name: text box.
The Java destination folder in the Variable value: text box. We can browse the Java folder using the Browse Directory… button.
Once done, click on the OK button.

Append Java bin folder to PATH
Now, choose the Path system environment variable in the System variables and click on the Edit… button.
Click on the New button and add the following entry
%JAVA_HOME%\bin
Click on the OK button and close the System Properties window.
Verify Install
Launch a new command prompt and issue the following command to check the JDK installation.
\> java -version
This command should display the Java version in the command window.
That’s it. We have successfully installed Java on the Windows 11 machine.

