TestLink API
TestLink API Introduction
The TestLink API allows you to communicate with TestLink and perform internal actions without logging into the TestLink Web UI interface. You can use the API to communicate with TestLink using XML-RPC or REST API. The API allows us to interact with TestLink in an automated fashion without manual actions like browser clicks, etc.
Web vs Webservice
Web and Web services differ in their use cases. Web TestLink communication vs REST API communication. TestLink web application is for humans to interact using clients (web browsers) like Mozilla Firefox, Google Chrome, Microsoft Edge, etc.
Web services allow interaction with TestLink in an automated way. Here the clients can be REST API clients like testing tools, integration middleware clients, automation frameworks, etc.
Enabling API
Before using the API client, we need to enable the API interaction server side. To do this, open the Testlink folder and edit the config.inc.php file.
You can make sure that the API switch is enabled as below. If you modify it save the config file and restart the Apache server to reflect the changes made.
$tlCfg->api->enabled = TRUE;
Generating an API Key
To generate an API key for the API calls, follow the below steps:
- Login to the TestLink Web instance
- Click on the My Settings link on the TestLink page.
- Click on the Generate a new key button in the API Interface box.
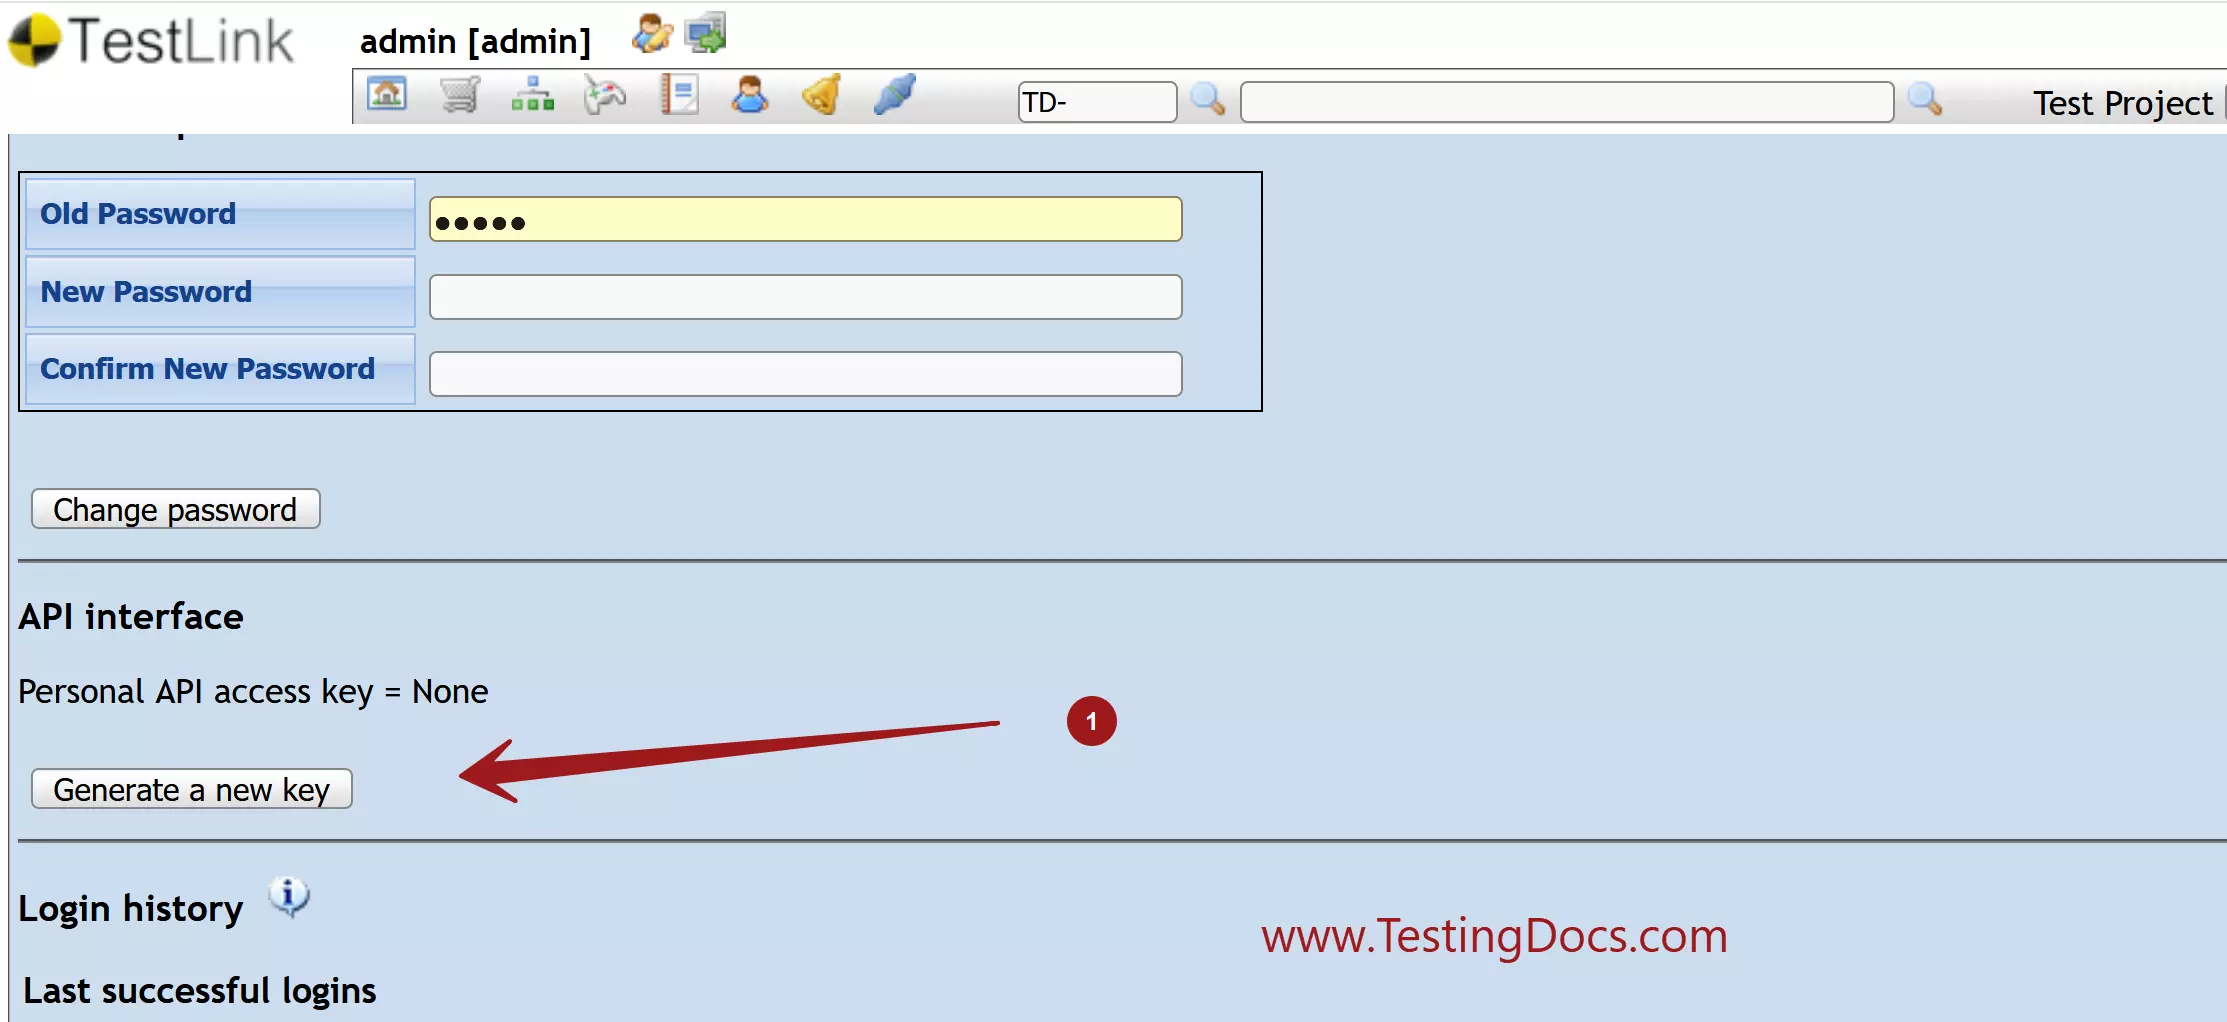
- We can see that an API access key will be displayed on the web page as shown in the picture.
Copy the access key. We can use this key for the API calls. We will use this key to invoke the API calls.
API Usage
We can create an API client with an API key and POST URL as parameters. For example, the API URL on localhost is :
- http://localhost/testlink/lib/api/xmlrpc/v1/xmlrpc.php
We can instantiate the API client by passing the API key and the URL that accepts POST requests on the server.


