TestLink Installation on Windows
TestLink Installation on Windows
In this tutorial, we will look at the TestLink installation procedure on the Windows Platform. In this installation process, we will be using the in-built web installer (a step-by-step installation wizard). The web installer is the default and recommended method of installing TestLink.
TestLink Requirements
Install and configure all the TestLink pre-install requirements:
https://www.testingdocs.com/testlink-install-requirements/
Some packages pack all the necessary dependencies stated above to ease the installation process, for example, the XAMPP application package bundle.
https://www.testingdocs.com/xampp-download-and-install/
Download TestLink
https://www.testingdocs.com/download-testlink-on-windows/
Install TestLink
Open a Web browser like Firefox Chrome or Edge.
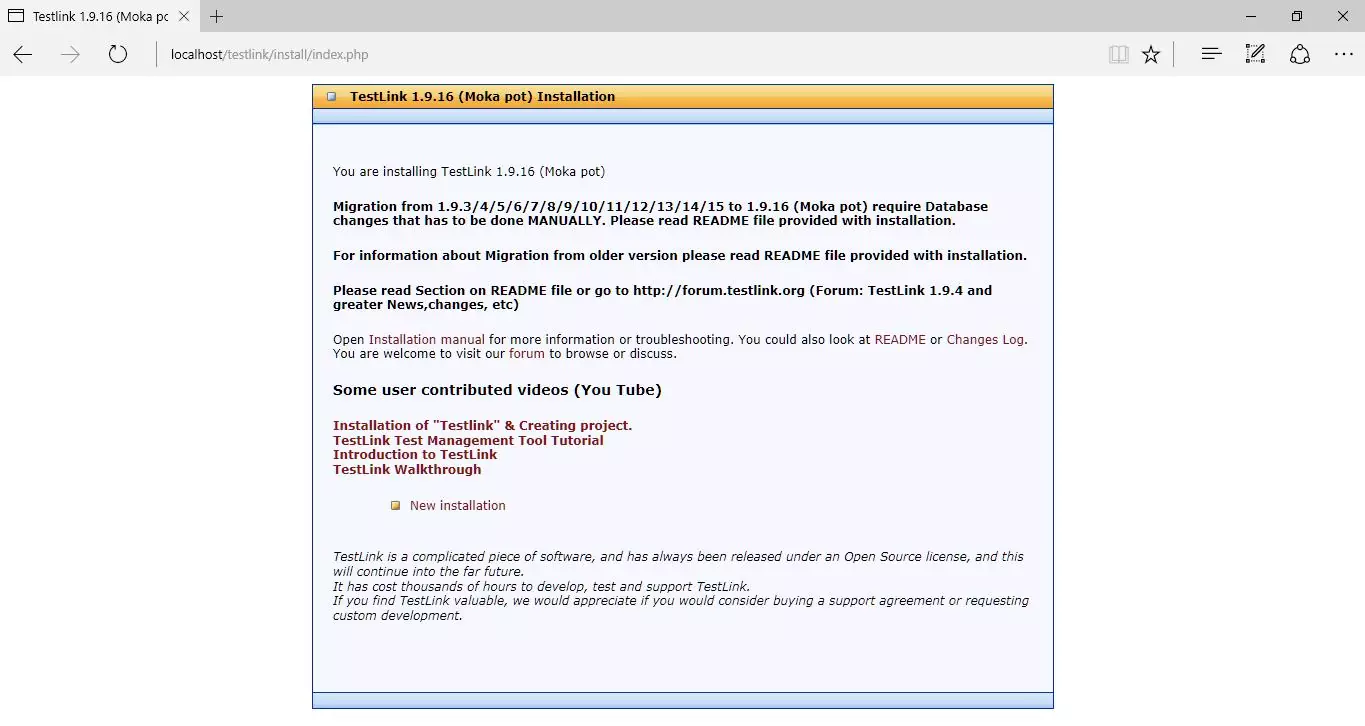
Load the Web installer from the browser. Launch the install URL:
http://localhost/testlink/install/index.php
The link is to install the tool on the local server instance. Replace the local host with the actual domain or server address.
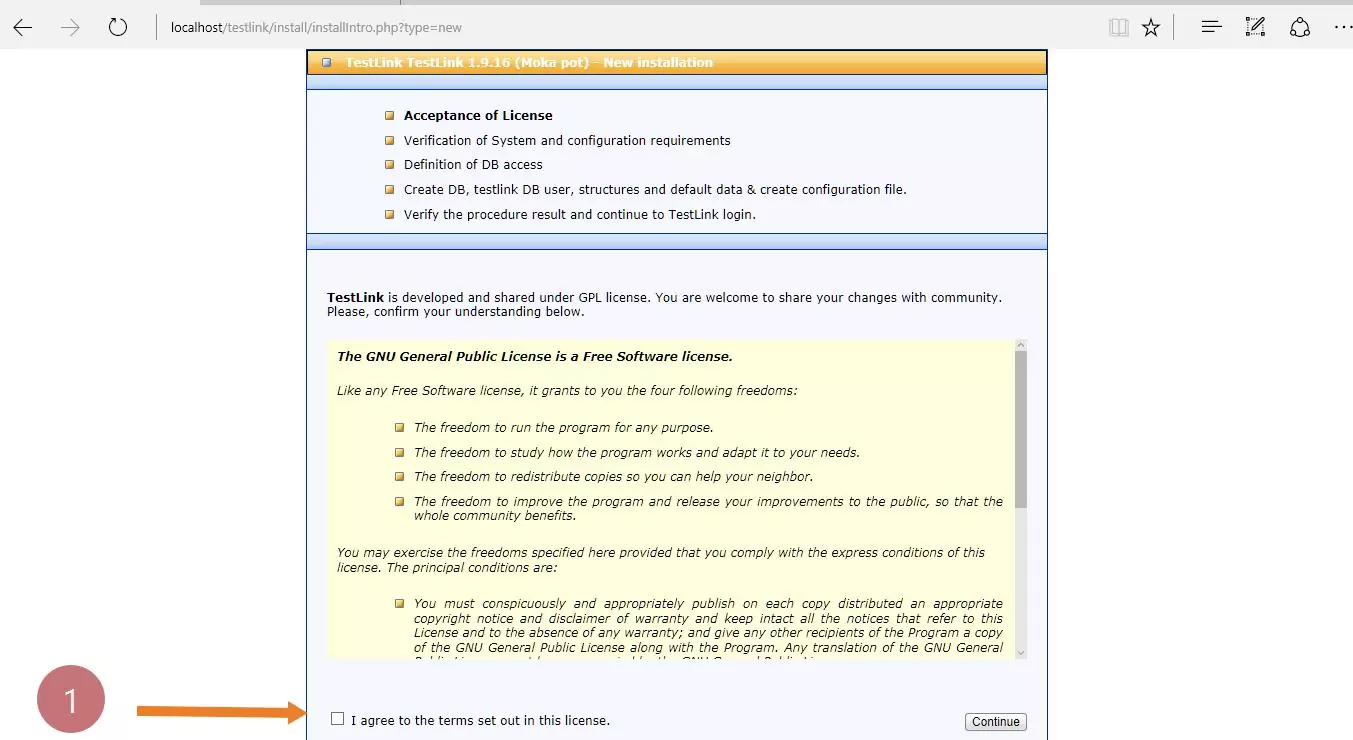
New Installation Steps
- Acceptance of TestLink License
- Verification of System & Configuration Requirements.
- Definition of Database Access.
- Create TestLink Database, TestLink DB User, Tables, and data.
- Create a configuration file.
- Verify and continue TestLink Install.
- TestLink login.
Click on the New Installation link. Read and Accept the License Agreement.
Click Continue to configure the database details. You may need to provide the root credentials and user credentials that have access to the Testlink database.
TestLink setup will setup the database and completes the install procedure.

You can start using TestLink by clicking on the TestLink link. That’s it, the TestLink installation was successful.


