Run Java Project in Eclipse
Run Java Project in Eclipse
This tutorial demonstrates the steps to run a Java project in Eclipse IDE. The IDE handles several things needed to run the Java program under the hood.
Run Java Project
The general steps are as follows:
Launch the Eclipse IDE on your computer.
Open Your Project.
To run the standalone Java program, right-click on the Java class that contains the main() method in the Package Explorer or right-click on the Java class in the editor and select
Run As >> Java Application from the context menu.
We can also use the keyboard shortcut Alt+Shift+X combination.
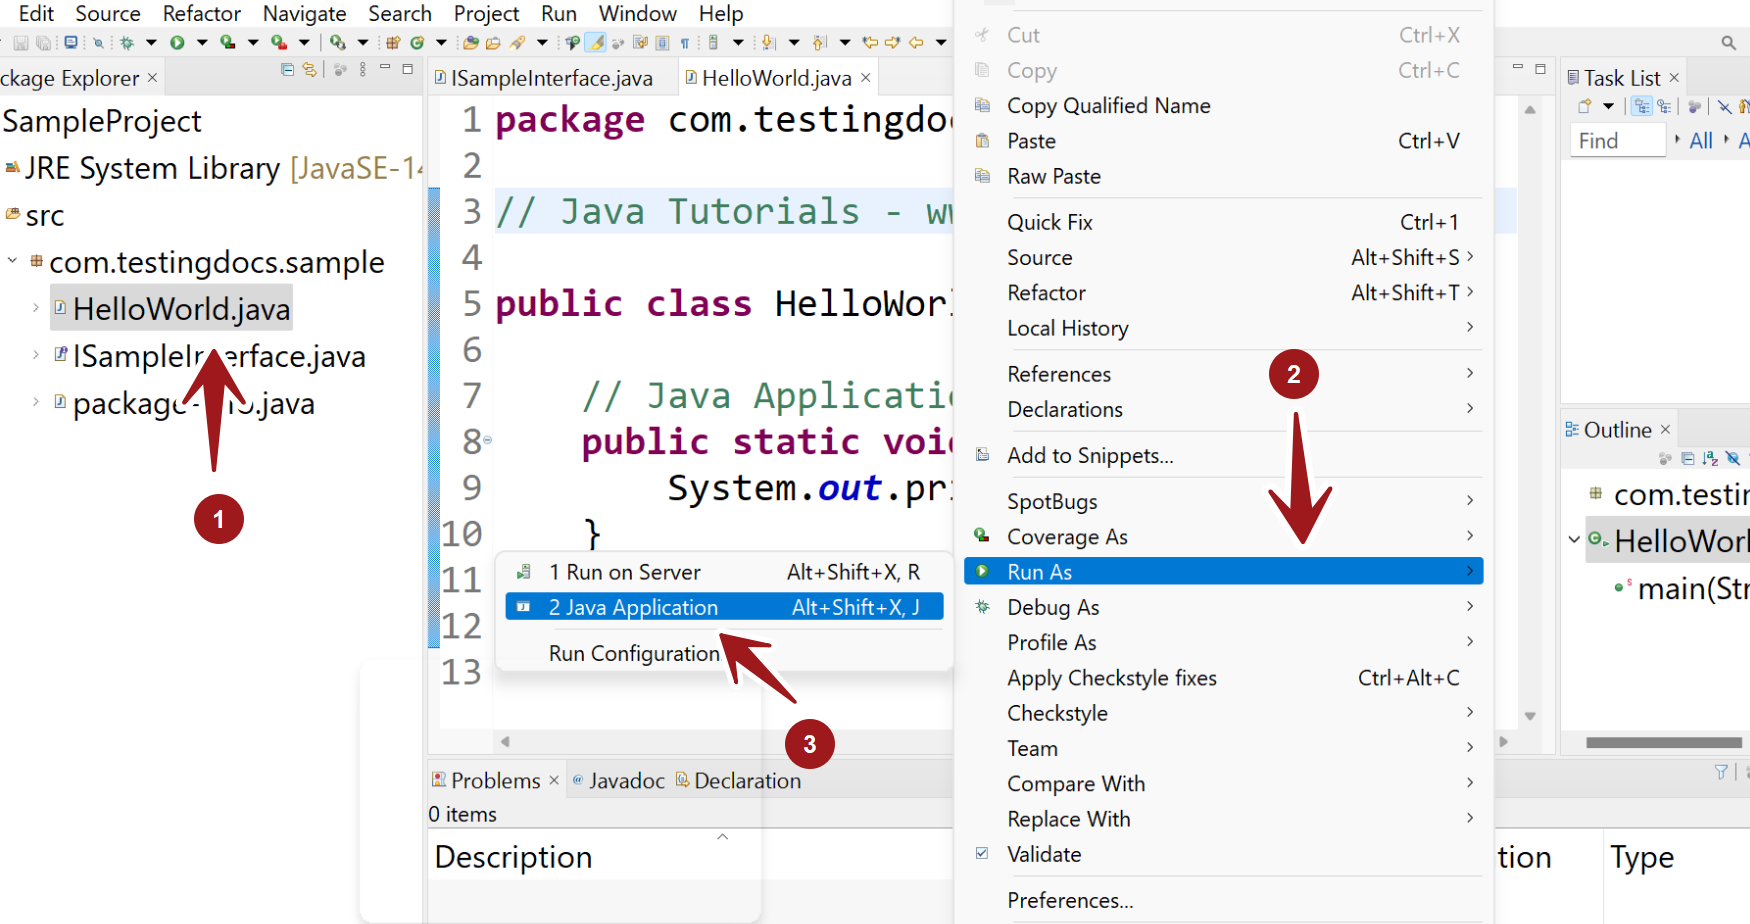
Alternatively, you can click the green “Run” button (a play icon) in the toolbar at the top of Eclipse.
This will run the Java application. The program’s output should be displayed in the Console view. The console at the bottom will display your program’s output.
Run Configuration
We can create and manage the Run Configuration for the Java Application. In this window, you can specify the Java project’s main class, command-line arguments, etc.
That’s it. You have successfully run the Java project using Eclipse IDE.
Eclipse Tutorials
Eclipse Tutorials on this website can be found at:
For more details on the Eclipse IDE, visit the official website

