TestLink Workflow
TestLink Workflow
In this tutorial, we will learn the basic TestLink Workflow. The TestLink tool enables QA Teams to create and manage their test cases and organize them into test plans. These test plans allow team members to execute test cases and track test results dynamically, generate reports, trace software requirements, prioritize, and assign.
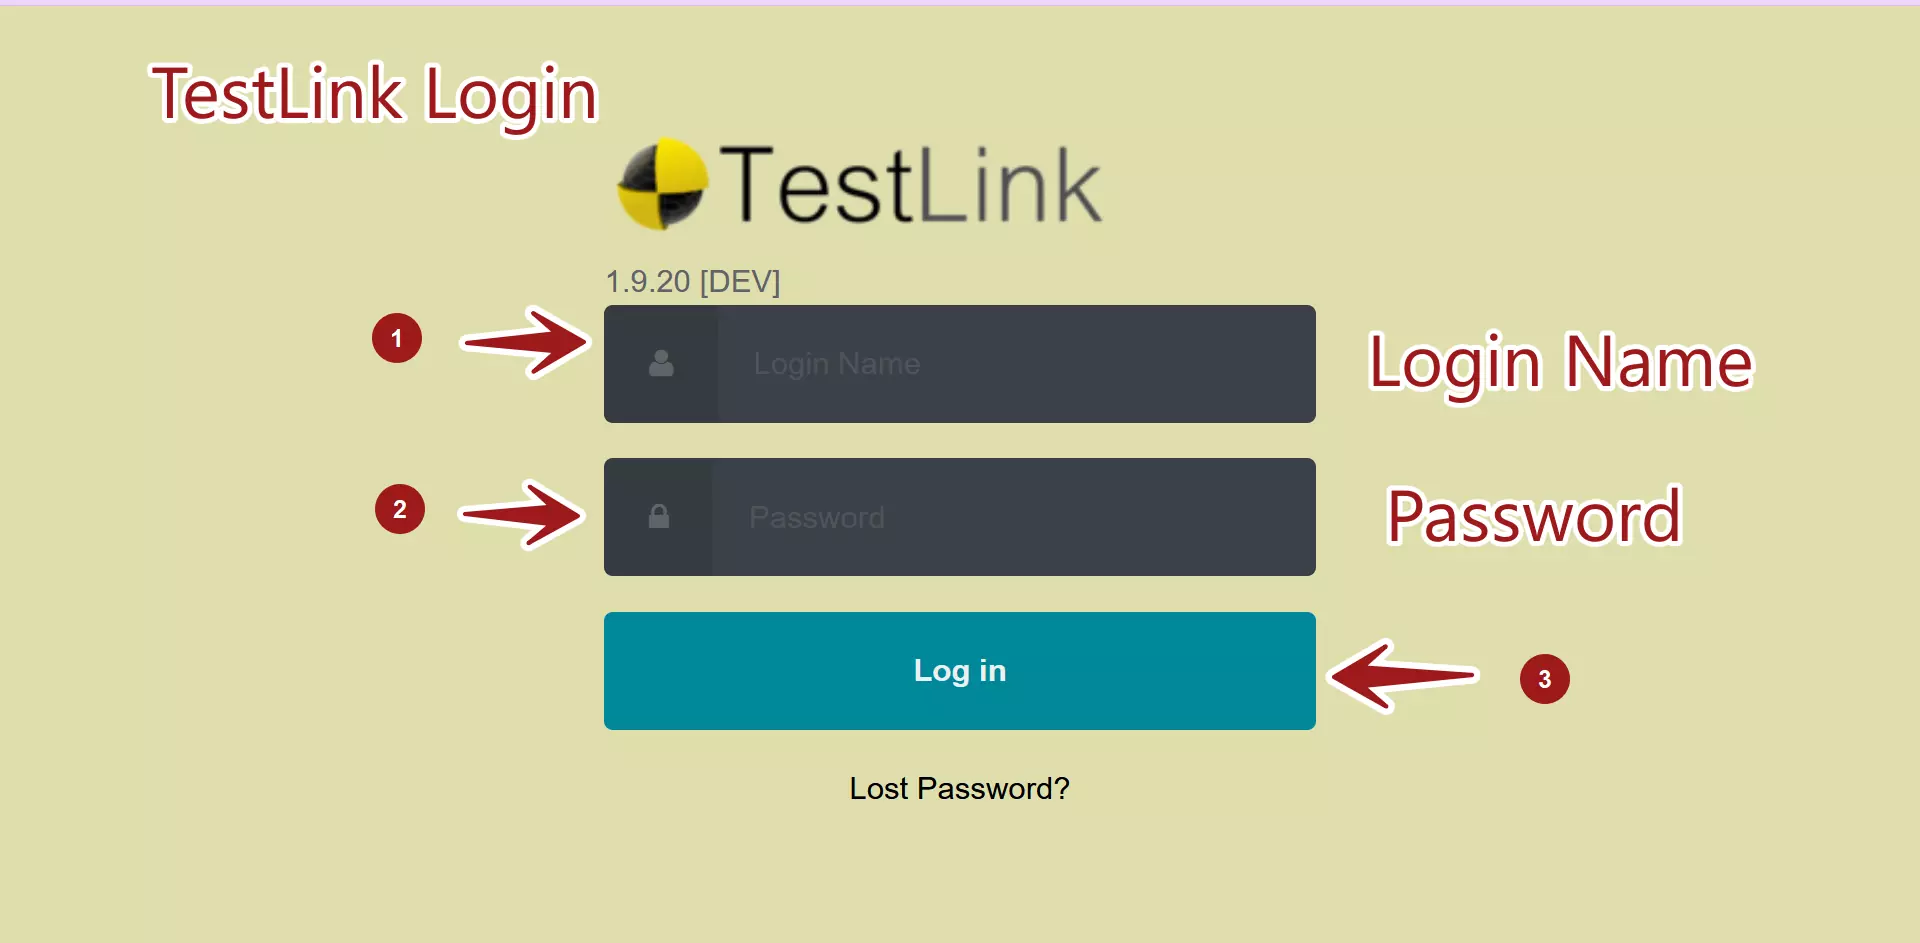
Login in the TestLink Tool.
Create a Test Project and enable the Requirement module.
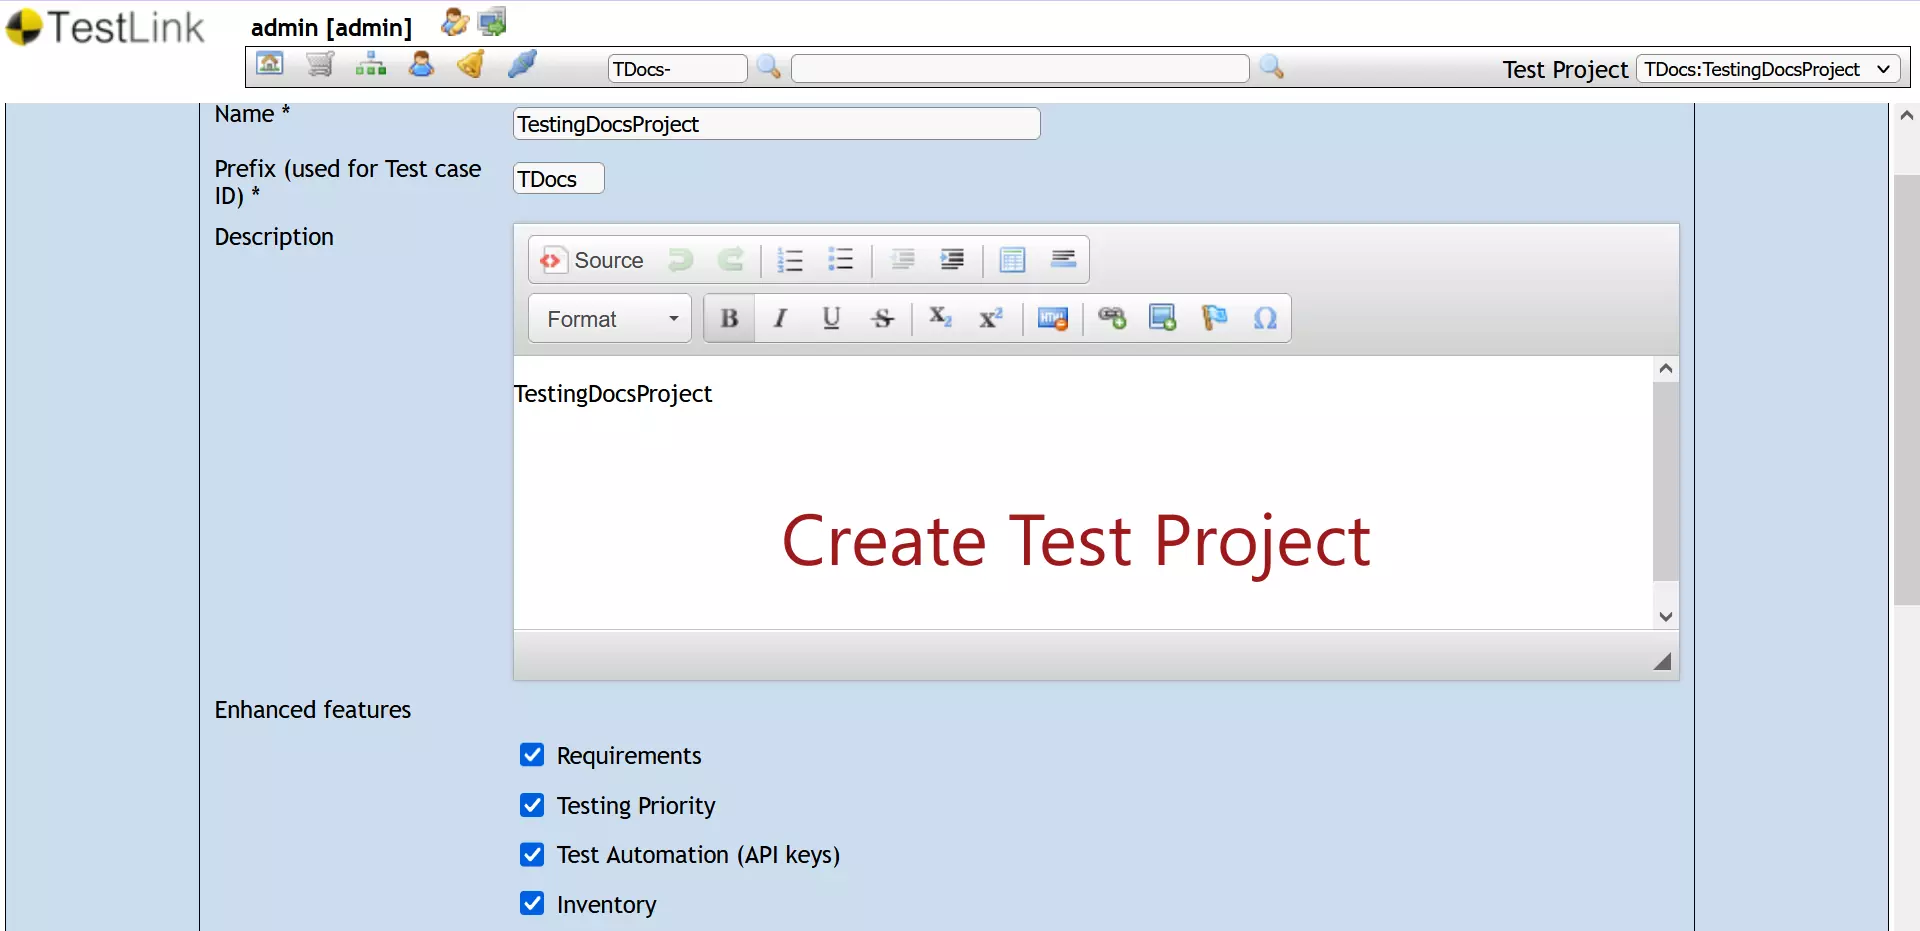
For more detailed steps to create TestLink Project: Create TestLink Project
Create the Requirement Specification (SRS document) .
Create Requirements.
Create the Test Plan.
Create project Test Suite and Test Cases.
Map the Requirement with Test case using Assign Requirement.
Add Testcases to the project Test Plan.
Assign the Test cases to the Test Plan.
Create the Test Build for the project using Build Management.
Execute the Test cases.
View Test Reports.
That’s it. These steps are the basic workflow of using the TestLink tool.
—
TestLink Tutorials
TestLink Tutorial on this website:
https://www.testingdocs.com/testlink-tutorials/
For more updates please like our Facebook page:


