Selenium 4 Project Setup on Ubuntu
Selenium 4 Project Setup on Ubuntu
Let’s learn the steps involved to set up the Selenium 4 project using IntelliJ IDEA IDE. In this tutorial, we will use IntelliJ IDE on Ubuntu Linux machine.
Pre-requisites
We need to setup the below dependencies in order to start working with Selenium Project. Things like JDK, IDE ( IntelliJ/Eclipse / NetBeans etc) and Maven Project. However, in this tutorial, we will use IntelliJ Community Edition.
Install Java JDK
Install JDK instructions:
https://www.testingdocs.com/download-and-installing-java-jdk/
Install IntelliJ IDEA
https://www.testingdocs.com/downloading-and-installing-intellij-idea-ide/
Setup Maven Project
Maven is optional as most IDE now bundle Maven build tool with the IDE. Create Maven project instructions:
https://www.testingdocs.com/create-maven-project-with-intellij-idea/
Selenium Test interaction with Web Application Under Test.(WAUT)

Add Selenium 4 Maven dependency
Add the Selenium 4 Java binding to the project pom.xml file. Save the POM and reload the project. This will download other Maven dependencies into the local maven repository. Use the latest version in the dependency artifact.
<dependency>
      <groupId>org.seleniumhq.selenium</groupId>
      <artifactId>selenium-java</artifactId>
      <version>4.0.0-alpha-6</version>
</dependency>
Maven Pom.xml
<?xml version="1.0" encoding="UTF-8"?>

<project xmlns="http://maven.apache.org/POM/4.0.0"
xmlns:xsi="http://www.w3.org/2001/XMLSchema-instance"
  xsi:schemaLocation="http://maven.apache.org/POM/4.0.0
http://maven.apache.org/xsd/maven-4.0.0.xsd">
  <modelVersion>4.0.0</modelVersion>

  <groupId>com.testingdocs.sample</groupId>
  <artifactId>Selenuim4Project</artifactId>
  <version>1.0-SNAPSHOT</version>

  <name>Selenuim4Project</name>
  <!-- FIXME change it to the project's website -->
  <url>http://www.example.com</url>

  <properties>
    <project.build.sourceEncoding>UTF-8</project.build.sourceEncoding>
    <maven.compiler.source>1.7</maven.compiler.source>
    <maven.compiler.target>1.7</maven.compiler.target>
  </properties>

  <dependencies>
    <dependency>
      <groupId>junit</groupId>
      <artifactId>junit</artifactId>
      <version>4.11</version>
      <scope>test</scope>
    </dependency>

    <dependency>
      <groupId>org.seleniumhq.selenium</groupId>
      <artifactId>selenium-java</artifactId>
      <version>4.0.0-alpha-6</version>
    </dependency>

    <dependency>
      <groupId>org.testng</groupId>
      <artifactId>testng</artifactId>
      <version>7.1.0</version>
    </dependency>

  </dependencies>

  <build>
    <pluginManagement><!-- lock down plugins versions to avoid using Maven
 defaults (may be moved to parent pom) -->
      <plugins>
        <!-- clean lifecycle, see
https://maven.apache.org/ref/current/maven-core/lifecycles.html#clean_Lifecycle -->
        <plugin>
          <artifactId>maven-clean-plugin</artifactId>
          <version>3.1.0</version>
        </plugin>
        <!-- default lifecycle, jar packaging: see
https://maven.apache.org/ref/current/maven-core/default-bindings.html
#Plugin_bindings_for_jar_packaging -->
        <plugin>
          <artifactId>maven-resources-plugin</artifactId>
          <version>3.0.2</version>
        </plugin>
        <plugin>
          <artifactId>maven-compiler-plugin</artifactId>
          <version>3.8.0</version>
        </plugin>
        <plugin>
          <artifactId>maven-surefire-plugin</artifactId>
          <version>2.22.1</version>
        </plugin>
        <plugin>
          <artifactId>maven-jar-plugin</artifactId>
          <version>3.0.2</version>
        </plugin>
        <plugin>
          <artifactId>maven-install-plugin</artifactId>
          <version>2.5.2</version>
        </plugin>
        <plugin>
          <artifactId>maven-deploy-plugin</artifactId>
          <version>2.8.2</version>
        </plugin>
        <!-- site lifecycle, see
https://maven.apache.org/ref/current/maven-core/lifecycles.html#site_Lifecycle -->
        <plugin>
          <artifactId>maven-site-plugin</artifactId>
          <version>3.7.1</version>
        </plugin>
        <plugin>
          <artifactId>maven-project-info-reports-plugin</artifactId>
          <version>3.0.0</version>
        </plugin>
      </plugins>
    </pluginManagement>
  </build>
</project>
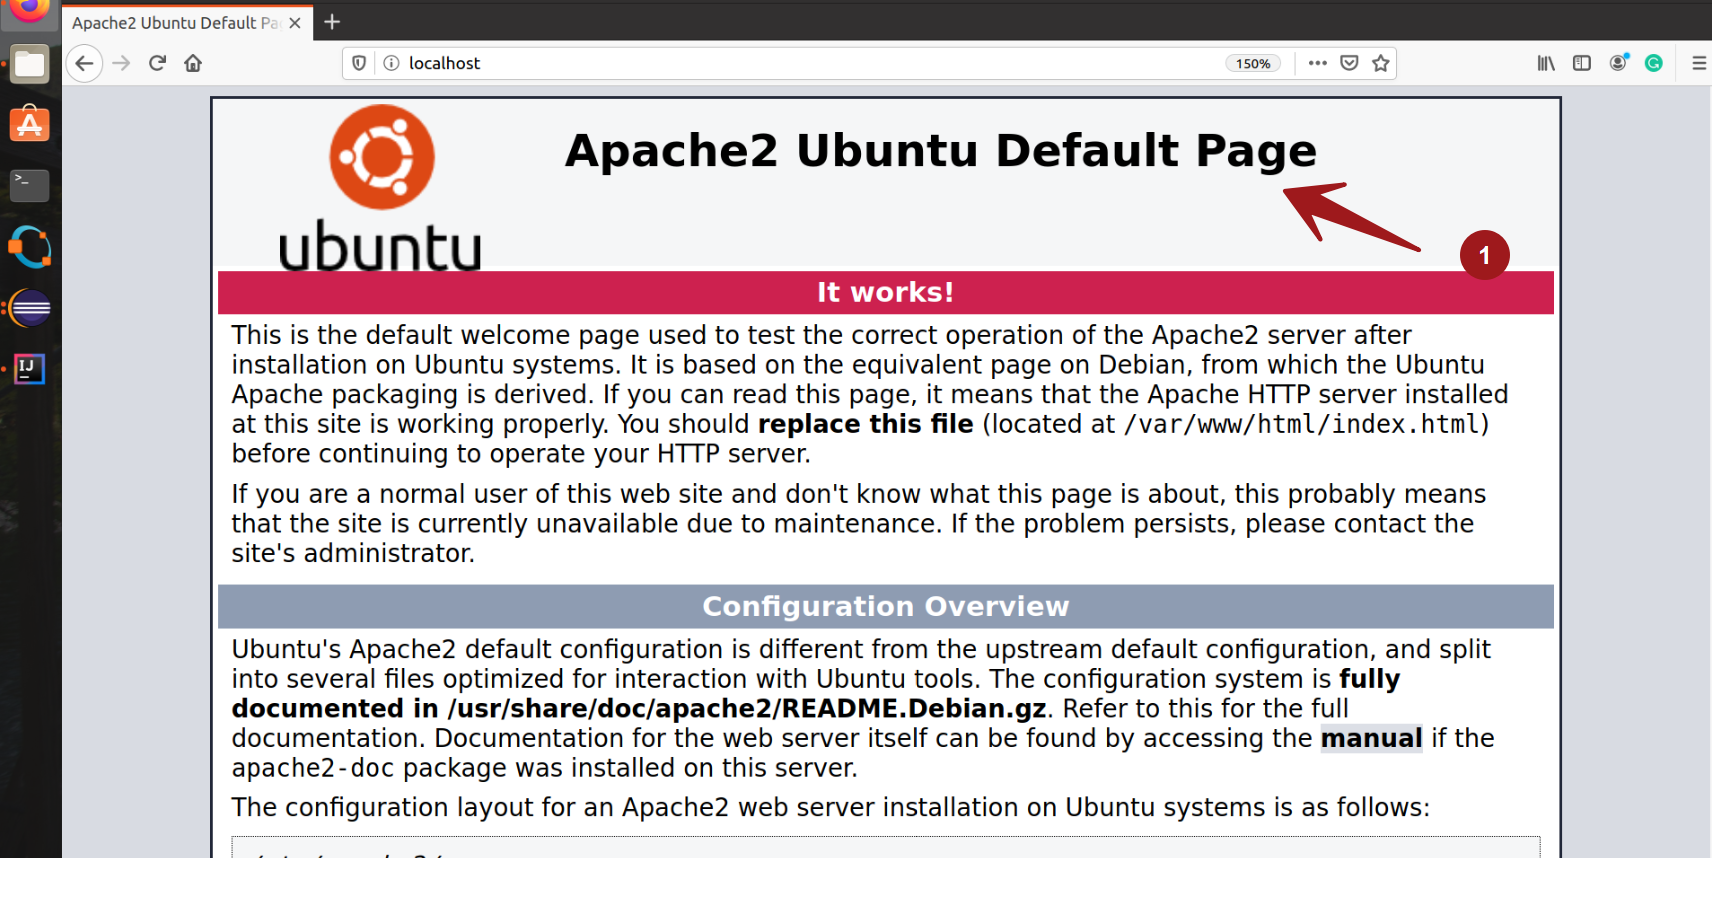
Page Under Test
We will test the Apache Web Server Ubuntu default home page header in a sample test using Mozilla Firefox driver.
Download the Geckodriver for Ubuntu:
https://www.testingdocs.com/download-mozilla-geckodriver-on-ubuntu-linux/
Follow the instructions and place the Geckodriver to project root directory.
Sample Selenium Test
package com.testingdocs.sample;
import org.openqa.selenium.By;
import org.openqa.selenium.Keys;
import org.openqa.selenium.WebDriver;
import org.openqa.selenium.WebElement;
import org.openqa.selenium.firefox.FirefoxDriver;
import org.testng.Assert;
import org.testng.annotations.Test;

public class AppTest {
    @Test
    public void firstTest() {
        WebDriver driver = new FirefoxDriver();
        try {
            driver.get("http://localhost");
            WebElement result = driver.findElement(
By.cssSelector("div.page_header"));
            Assert.assertEquals(result.getText(),"Apache2 Ubuntu Default Page");
        } finally {
            driver.quit();
        }
    }
}
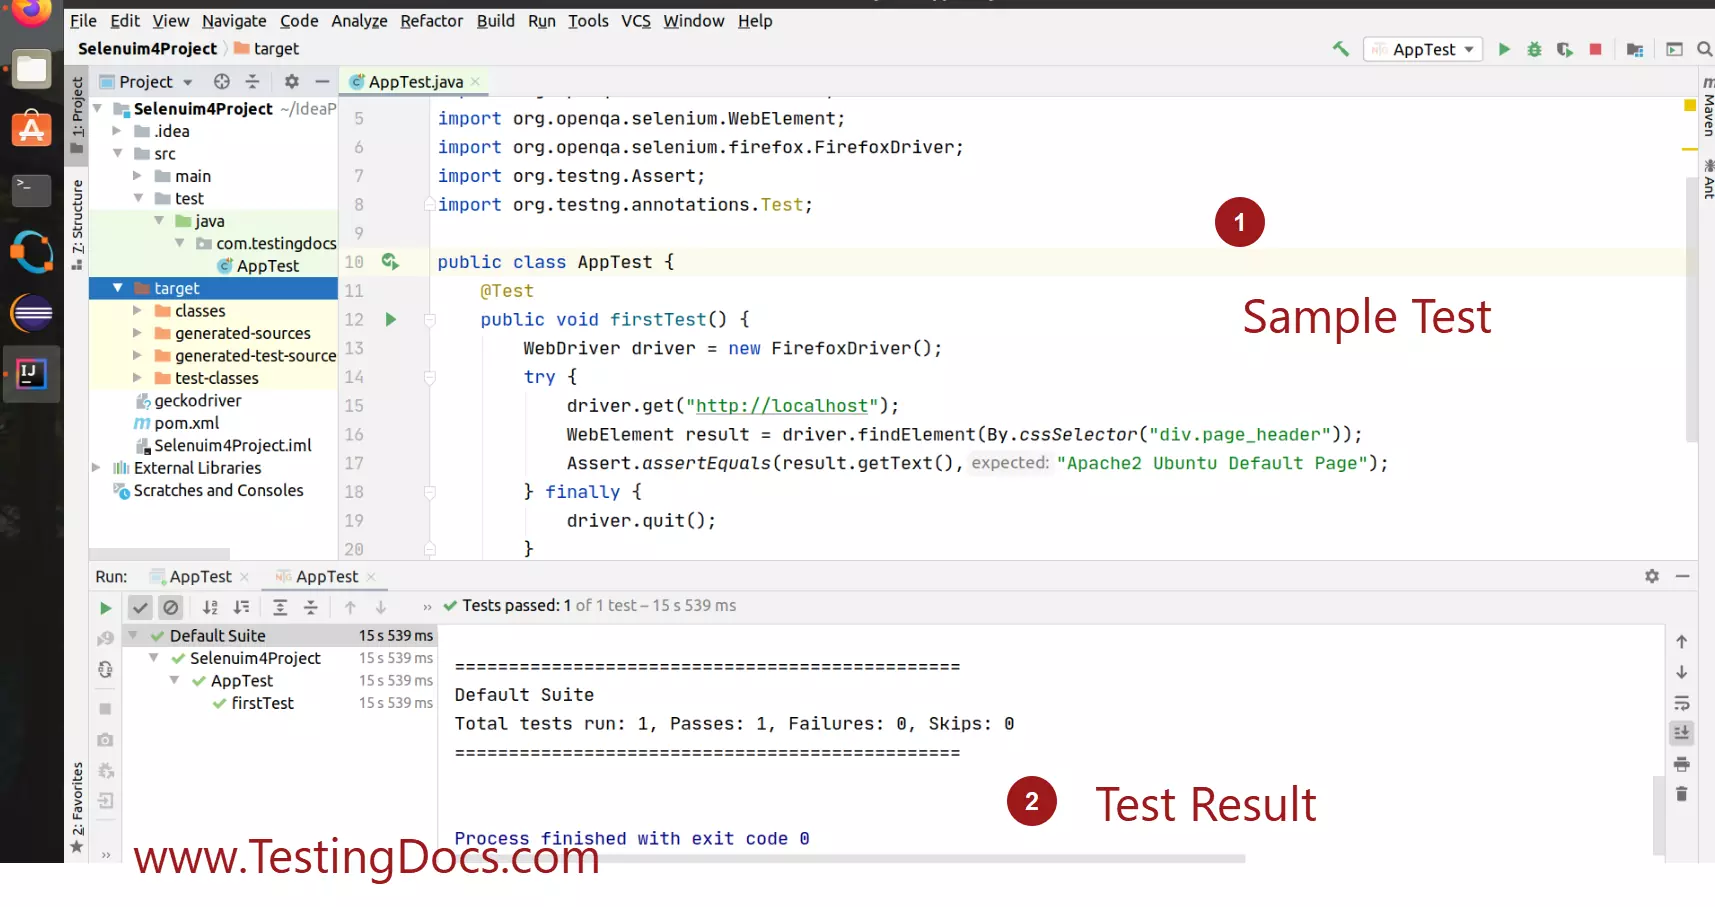
That’s it. We have successfully created a project and run a sample test.
New Selenium 4 Grid
New Grid modes
https://www.testingdocs.com/different-selenium-grid-modes-in-selenium-4-0/
Distributed Mode in Selenium 4:
